How To Add A Text Box On Word

I still remember the first time I tried to add a text box on Word, I was working on a project and I wanted to make it look super fancy, but I ended up spending hours trying to figure out how to do it. I mean, who needs that kind of stress, right? I was so close to pulling my hair out, but then I finally stumbled upon the solution.
So, if you're like me and you want to add a text box on Word without losing your mind, you're in luck because I'm about to share the secret with you. It's actually pretty simple once you know what you're doing, and I'm excited to walk you through it. Just stick with me, and we'll get through this together!
Getting Started
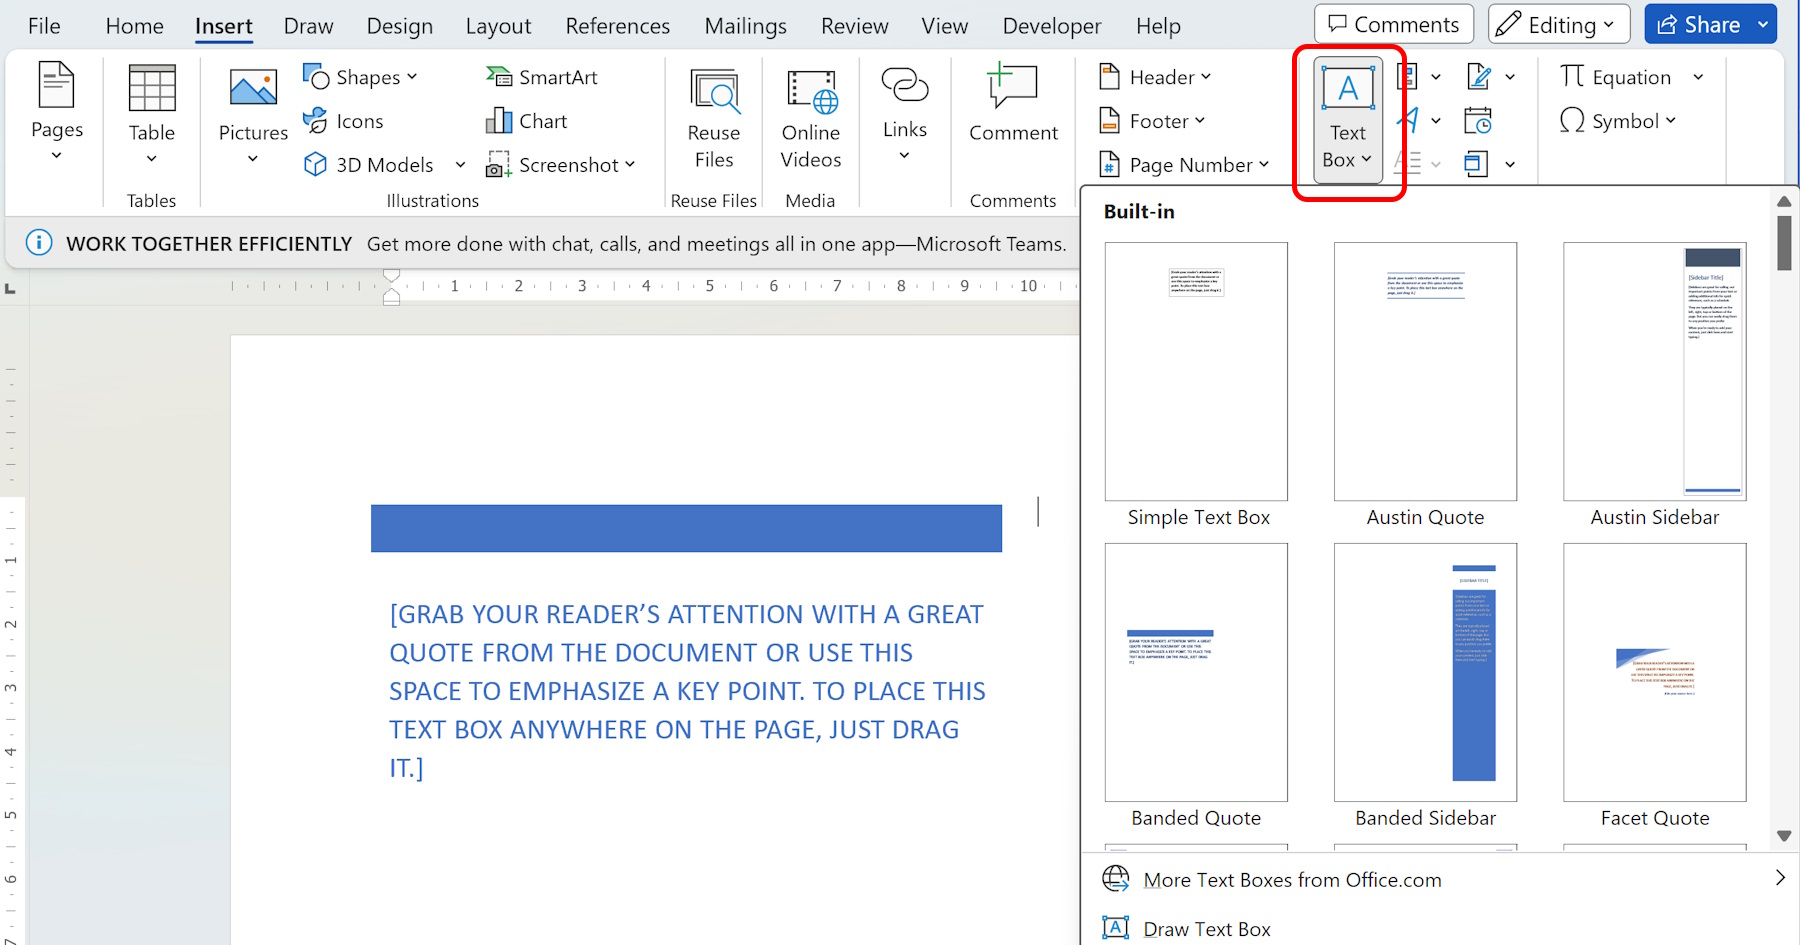
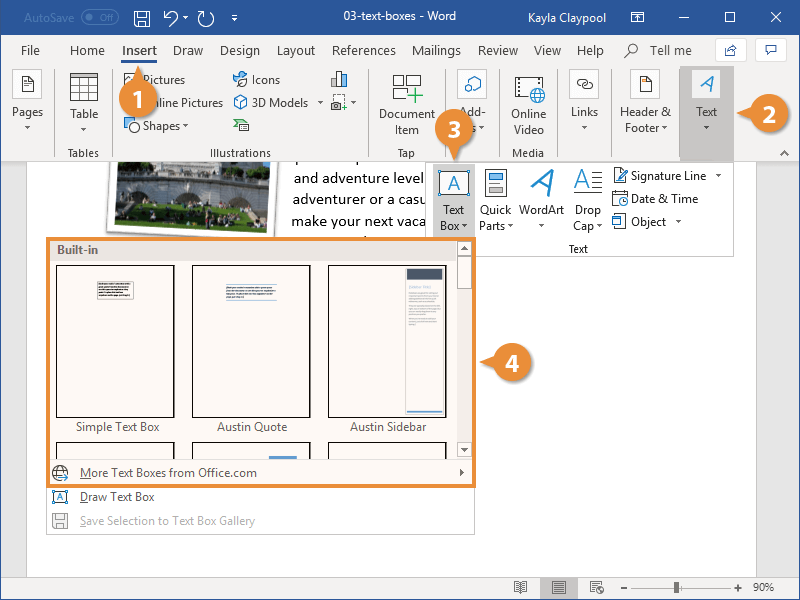
To add a text box on Word, you'll need to click on the Insert tab, which is usually located at the top of the screen. Don't worry if you can't find it, I'm sure you'll figure it out (if I could, you can too!). Once you're on the Insert tab, look for the Text Box option, it's usually on the right-hand side.
Must Read
Choosing Your Text Box
When you click on the Text Box option, you'll be given a few different choices, including Simple Text Box and Draw Text Box. Don't worry too much about the differences between them, just choose the one that looks the most appealing to you. If you're feeling adventurous, you can even try drawing your own text box!
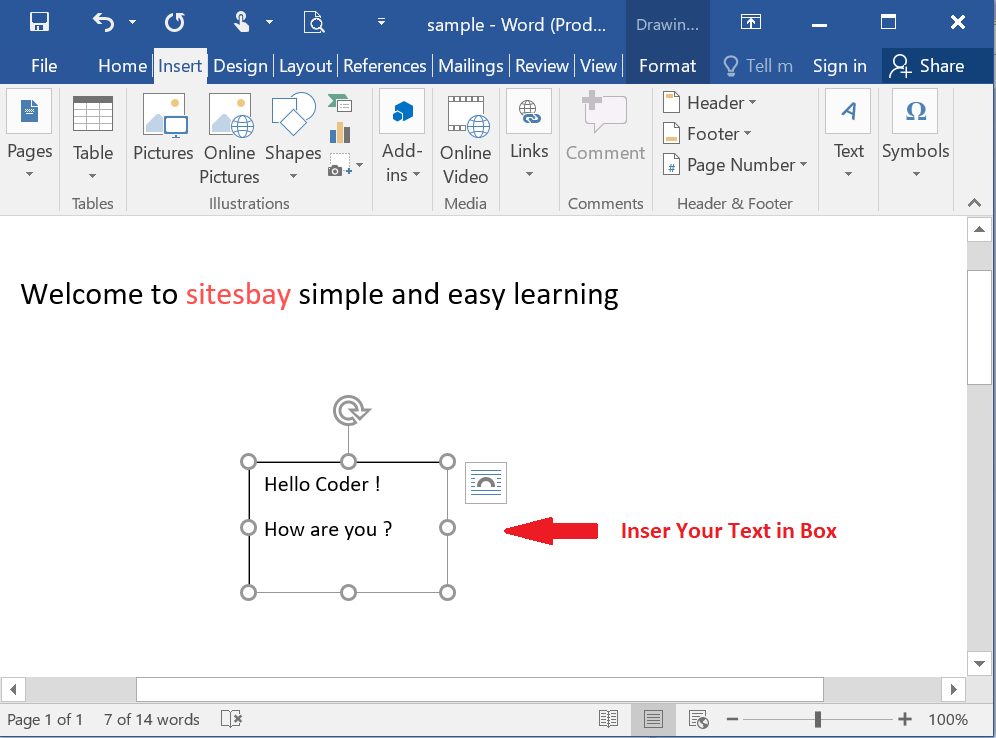
Once you've chosen your text box, you can start typing away, and you can even customize it to fit your needs. You can change the font, color, and even add some cool effects if you want to get fancy. The possibilities are endless, and I'm sure you'll have a blast experimenting with different options.
So, there you have it, adding a text box on Word is a breeze, and I hope this little tutorial has been helpful. If you have any questions or need further clarification, don't hesitate to reach out, and I'll do my best to help you out. Happy typing, and don't forget to have fun with it!