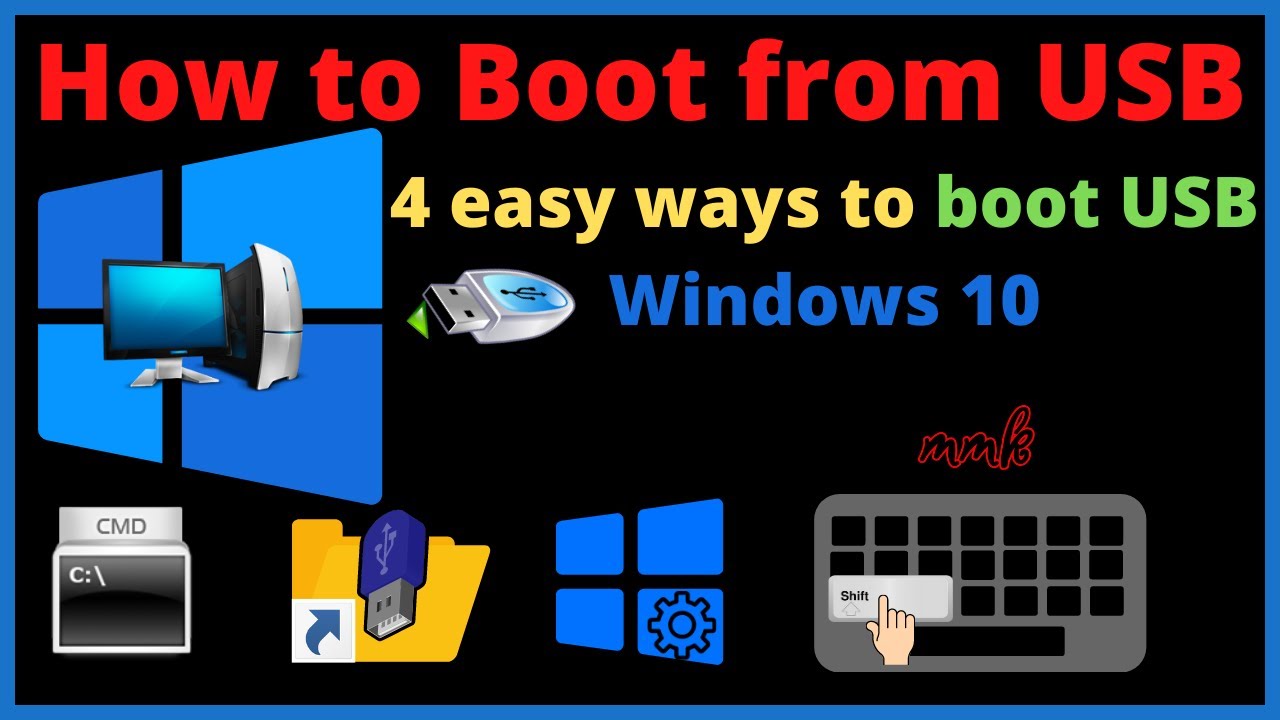
How To Create A Windows Boot Usb That Works Every Time Follow These Simple Steps

Let's be real, who hasn't struggled with creating a Windows boot USB that actually works? I mean, it's not like we haven't all been there - hours spent trying to get it just right, only to have it fail us when we need it most. So, what's the secret to making one that works every time?
Step 1: Gather Your Stuff
First things first, you're going to need a few things: a USB drive with at least 8GB of free space, a computer with Windows installed (obviously!), and a reliable internet connection. Don't even think about using a sketchy USB drive - we're trying to avoid disasters here! And, of course, make sure you've got the latest version of Windows downloaded.
The Importance of a Good USB Drive
Now, I know what you're thinking: "What's the big deal about the USB drive?" Well, my friend, a good USB drive can make all the difference - it's like the foundation of your bootable USB. Look for one with a decent speed and plenty of storage space, and you'll be golden.
Must Read
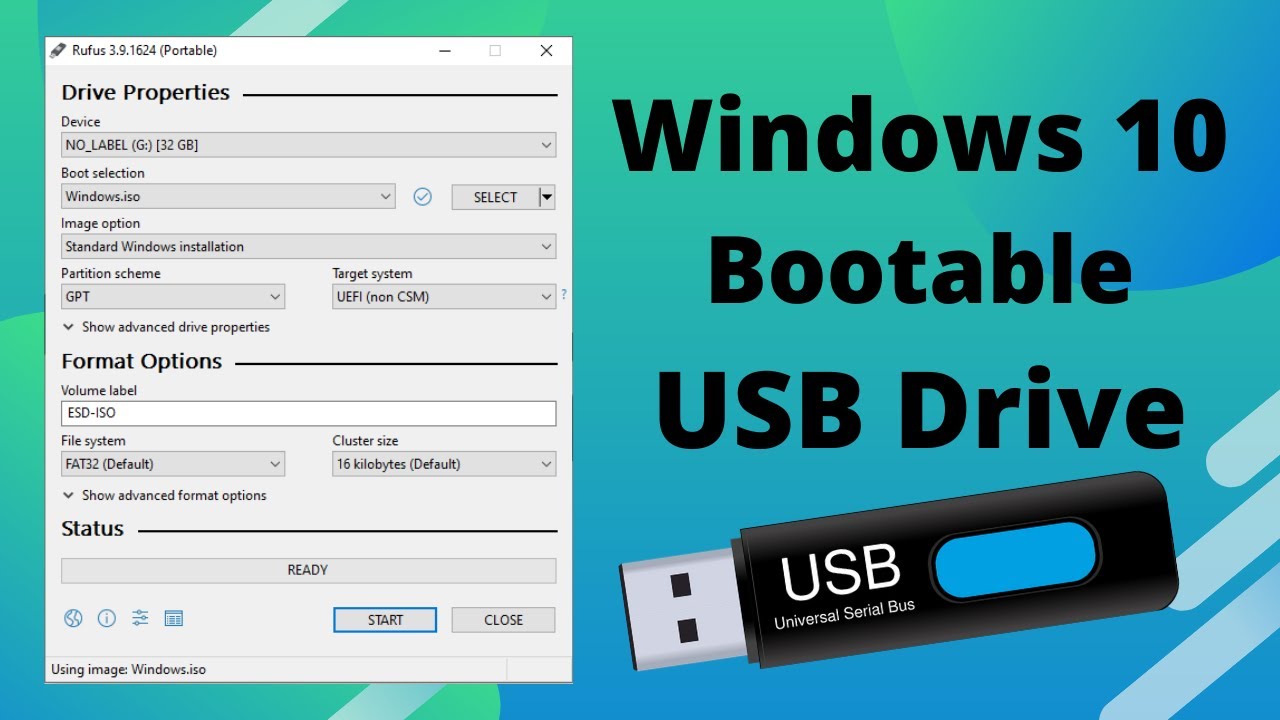
Next up, you'll need to download the official Microsoft tool for creating a bootable USB. Yeah, I know, it's not exactly exciting, but trust me, it's worth it - this tool is like a magic wand for creating bootable USBs. Just head to the Microsoft website, download the tool, and follow the super simple instructions.
Step 2: Create Your Bootable USB
Now that you've got your tool, it's time to get started - just launch the tool, select your USB drive, and let the magic happen. This might take a few minutes, so go grab a coffee or something - you've earned it! When it's all done, you'll have a shiny new bootable USB that's ready to go.
And, voila! You're done - you now have a Windows boot USB that works every time. Okay, maybe not every time, but you get the idea - with these simple steps, you'll be well on your way to creating a reliable bootable USB. Just remember to keep your USB drive safe and sound, and you'll be all set for any emergency that comes your way.