How To Crop A Screenshot On Mac
So, you've taken a screenshot on your Mac, but now you're stuck with a huge image that's got way more info than you need - sound familiar? I mean, who hasn't been there, right? You just want to crop it down to the good stuff, but how?
Getting Started
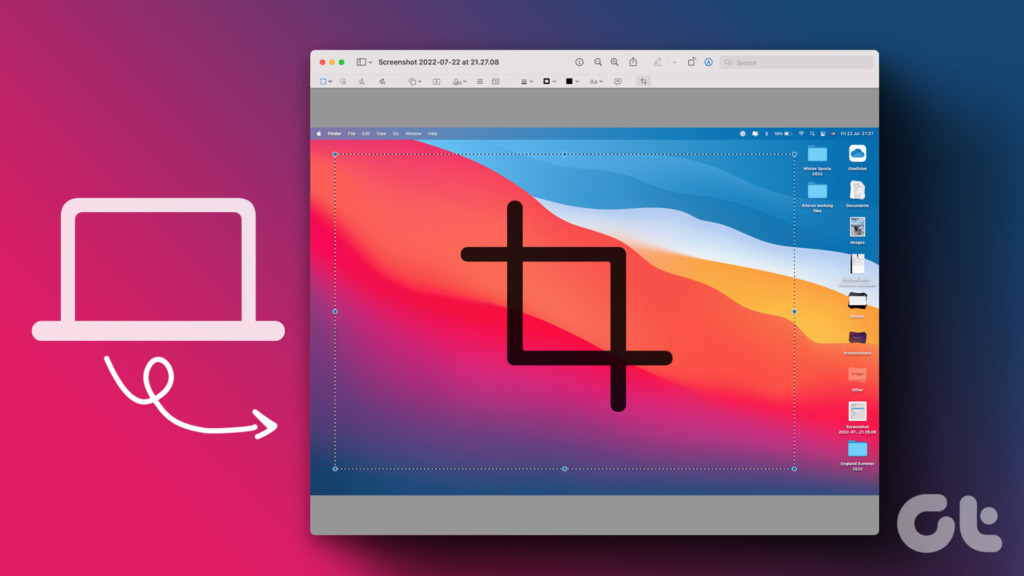
The first thing you need to do is open the screenshot in Preview, which is like, the default image viewer on Macs. Just double-click the screenshot, and it should open right up - easy peasy! Now you're ready to get started with the cropping process.
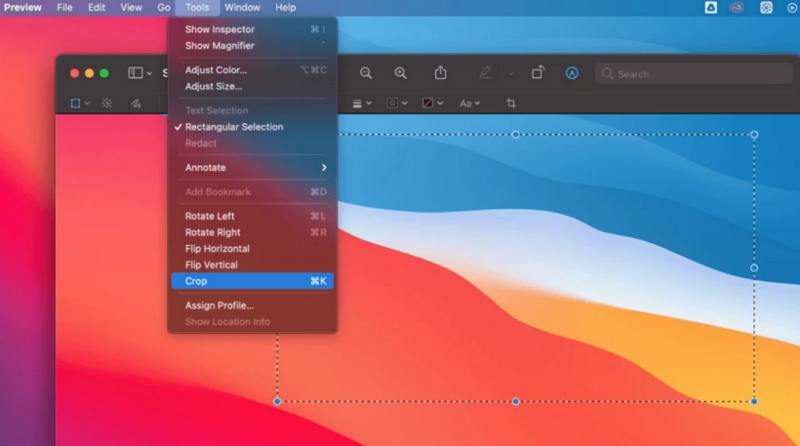
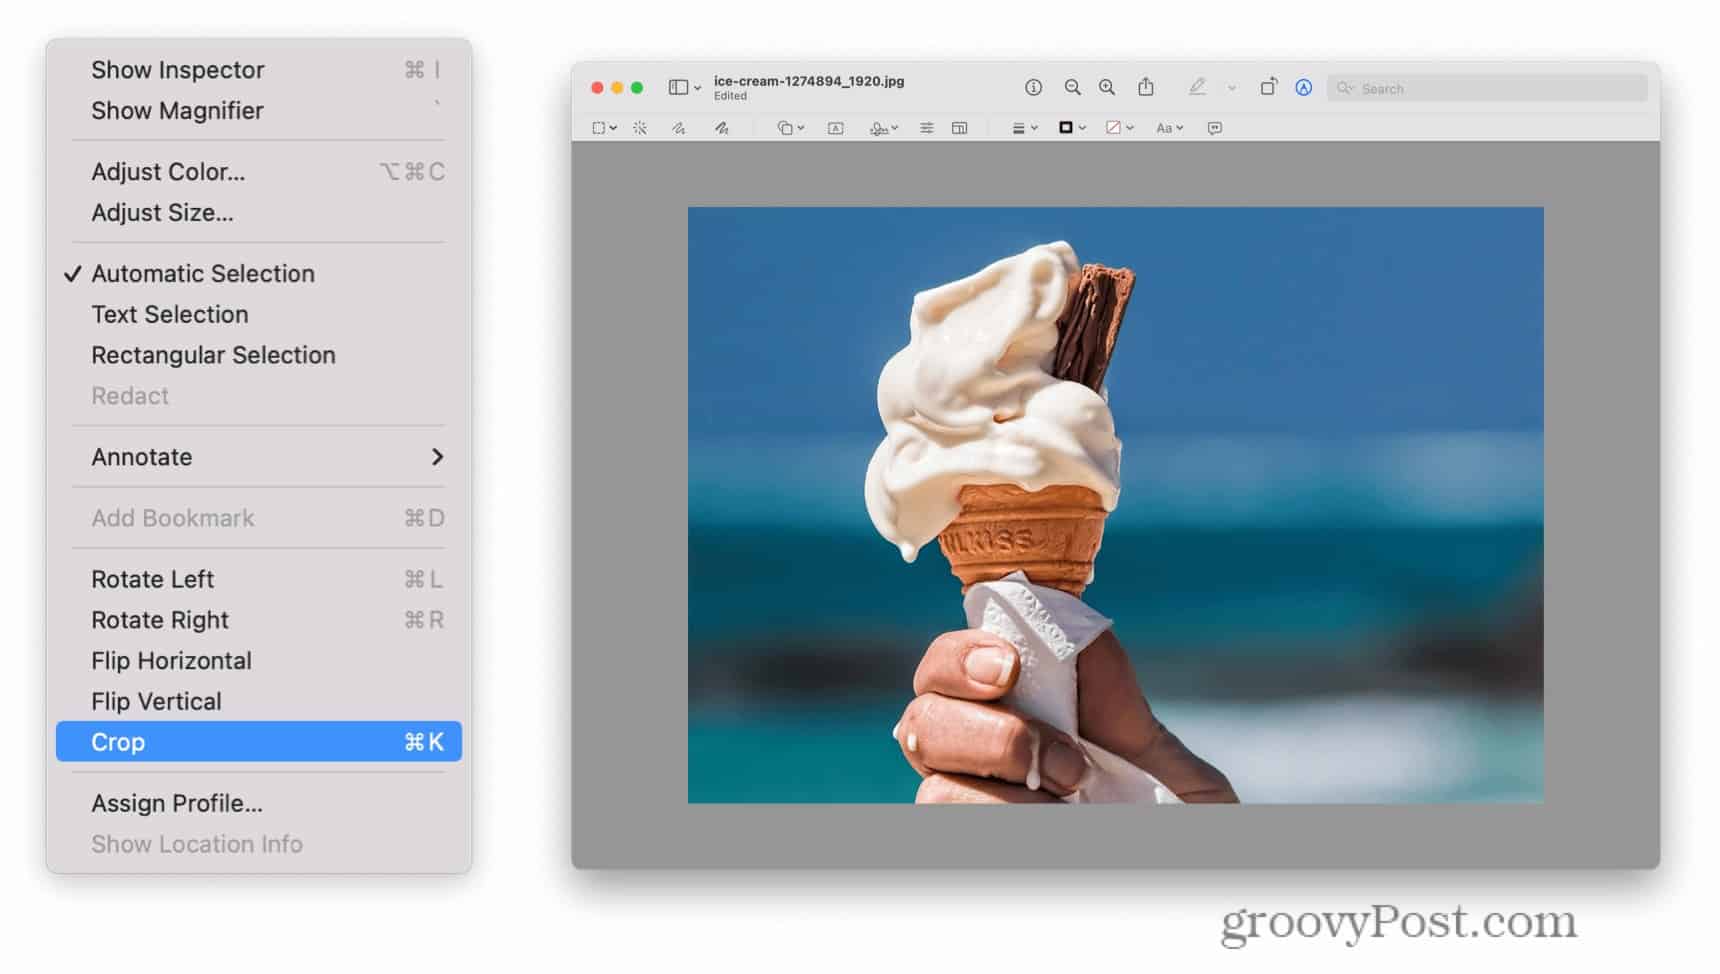
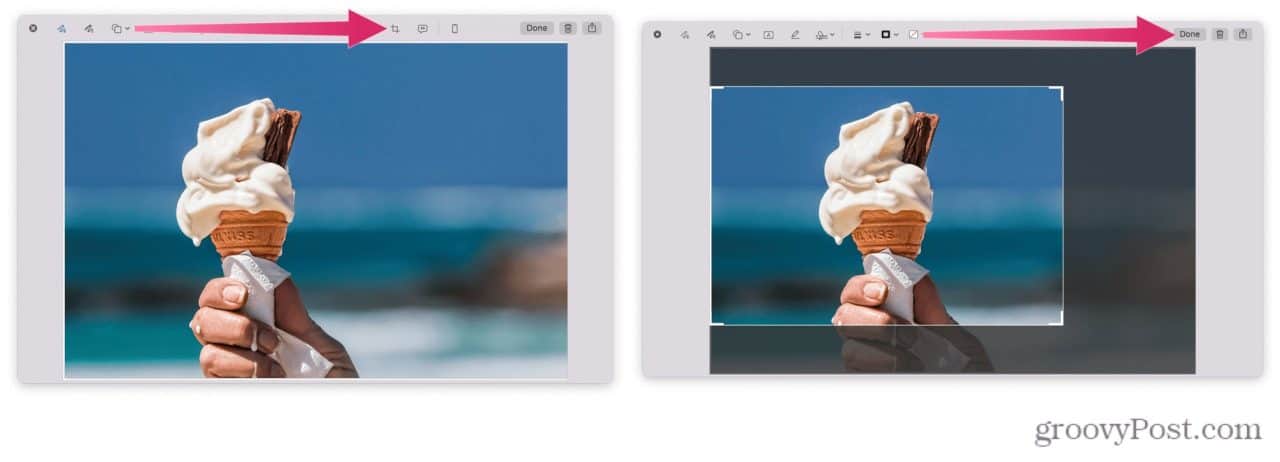
Once you're in Preview, you'll see a bunch of tools up at the top - don't worry, we're only interested in one of them: the markup toolbar. Click on that, and you'll see a Selection button that lets you choose a rectangular section of the screenshot to crop.
Must Read
Time to Crop!
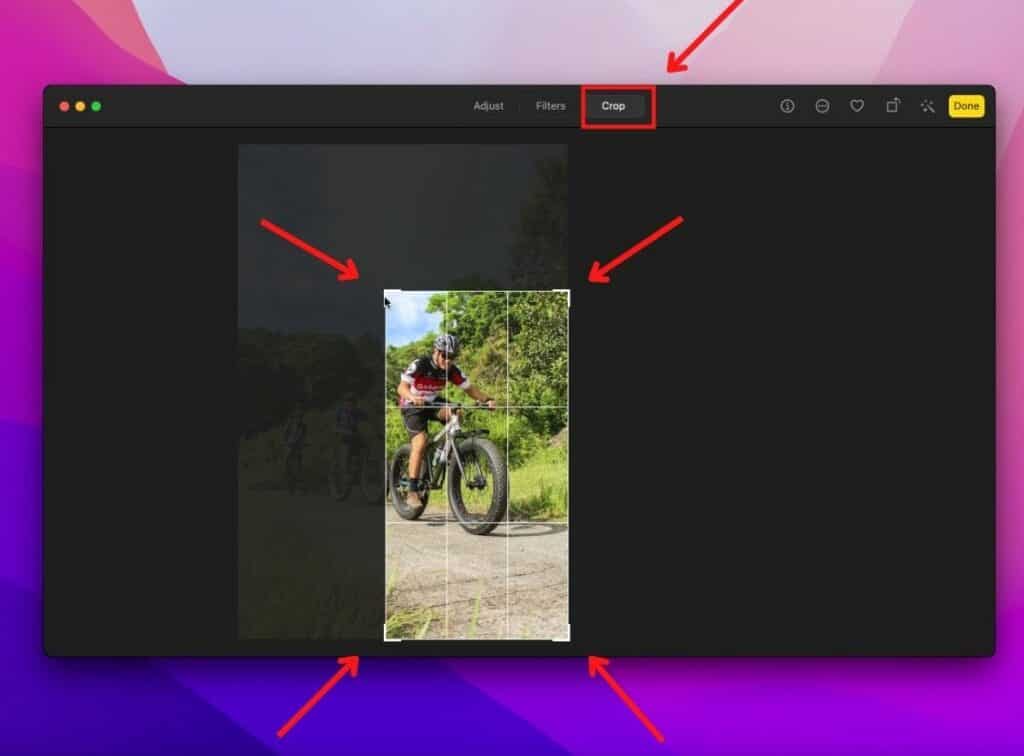
Now we're getting to the fun part - actually cropping the screenshot! Just click and drag to select the part of the image you want to keep, and then... well, that's it, really! You can also use the keyboard shortcuts to make the selection process even smoother.

But, let's say you want to get a bit fancier with your cropping - maybe you want to crop a specific shape, like a circle or a square? No problem! You can use the other tools in the markup toolbar to make all sorts of selections - it's like having your very own image editor built right in!
And, finally, once you've got your cropped image, you can save it, share it, or do whatever you like with it - the world is your oyster, my friend! So, go ahead, take a screenshot, crop it down to size, and show the world what you're working with - or, you know, just keep it to yourself, we won't judge.