How To Do Screen Recordings On Windows
Creating screen recordings on Windows is a fun and useful skill that can be beneficial for various audiences, including beginners, families, and hobbyists. Whether you want to create tutorials, record gameplay, or capture memories, screen recording is a great way to do so. For beginners, it's an excellent way to learn new skills and follow along with online tutorials. Families can use it to record special moments, like birthday messages or holiday greetings. Meanwhile, hobbyists can use it to create content for their YouTube channels or social media platforms.
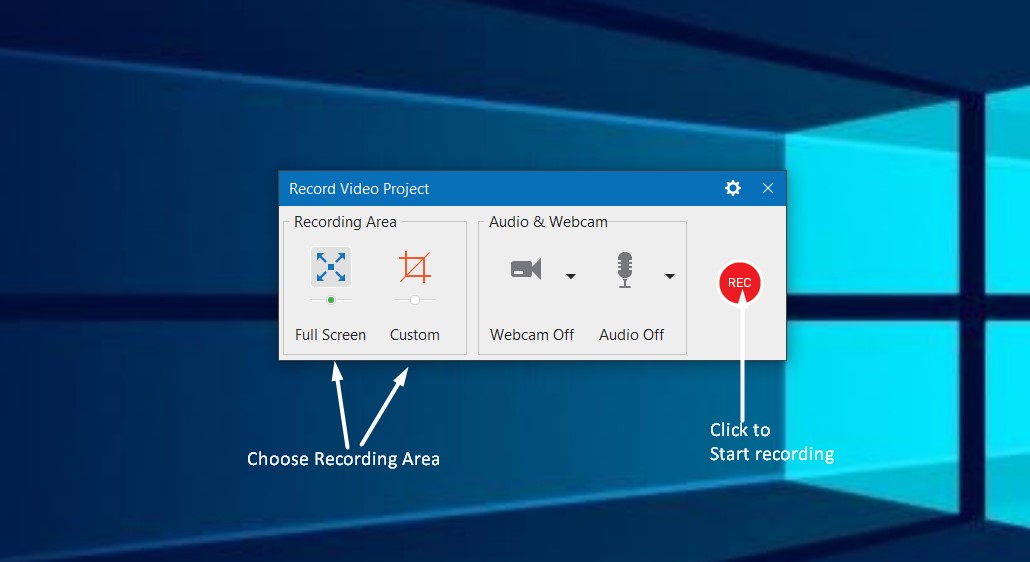
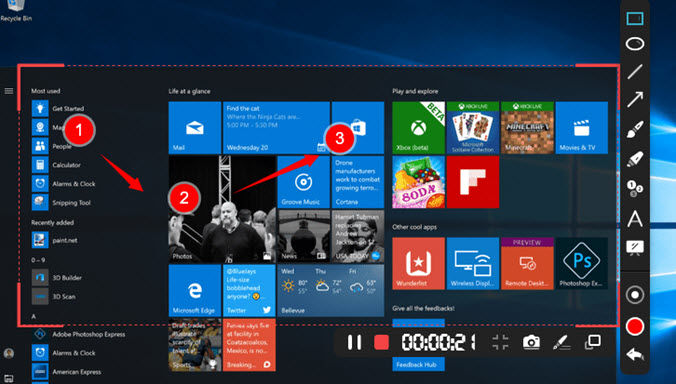
There are many variations of screen recording, such as recording a full screen, a selected area, or even audio only. You can also add annotations, arrows, and text to make your recordings more engaging. For example, you can record a software tutorial and add arrows to highlight important buttons or menus.
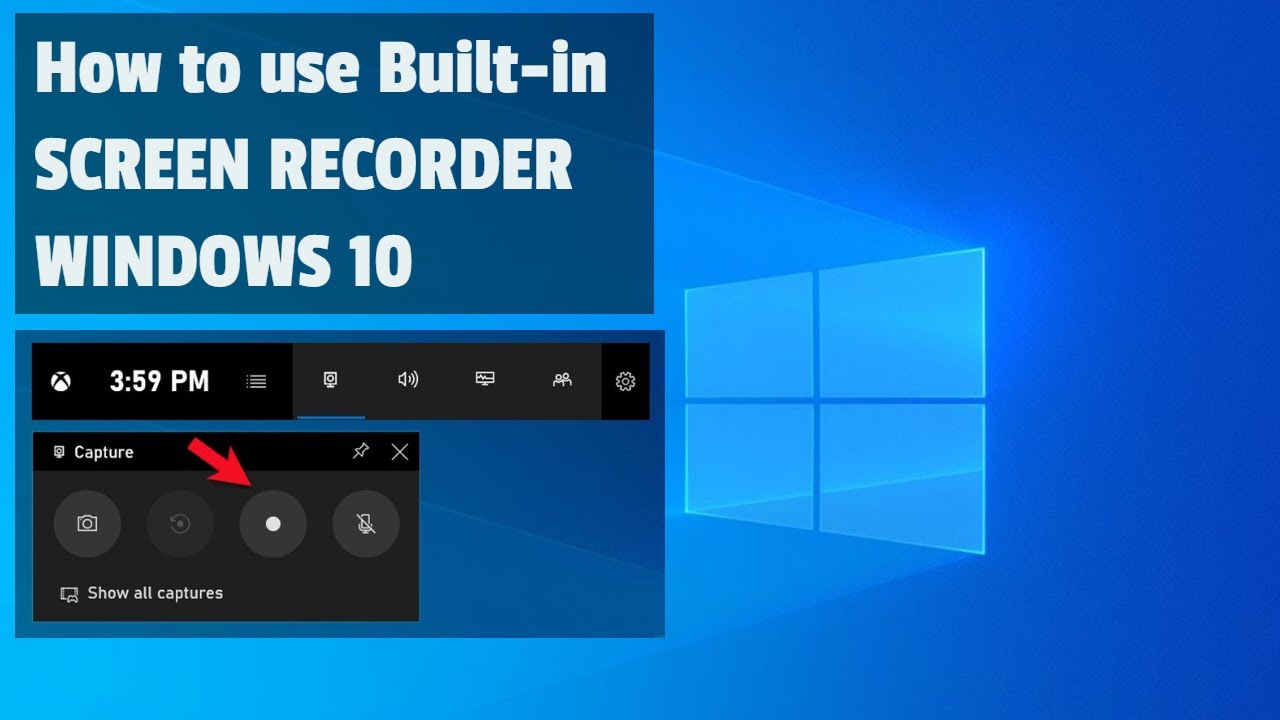
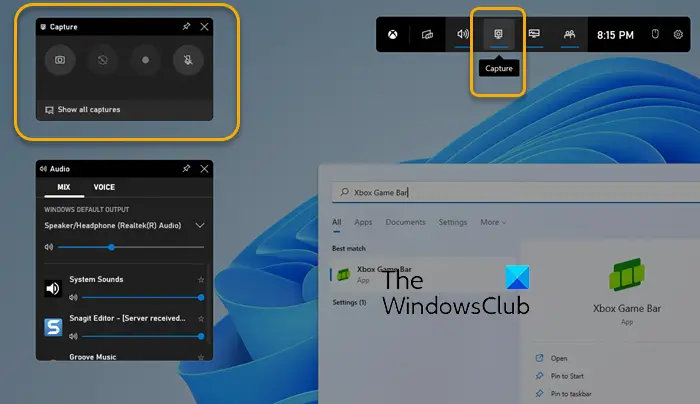
To get started, you'll need to use a screen recording software, such as OBS Studio or Camtasia. These tools are easy to use and offer a range of features to enhance your recordings. Here are some simple tips: choose a quiet room, use a good microphone, and practice before recording. With these tips, you'll be creating high-quality screen recordings in no time.
Must Read
- What Happens At The End Of Supergirl? A Clear Breakdown Of The Finale
- How Supergirl Sets Up The Dcu Future Without A Post-credits Scene
- Supergirl’s Final Moments Explained: Krem, Krypto, And Kara’s Turning Point
- Supergirl Ending Explained: Kara’s Grief, Ruthye’s Choice, And The Future Of The Dcu
- What Supergirl’s Ending Means For Lobo, Superman, And The Next Dc Films
In conclusion, screen recording on Windows is a valuable skill that can be enjoyed by everyone. Whether you're a beginner or an expert, it's a great way to create content, learn new skills, and have fun. So, go ahead and give it a try – you might just discover a new