How To Edit Header In Word
When it comes to creating professional-looking documents, Microsoft Word is often the go-to choice for many individuals. One of the key features that make Word stand out is its ability to customize headers, which can greatly enhance the overall aesthetic and organization of a document. For those who enjoy writing, blogging, or simply need to create reports for work, knowing how to edit headers in Word can be a game-changer.
The benefits of editing headers in Word are numerous. It serves the purpose of organizing and structuring content in a clear and concise manner, making it easier for readers to navigate through the document. Moreover, customizing headers allows users to brand their documents with their own style, which can be particularly useful for businesses or individuals looking to establish a professional image. Common examples of header usage can be seen in academic papers, business reports, and blog posts.
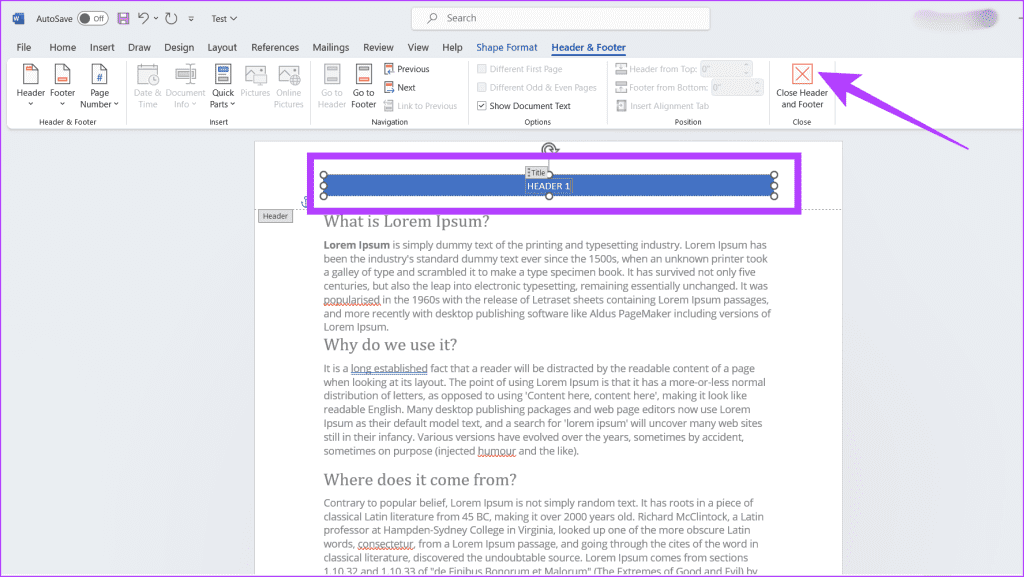
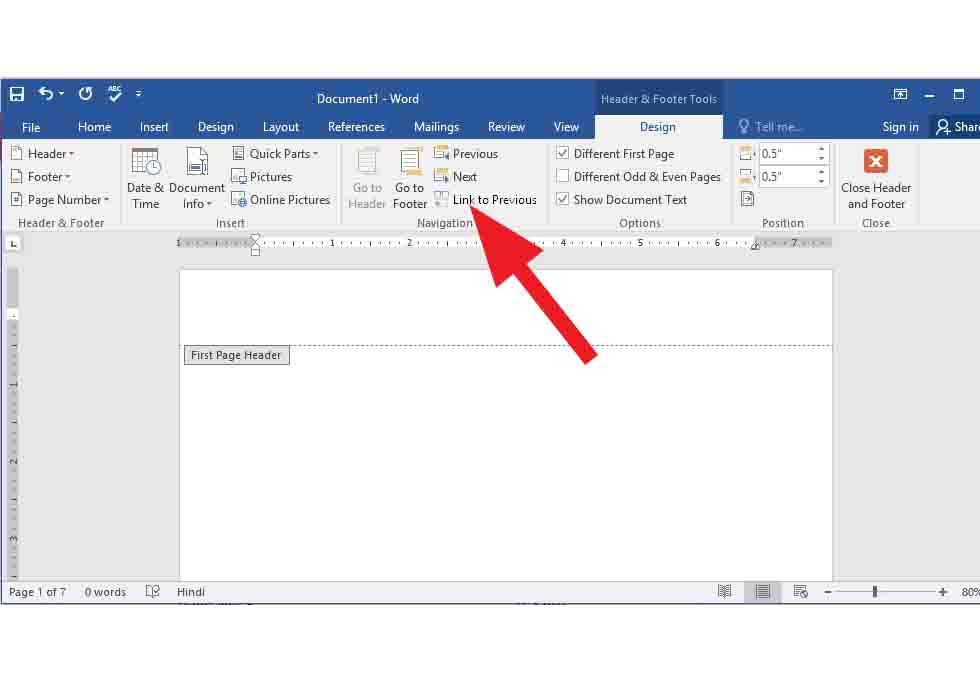
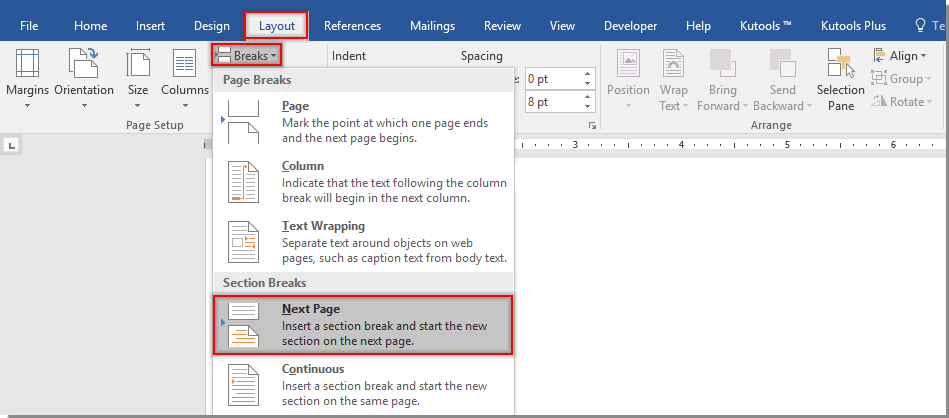
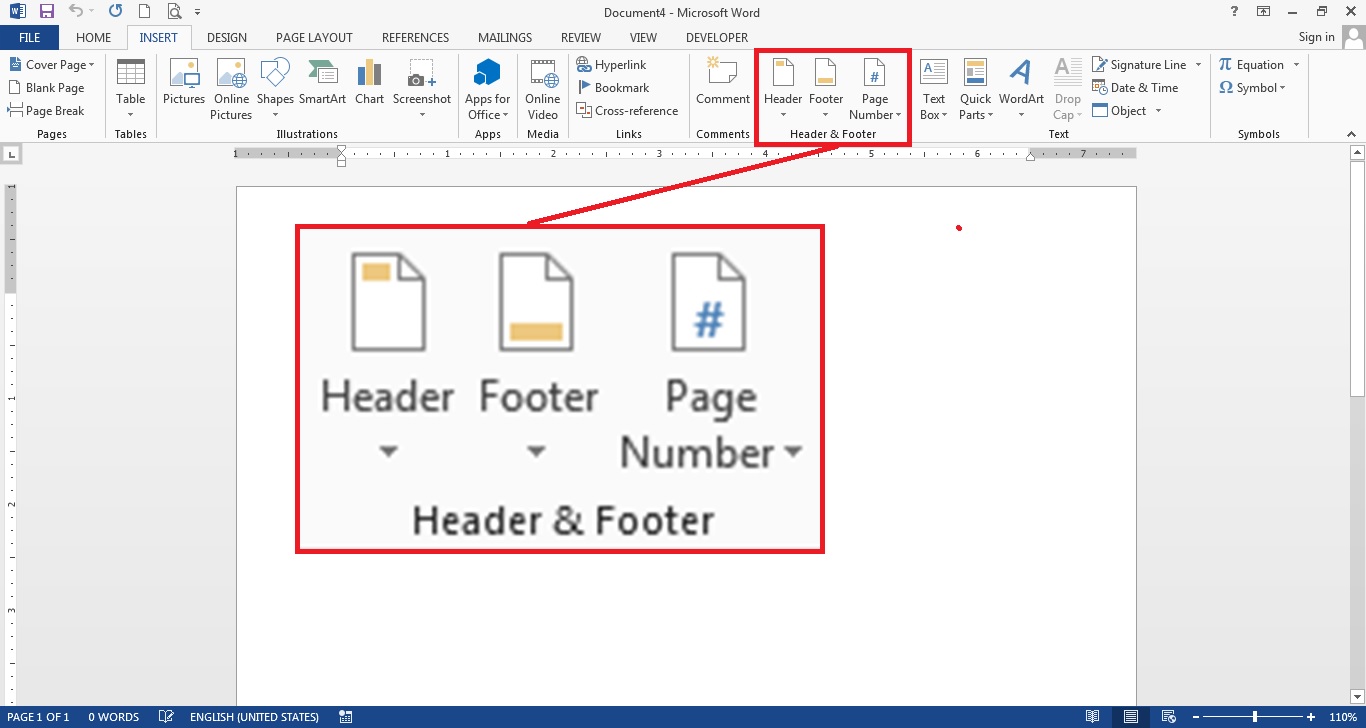
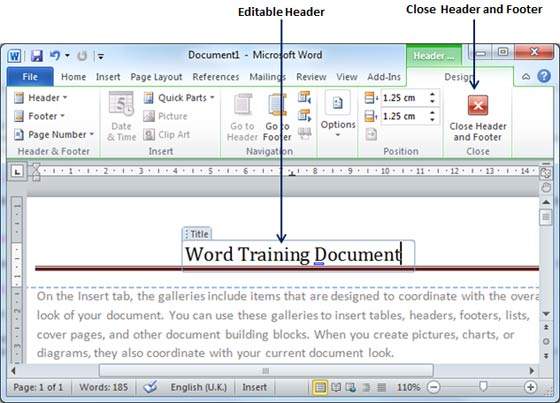
To edit headers in Word effectively, start by selecting the Header tab from the ribbon menu. From there, you can choose from a variety of pre-designed templates or create your own custom header from scratch. Inserting images, changing font styles, and adjusting layout are just a few of the many options available to customize your header. By following these simple steps and experimenting with different designs, you can take your Word documents to the next level and make them truly stand out.