How To Get Sims On A Mac

I still remember the first time I tried to get Sims on my Mac - it was a nightmare! I spent hours searching online, reading forums, and watching tutorials, only to end up with a Sims-free computer. I was about to give up when I stumbled upon a super simple solution, and that's what I want to share with you today!
So, you want to know the secret to getting Sims on a Mac? Well, it's not as complicated as you might think! First, you'll need to check if your Mac meets the system requirements for the Sims game - yeah, it's a thing, and it's crucial.
Check Your Mac's Specs
Make sure your Mac has the necessary RAM, processor speed, and graphics card to run the game smoothly. Don't worry if you're not tech-savvy - just click the Apple logo, select "About This Mac," and voilà! You'll see all the specs you need to know.
Must Read
Once you've confirmed your Mac can handle the Sims, it's time to choose the right version of the game. There are several options available, including Sims 4, Sims 3, and even the classic Sims 2 - which one is your favorite, by the way?
Purchase and Download
Now it's time to purchase and download the game - the fun part! You can buy Sims from the Origin store or other online retailers like Amazon. Just be sure to download the Mac-compatible version, or you might end up with a game that won't work.

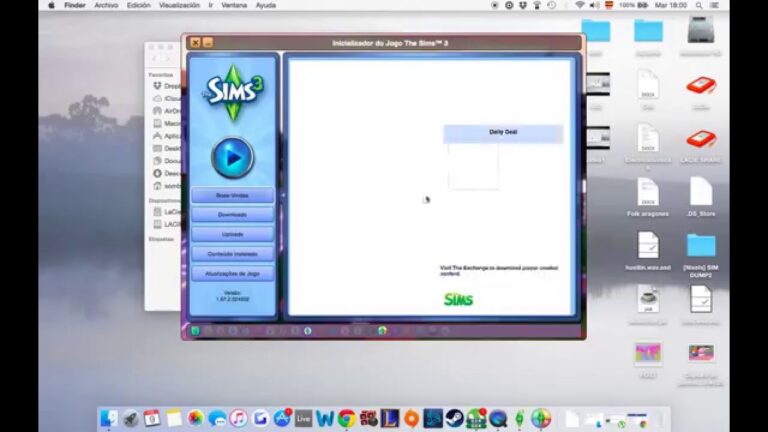
After downloading, you'll need to install the game on your Mac. This might take a few minutes, but trust me, it's worth the wait! When you launch the game for the first time, you'll be asked to create an account or log in if you already have one - easy peasy!
And that's it - you now have Sims on your Mac! I hope this little guide was helpful, and you're now enjoying the world of Sims without any hassle. If you have any questions or tips to share, feel free to comment below - I'd love to hear from you!


![[Detailed] How to Download, Install, and Play Sims 4 Mac](https://www.apeaksoft.com/images/solution/sims-4-download-mac-from-ea-origin.jpg)