How To Lock Your Excel Sheets Like A Proprotect Your Data Instantly

Let's face it, data protection is no joke. With the rise of cyber attacks and data breaches, it's more important than ever to keep your sensitive information under lock and key. Think of it like protecting your secret recipe, you wouldn't want it to fall into the wrong hands, right?
Why Lock Your Excel Sheets?
In today's digital age, Excel sheets are used to store all sorts of confidential information, from financial data to personal identifiable information. By locking your Excel sheets, you're adding an extra layer of security to prevent unauthorized access. It's like having a superpower to safeguard your data!
How to Lock Your Excel Sheets Like a Pro
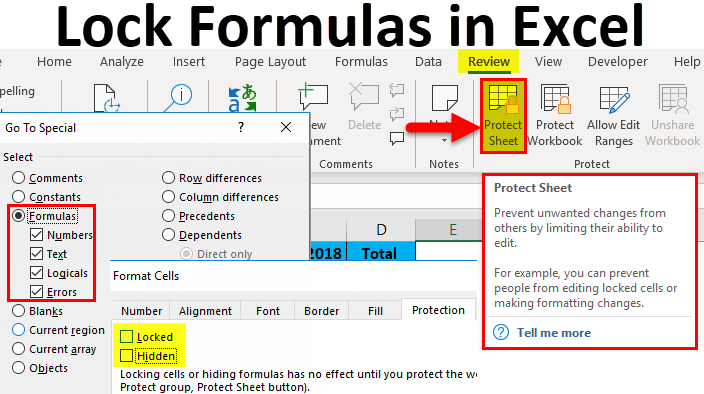
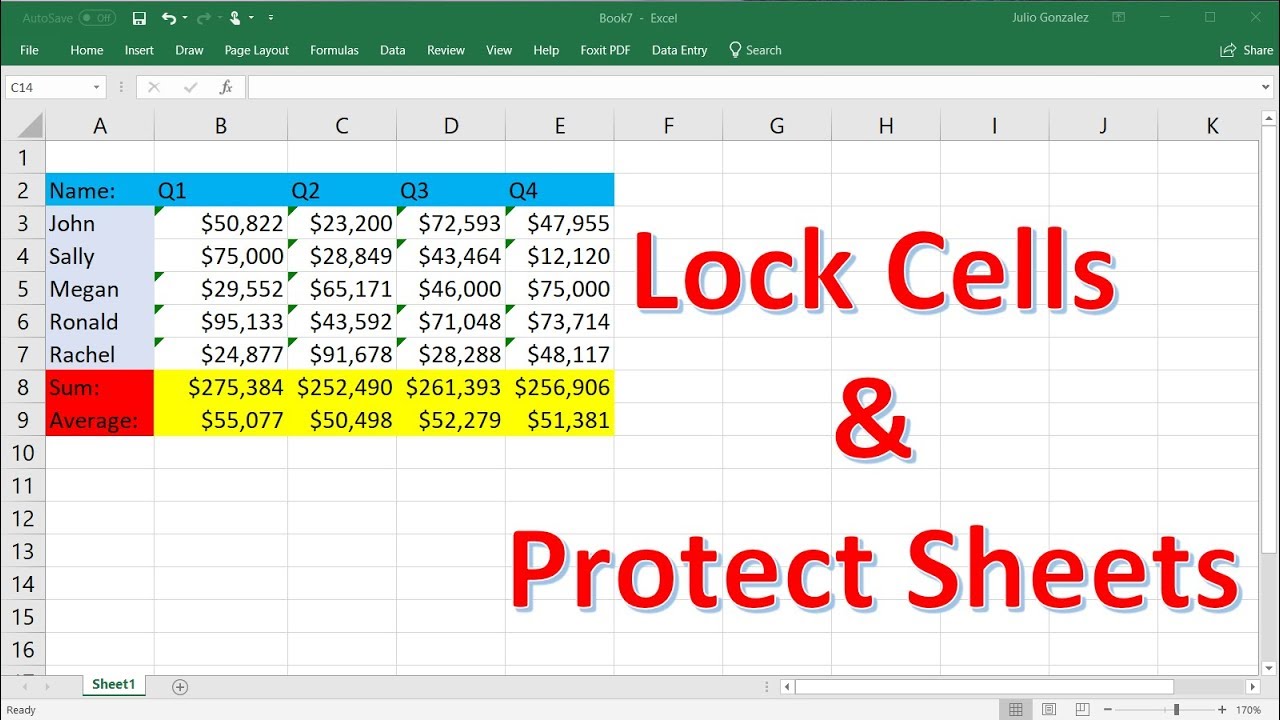
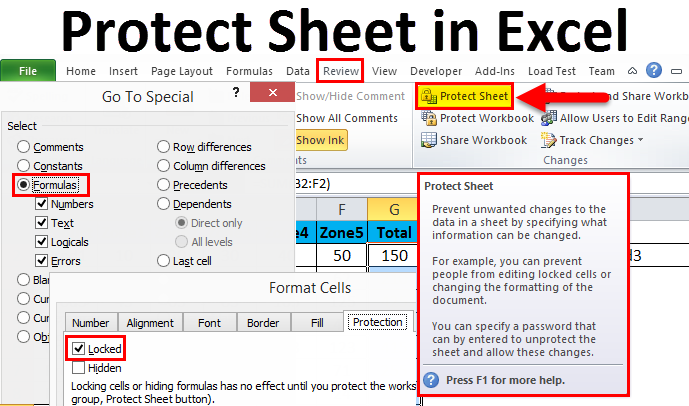
To get started, simply select the cells you want to protect, go to the Review tab, and click on Protect Sheet. From there, you can choose what actions you want to allow or restrict, such as formatting or editing. Think of it like setting up a secret password to your treasure chest!
Must Read
But, what about password-protecting your entire workbook? Easy peasy! Just go to the File tab, click on Info, and select Protect Workbook. You can then set a password to prevent others from opening or modifying your file. It's like putting a lockbox around your data!
Additional Tips and Tricks
To take your data protection to the next level, consider using two-factor authentication or encryption methods. You can also use Excel's built-in features, such as data validation and conditional formatting, to add extra security measures. It's like having a superhero cape to save the day!
In conclusion, locking your Excel sheets is a simple yet effective way to protect your data from prying eyes. By following these easy steps and tips, you'll be well on your way to becoming a data protection pro. Remember, in today's digital world, it's always better to be safe than sorry, so take the extra step to safeguard your information and sleep better at night!