How To Print With Gridlines Excel

Let's face it, spreadsheets can be a real pain to navigate, especially when you're trying to print them out. Imagine trying to read a map without any grids or markers - it's like being lost in a forest without a compass! You need those trusty gridlines to guide you through the wilderness of numbers and charts.
Why Gridlines Matter
Gridlines are like the invisible hands that hold your spreadsheet together, making it easier to read and understand. Without them, your printout would look like a jumbled mess of numbers and text, making it super hard to make sense of anything. It's like trying to solve a puzzle without any clues - not fun!
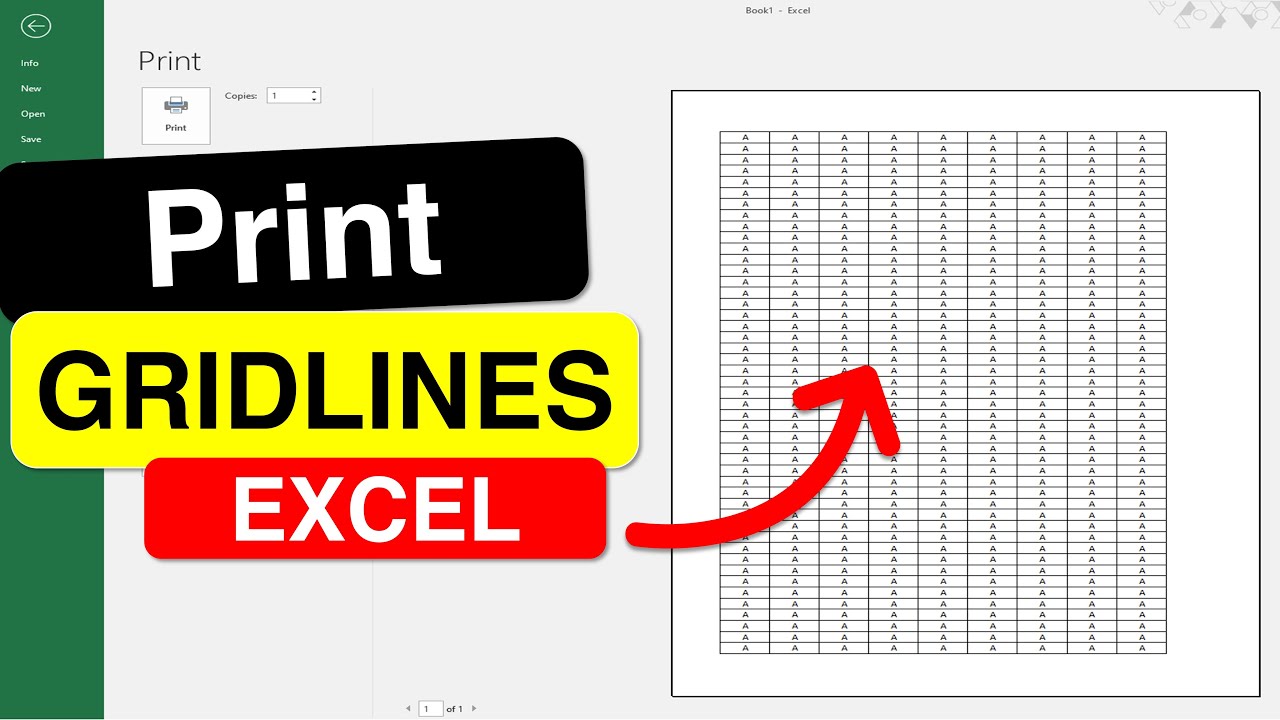
Printing with Gridlines in Excel
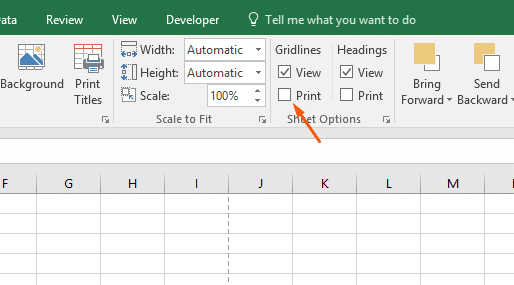
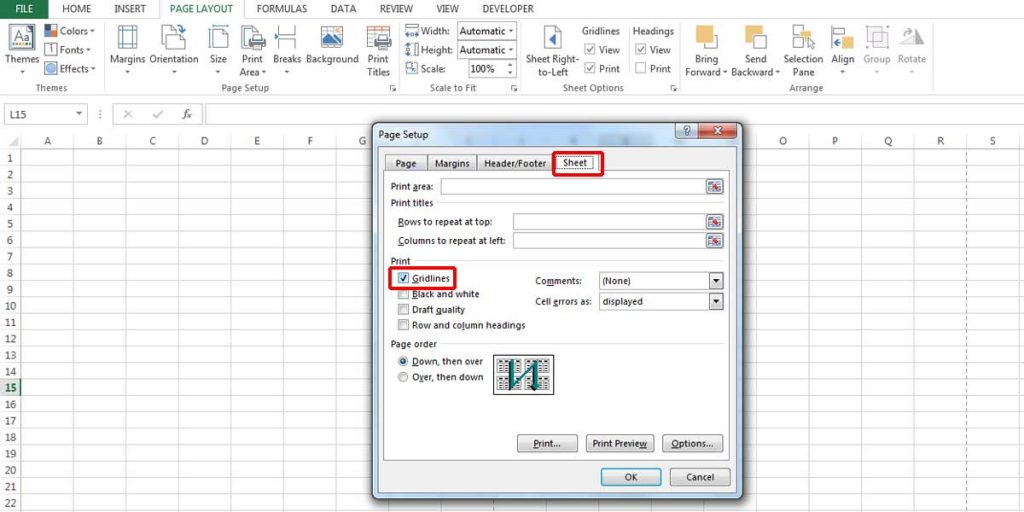
Luckily, Excel makes it easy to print with gridlines, and it's a total game-changer. To do this, simply go to the Page Layout tab, click on Print, and select the Gridlines checkbox - voilà! Your spreadsheet will now be printed with nice, neat gridlines that'll make your data shine like a superstar.
Must Read
But, wait, there's more! You can also customize your gridlines to fit your unique style. Want thicker lines? Thinner lines? Different colors? Excel has got you covered! It's like having your own personal style assistant to help you create the perfect printout.

Tips and Tricks
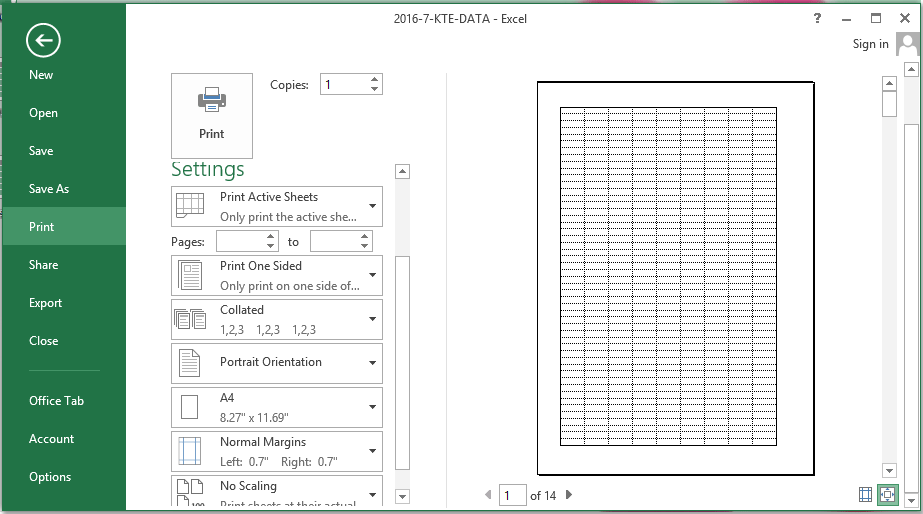
One pro tip is to use the Print Preview feature to see how your spreadsheet will look before you actually print it. This way, you can make any necessary adjustments to your gridlines, margins, or layout before committing to paper. It's like having a sneak peek at your final product - pretty cool, right?
In conclusion, printing with gridlines in Excel is a breeze, and it's a total must-have for anyone who wants to make their spreadsheets shine. So, next time you're working on a project, remember to show those gridlines some love - your data (and your eyes) will thank you!

:max_bytes(150000):strip_icc()/gridlines-712c2f0e8e5a4cf5830547437f5895b4.jpg)