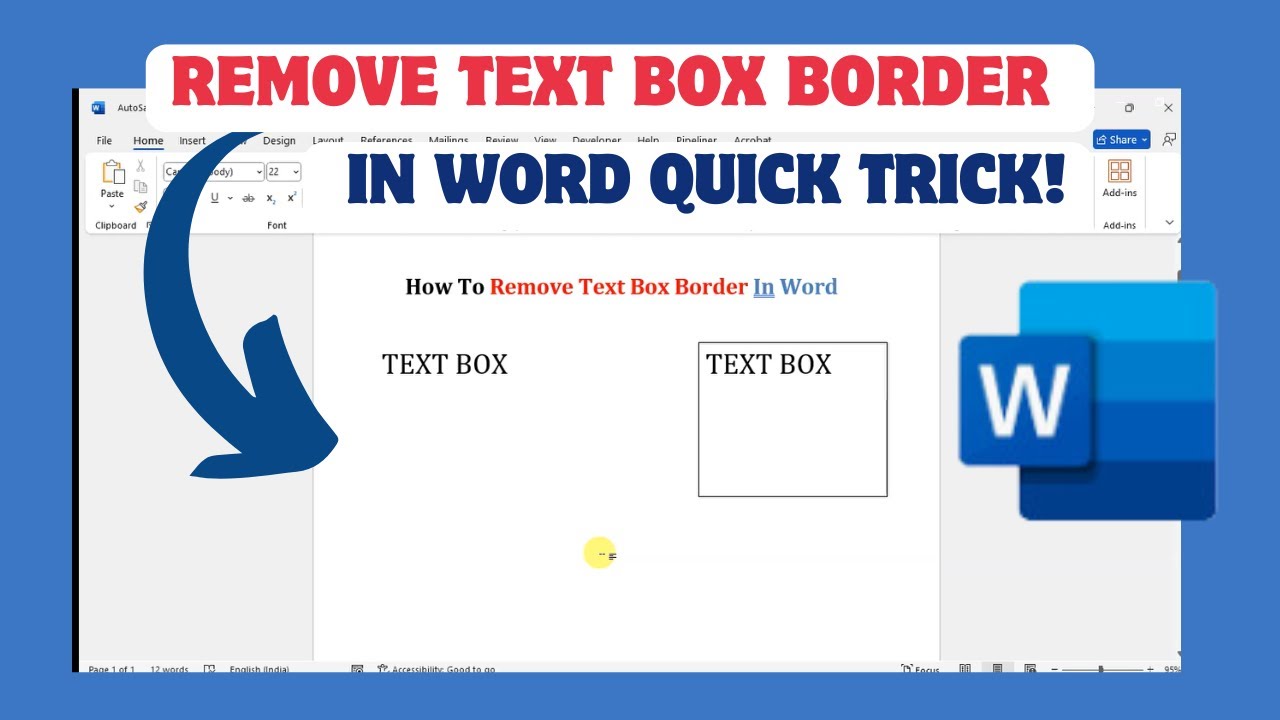
How To Remove Text Box Border In Word
So, you're trying to get rid of that pesky text box border in Word, huh? Well, you've come to the right place! I'm about to spill the beans on how to make that border disappear like magic.
Why Remove the Border?
Sometimes, those borders can be a real eyesore, and you just want a clean, simple look. Maybe you're creating a fancy resume or a brochure, and that border is just getting in the way. Whatever the reason, I've got you covered!
The Easy Peasy Method
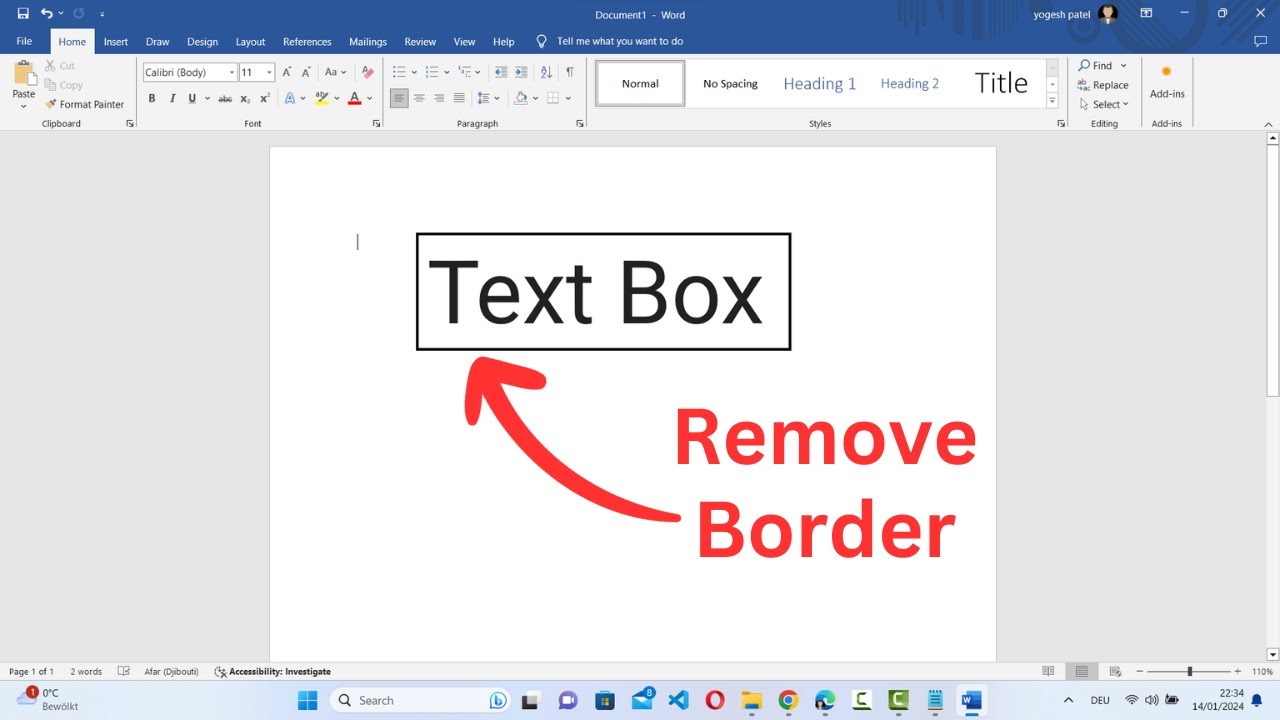
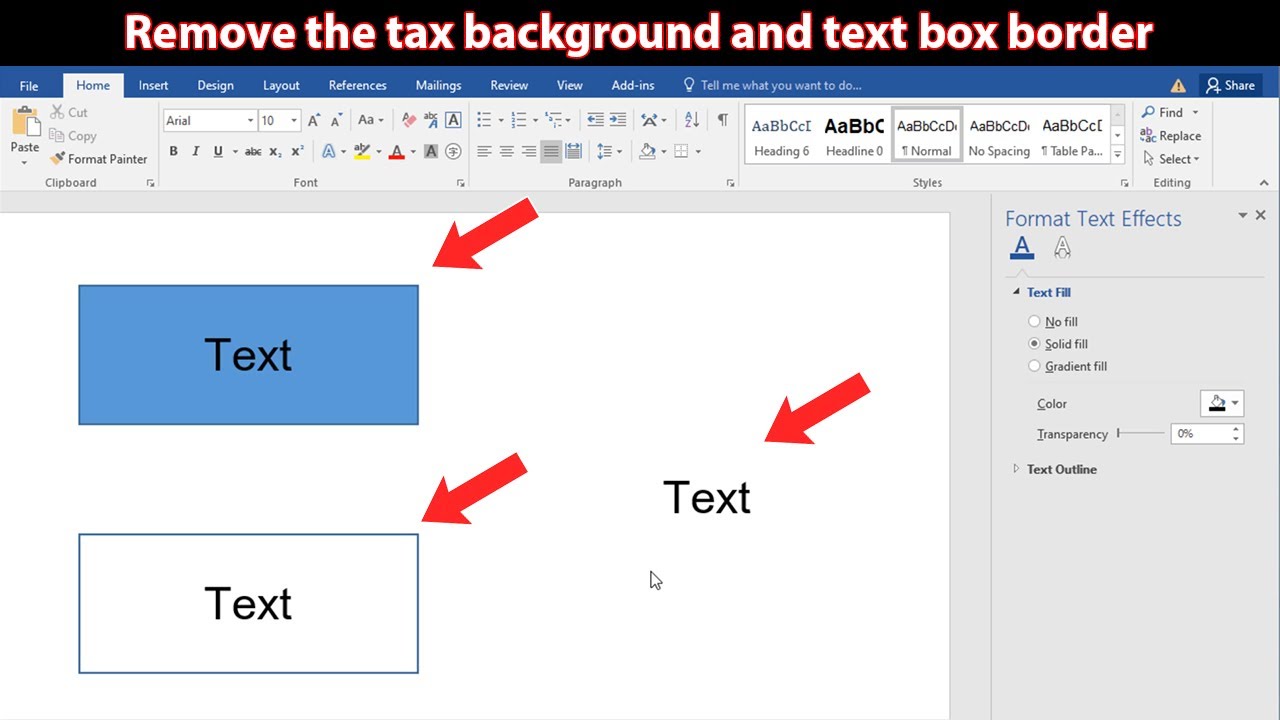
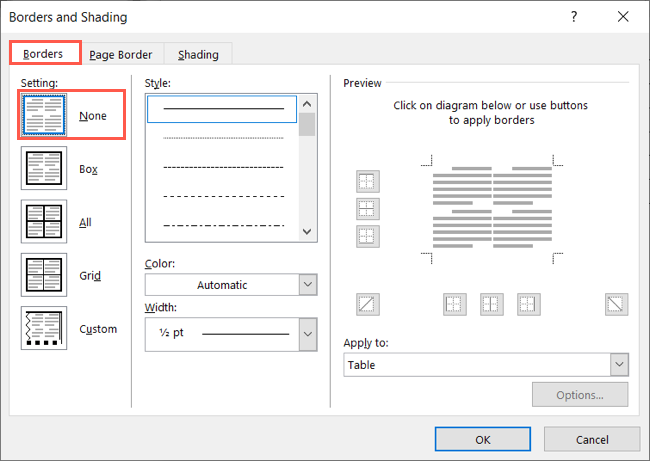
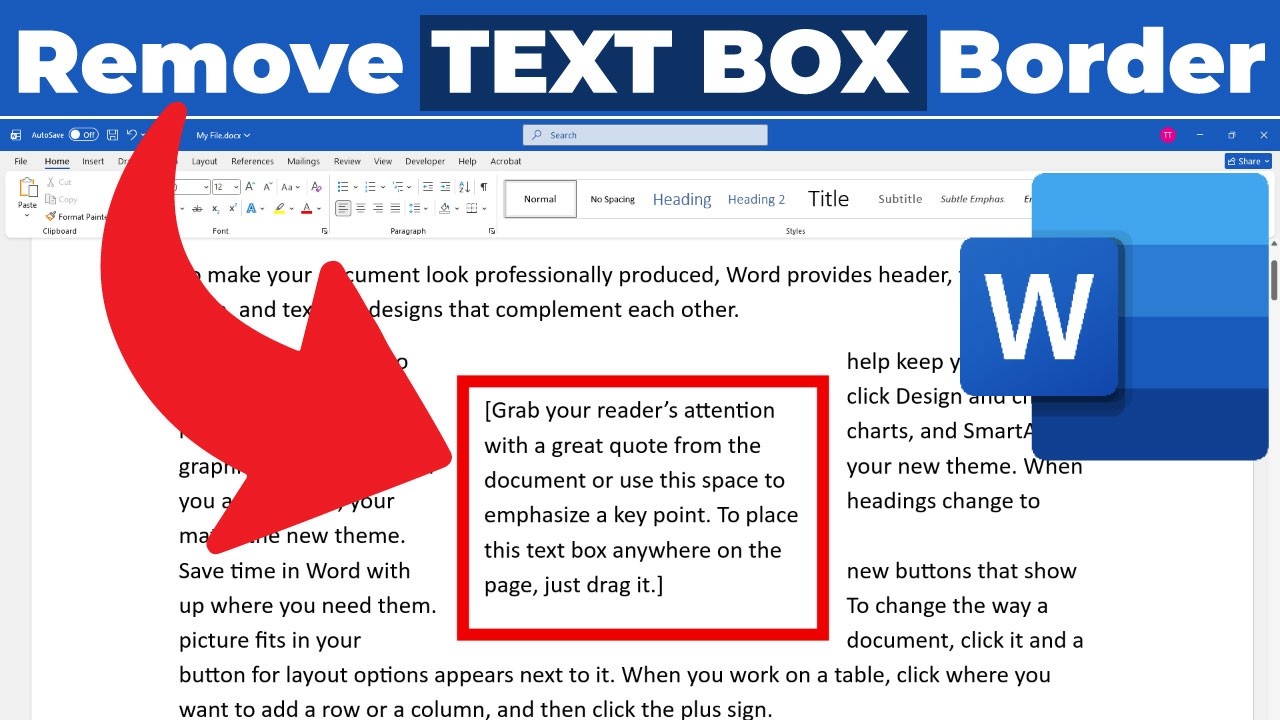
To remove the text box border, simply select the text box, and then click on the Format tab. From there, click on Shape Outline, and then select No Outline. Voilà! The border is gone, and you're left with a beautiful, border-free text box.
Must Read
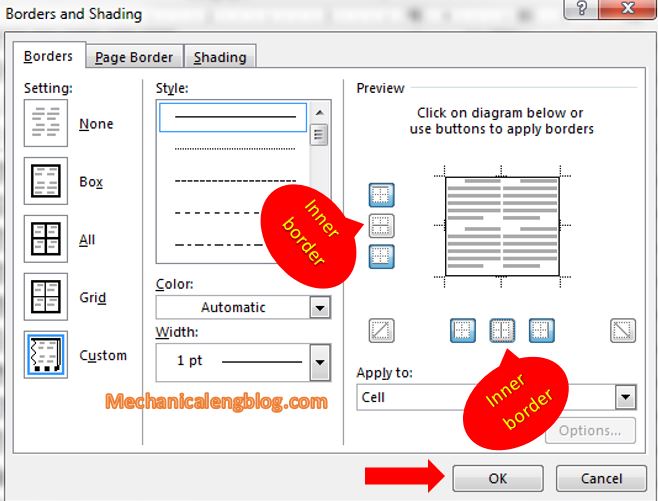
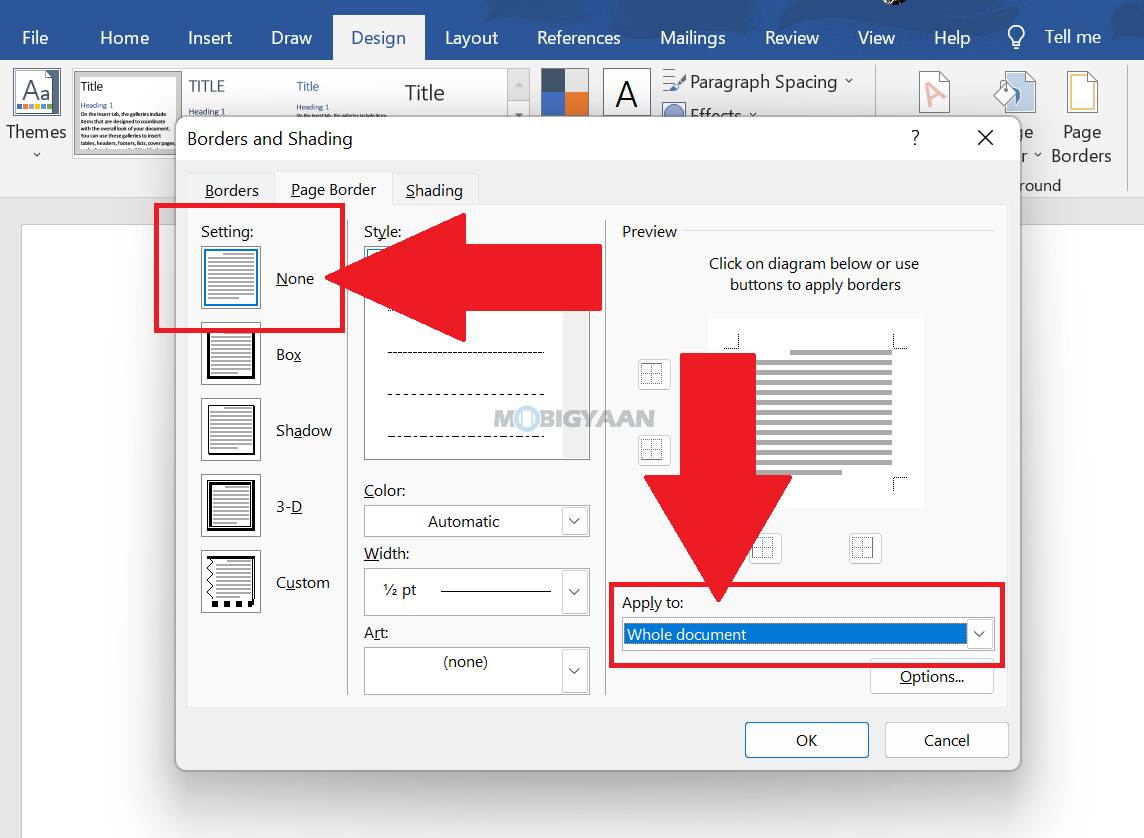
If you want to get a bit fancier, you can also use the Border option in the Format tab to customize the border to your liking. But let's be real, who needs all those options when you can just get rid of the border altogether?
Troubleshooting Time
Now, I know what you're thinking: "What if I've tried all of the above, and the border still won't budge?" Don't worry, friend, it's not you, it's probably just Word being a bit quirky. Try selecting the text box and pressing Ctrl+0 (that's zero, not oh!), and that should do the trick.
And if all else fails, you can always try restarting Word or even your computer (because, let's face it, turning it off and on again usually fixes everything, right?).
The Grand Finale
In conclusion, removing the text box border in Word is a breeze, and you should be feeling like a total rockstar by now! So go ahead, create those beautiful, border-free documents, and show the world what you're working with. Remember, practice makes perfect, so keep on Word-ing (see what I did there?), and you'll be a pro in no time. Keep smiling, and happy Word-ing!
:max_bytes(150000):strip_icc()/006-remove-a-border-from-word-document-3540307-1a4b491e0da2465bbbd39680ad952c45.jpg)
![How To Remove Text Box Border In Word [ MAC ] - YouTube](https://i.ytimg.com/vi/8HhkIVSQiyA/maxresdefault.jpg)