How To Screen Record On Windows

We've all been there - trying to explain a super complicated thing to someone, like how to use a new app or how to fix a pesky computer issue. And let's be real, it's just easier to show them instead of tell them. That's where screen recording comes in - it's like having a superpower that lets you capture exactly what's happening on your screen.
Why Screen Record?
Think of screen recording like a digital post-it note - it helps you remember and share important stuff with others. Whether you're trying to troubleshoot an issue, create a tutorial, or just share a cool thing you found online, screen recording is the way to go. Plus, it's a great way to avoid confusion and make sure everyone's on the same page.
How to Screen Record on Windows
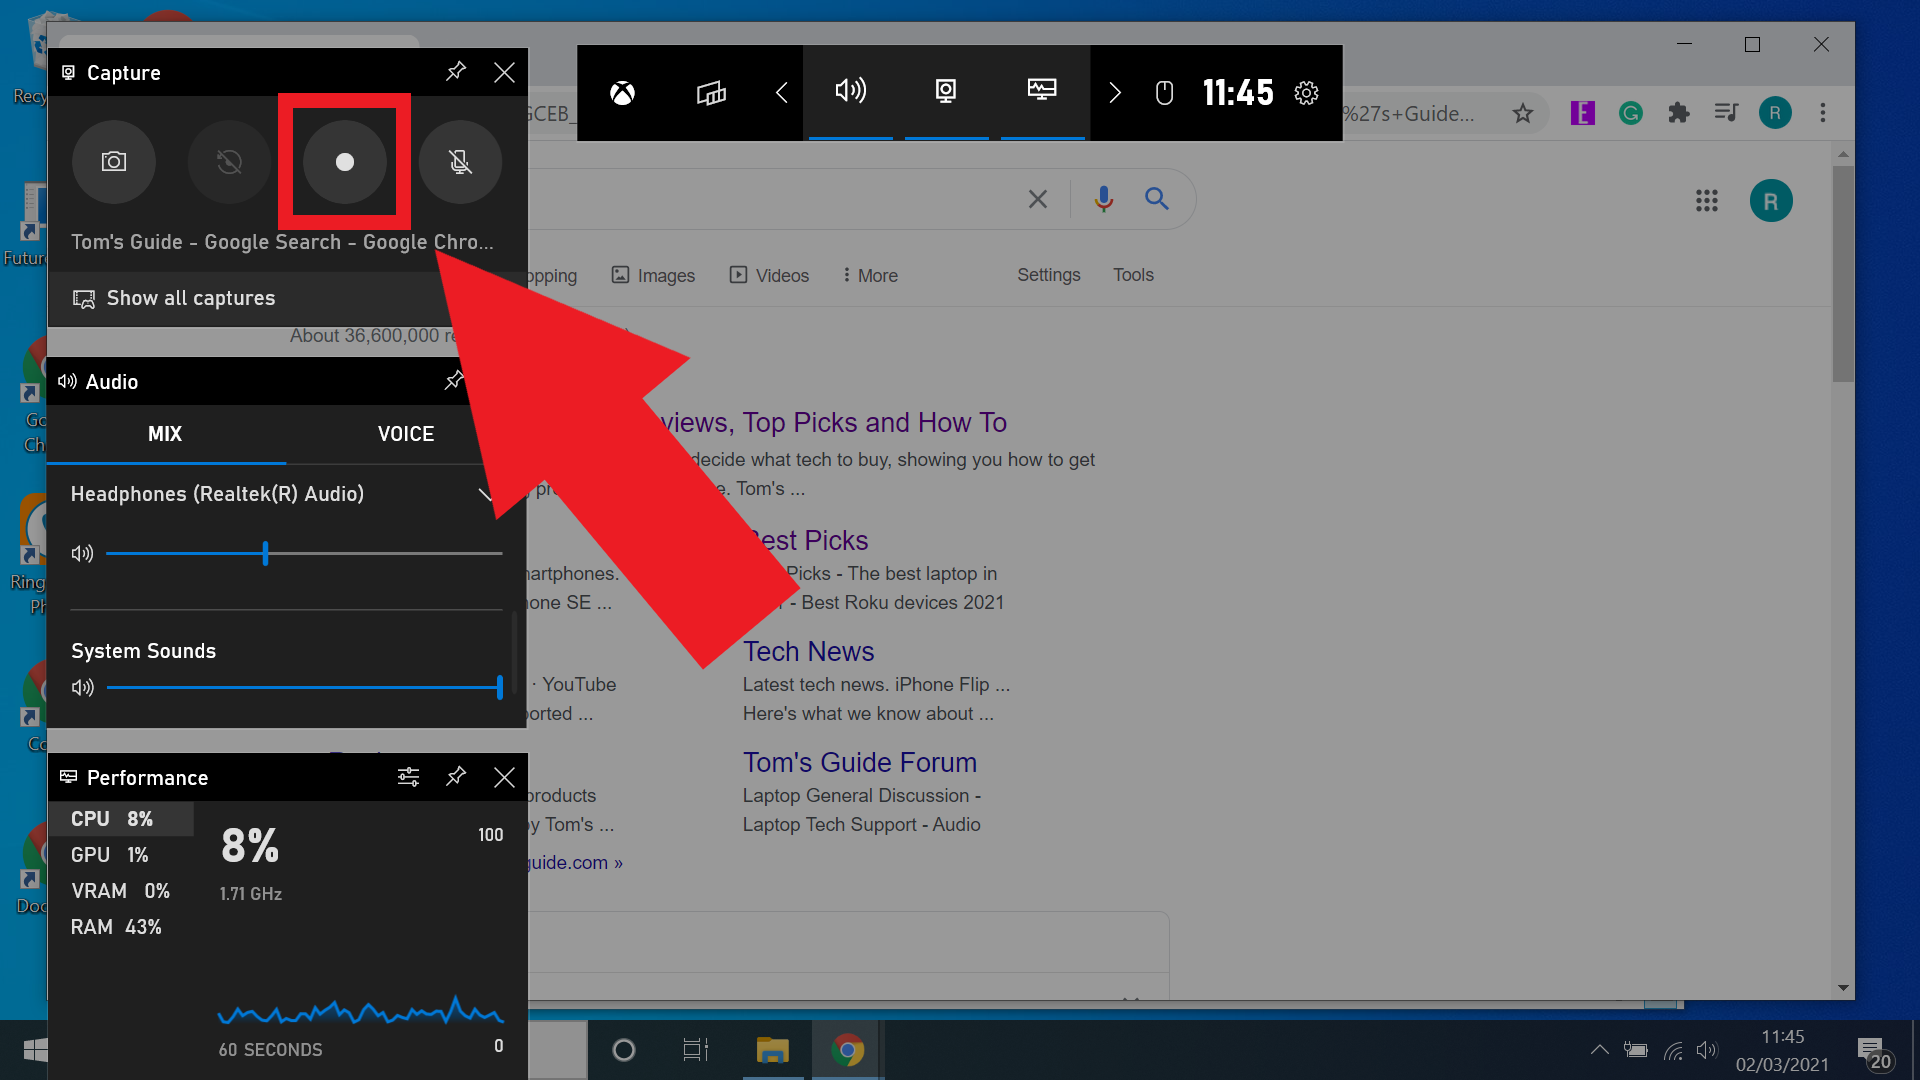
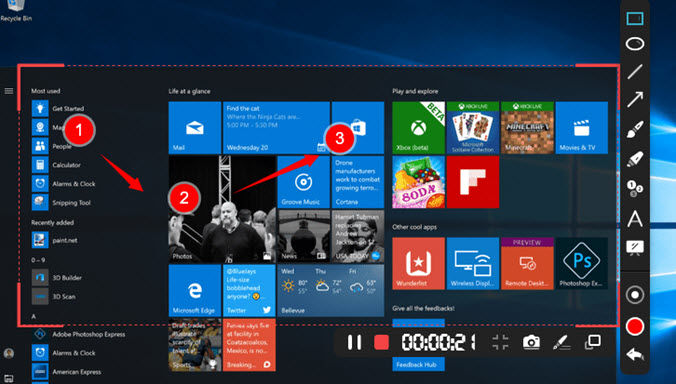
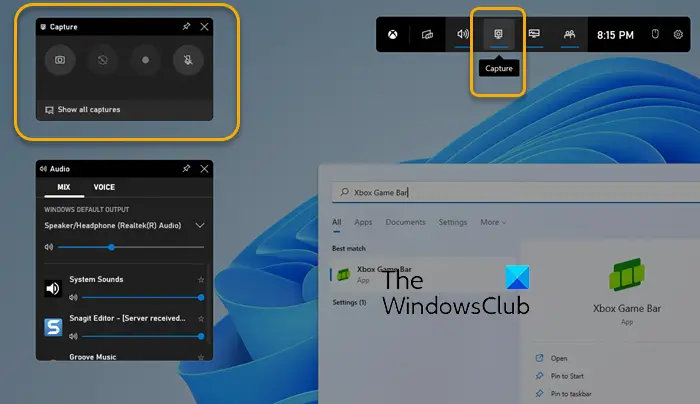
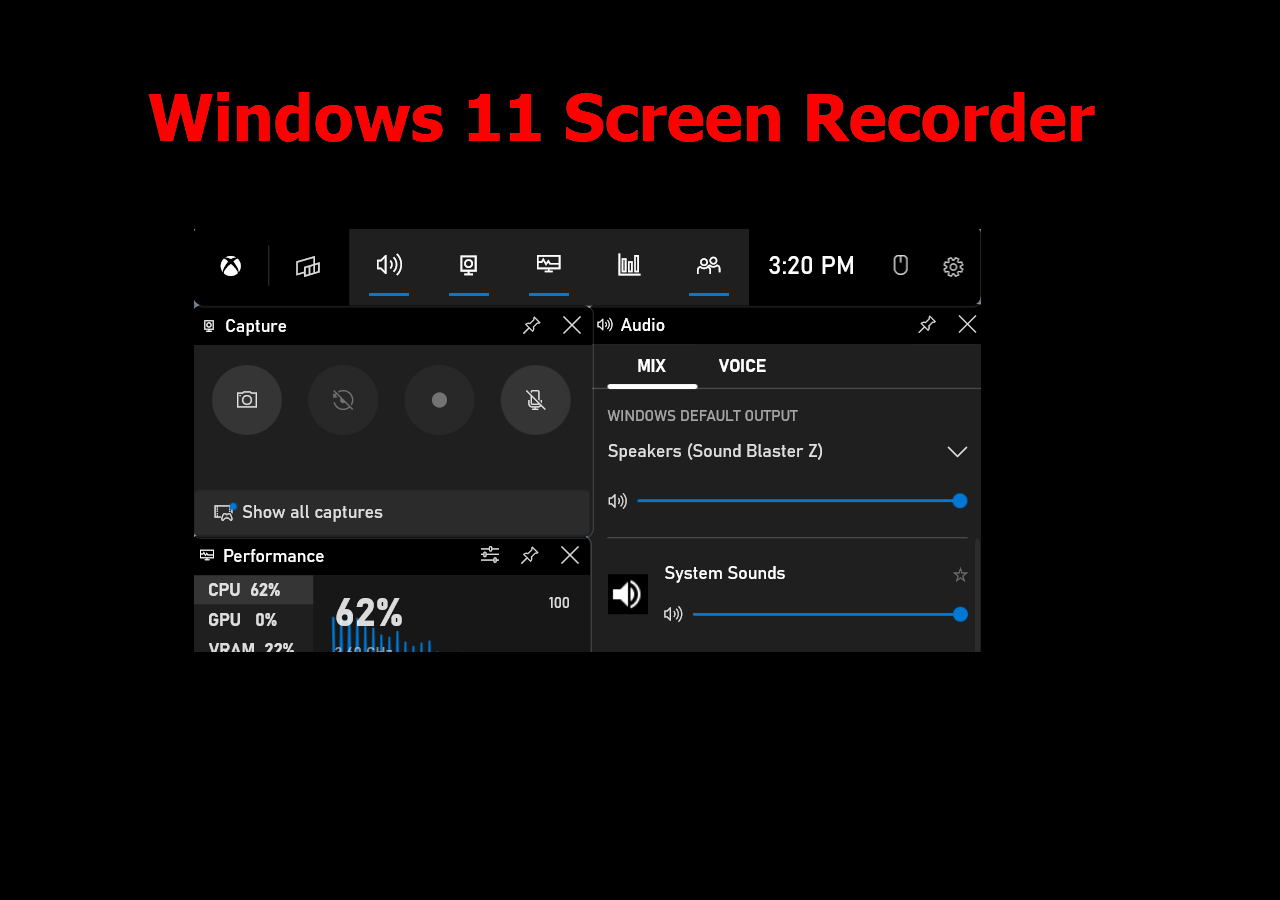
So, how do you actually screen record on Windows? Well, it's surprisingly easy - all you need to do is press the Windows key + G to open the Game Bar, and then click the record button. You can also use the Xbox Game Bar app to record your screen, which is like having a personal recording studio on your computer.
Must Read
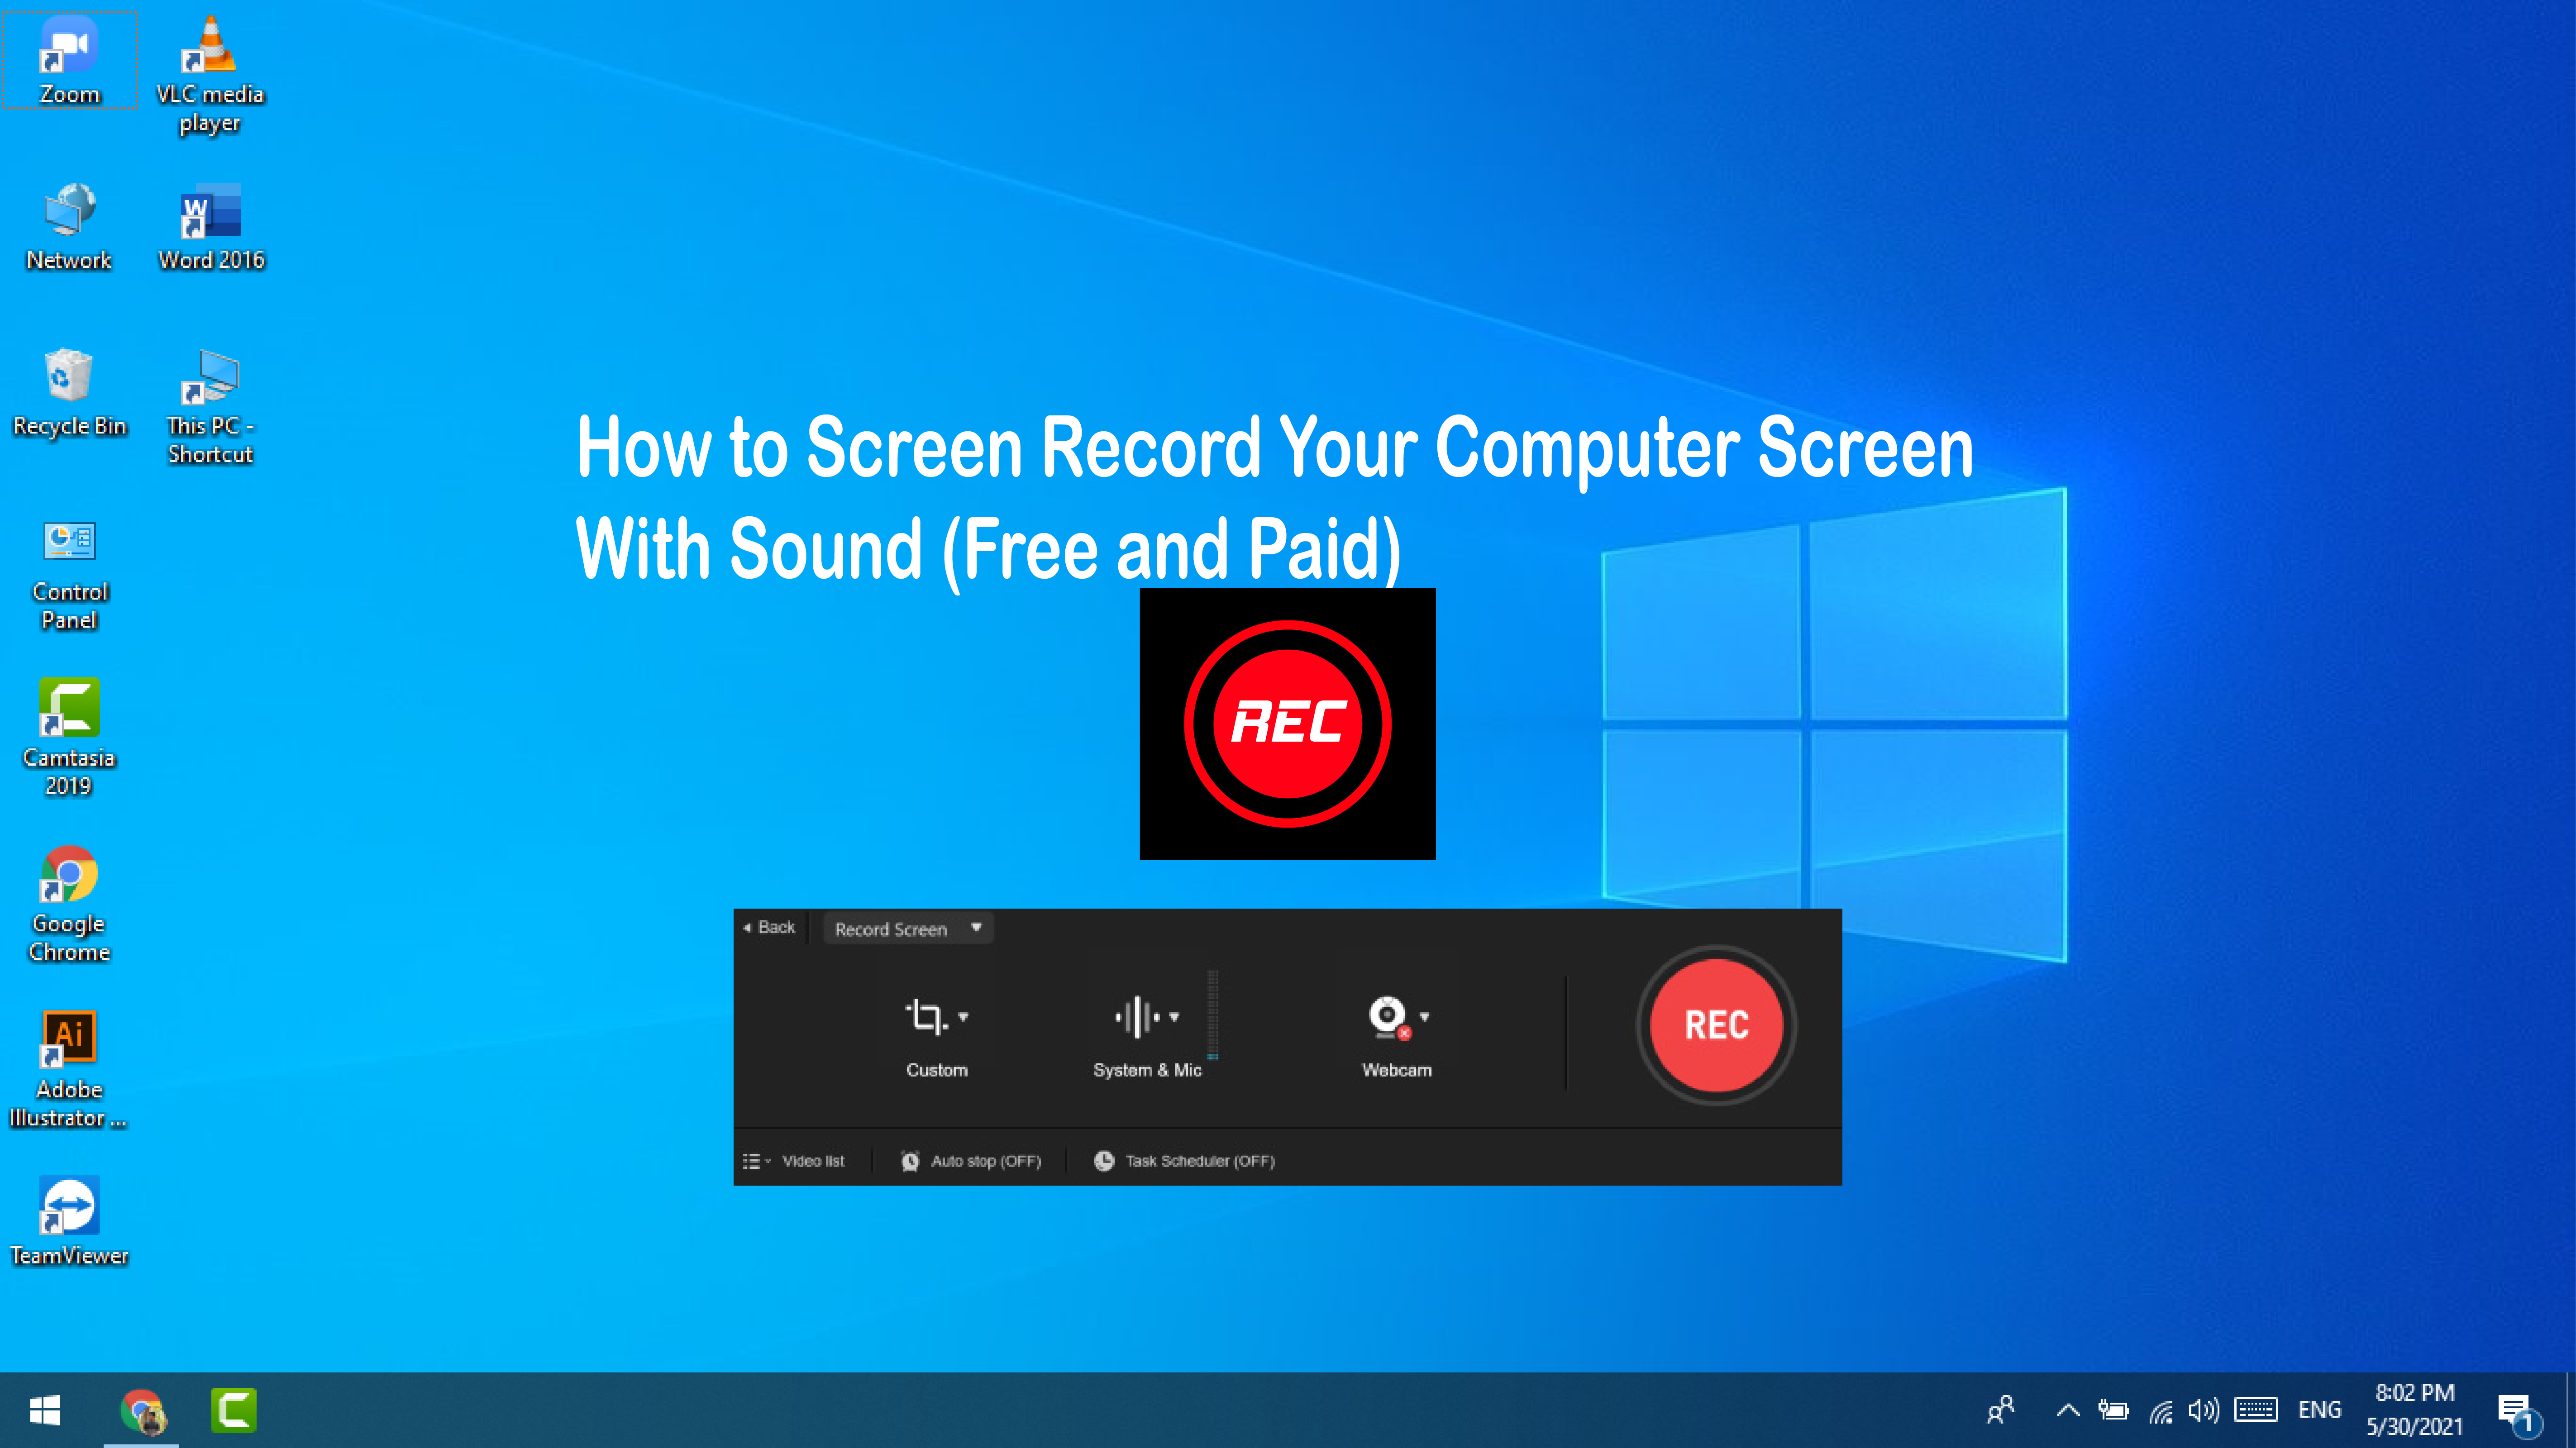
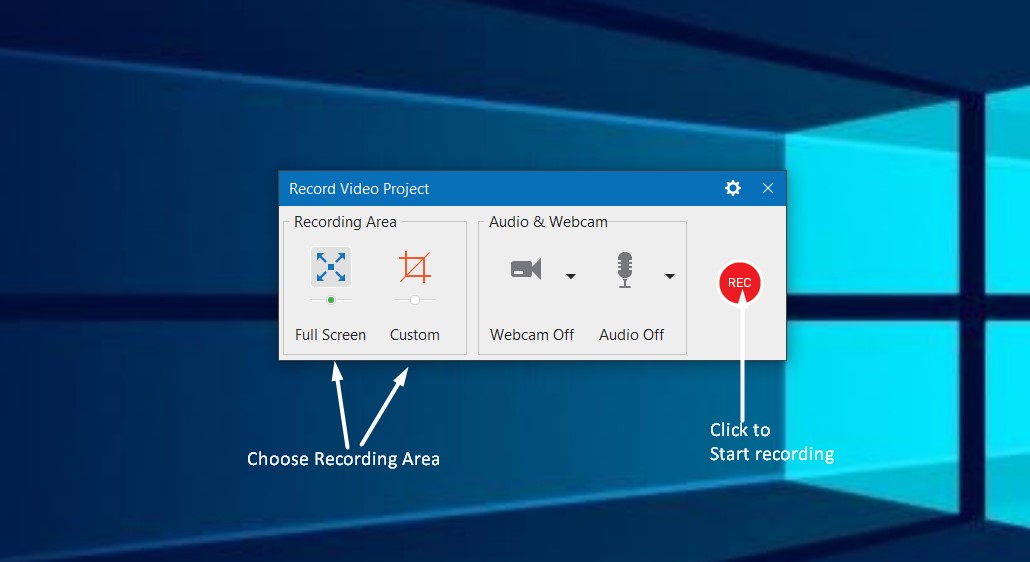
Another way to screen record on Windows is to use a third-party app, like OBS Studio or Camtasia. These apps are like Swiss Army knives - they offer a ton of features and options for customizing your screen recordings. Plus, they're often free or low-cost, which is a major bonus.
Tips and Tricks
One thing to keep in mind when screen recording is to choose your settings wisely - you'll want to select the right video quality and frame rate to ensure your recording looks smooth and clear. You should also check your audio to make sure it's loud and clear. And don't forget to save your recording in a format that's easy to share, like MP4 or AVI.
Finally, the key to great screen recording is to practice makes perfect. Don't be afraid to experiment and try out different settings and techniques until you find what works best for you. And if you make a mistake, don't worry - you can always edit your recording to fix any issues.