How To Screenshot On A Laptop
Hey, have you ever found yourself in a situation where you really need to capture something on your laptop screen, but you're like, "Uh, how do I even do that?" Don't worry, friend, I've been there too! It's actually super easy, and I'm about to spill the beans.
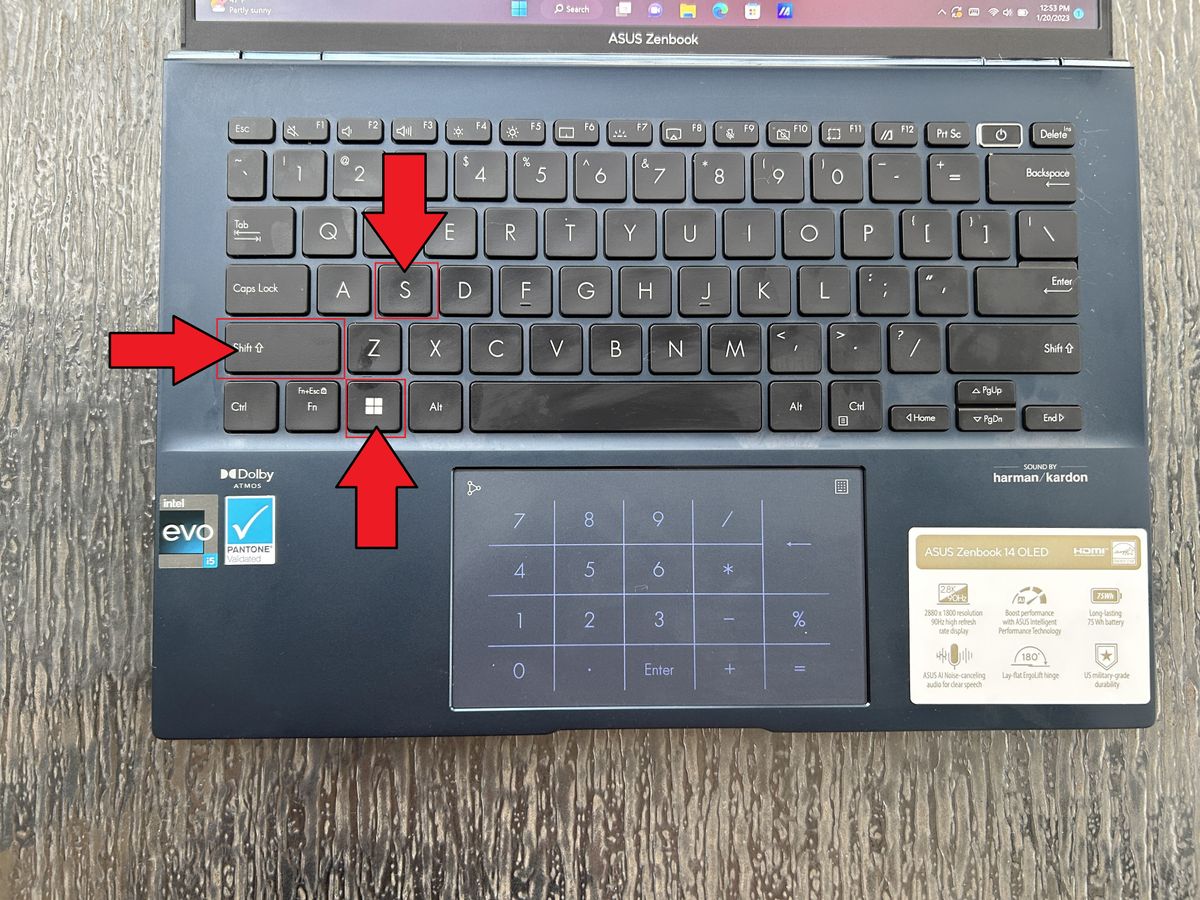
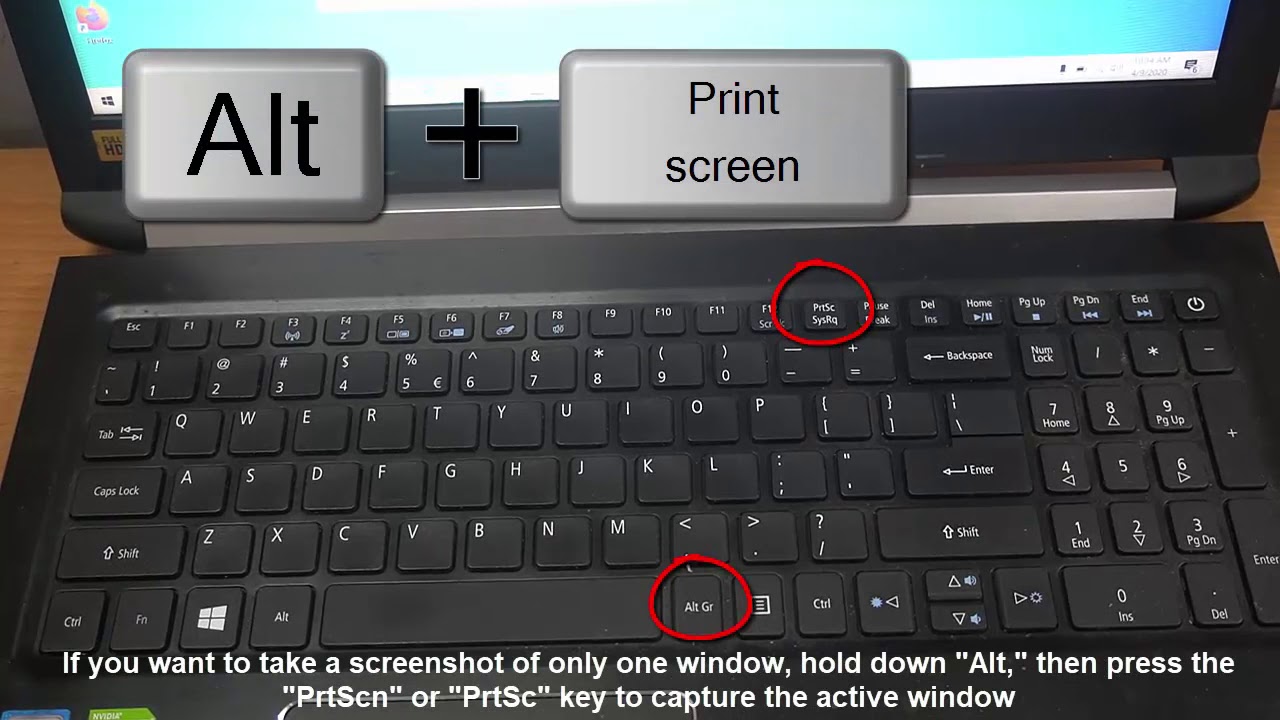
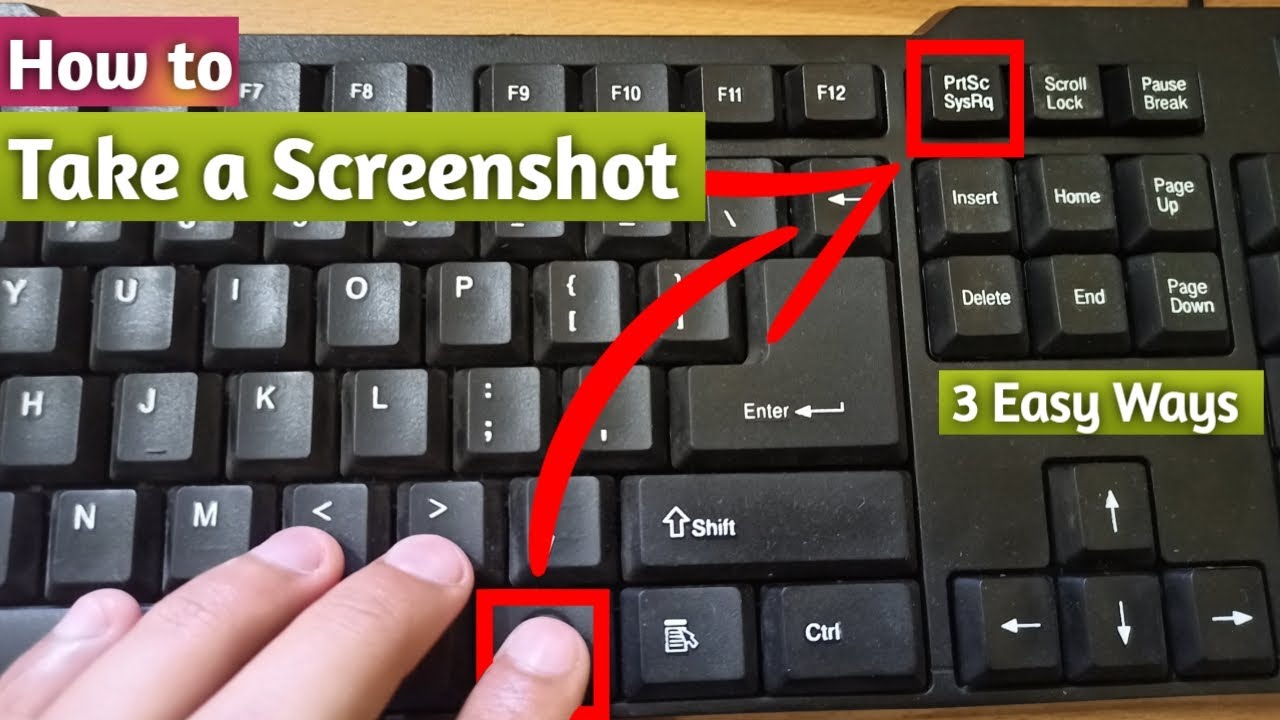
Screenshotting is a lifesaver, and once you know the trick, you'll be doing it like a pro in no time. So, here's the deal: on a Windows laptop, you can take a screenshot by pressing the Windows key + Print Screen - yeah, it's that simple! Your screenshot will be saved to a folder called "Screenshots" in your "Pictures" folder.
But wait, there's more!
If you're using a Mac, it's just as easy - you can take a screenshot by pressing Command + Shift + 3, and it'll save to your desktop. But, let's say you only want to capture a specific part of the screen, like a funny meme or a juicy piece of gossip... you can do that too! Just press Command + Shift + 4, and you'll be able to select the area you want to capture.
Must Read
And, for all you Chromebook users out there...
Dummy me, I almost forgot about you guys! On a Chromebook, you can take a screenshot by pressing Ctrl + Switch window (that's the key with the picture of a window on it, obvs). And, if you want to capture a specific area, just press Ctrl + Shift + Switch window - voilà! Your screenshot will be saved to your "Downloads" folder.
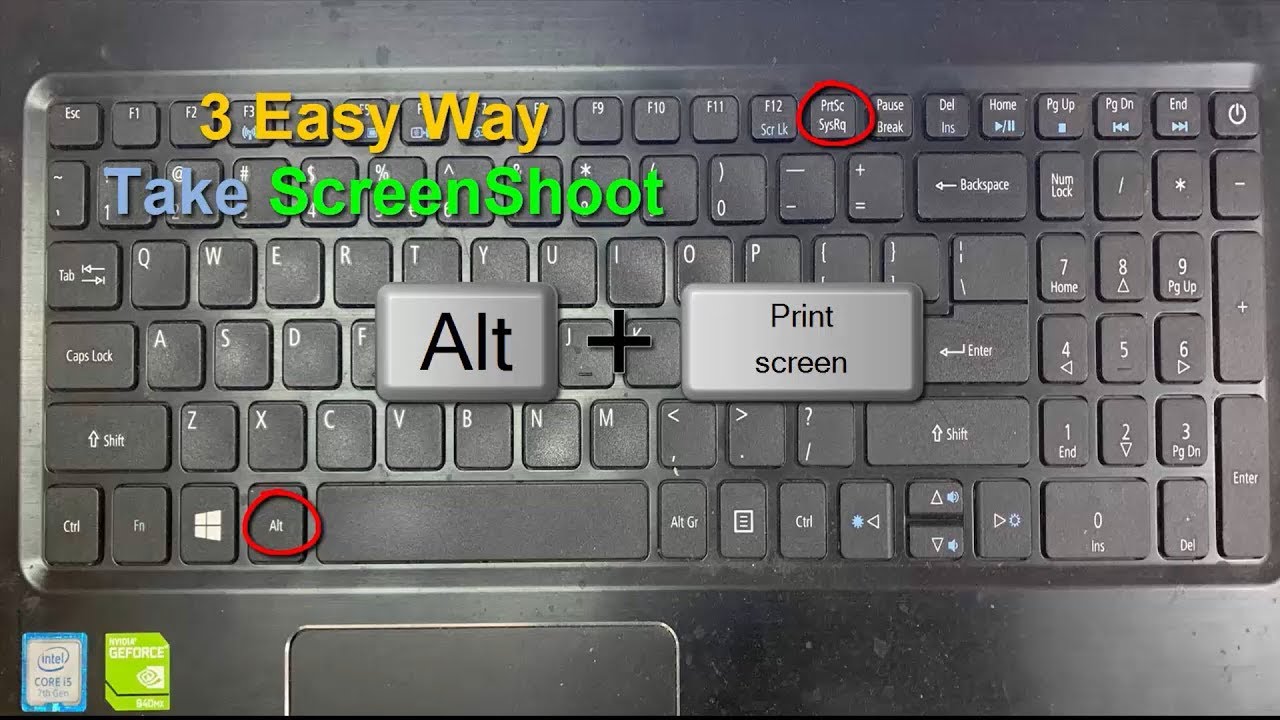
Now, I know what you're thinking: "What about all the other screenshot options?" Well, let me tell you, there are tons of third-party apps and tools out there that can help you take your screenshot game to the next level. But, honestly, the built-in methods are usually all you need - they're quick, easy, and get the job done!
So, there you have it - a quick and dirty guide to screenshotting on your laptop. I hope this helps, friend! Do you have any favorite screenshot hacks or tips to share? Spill the beans in the comments below!