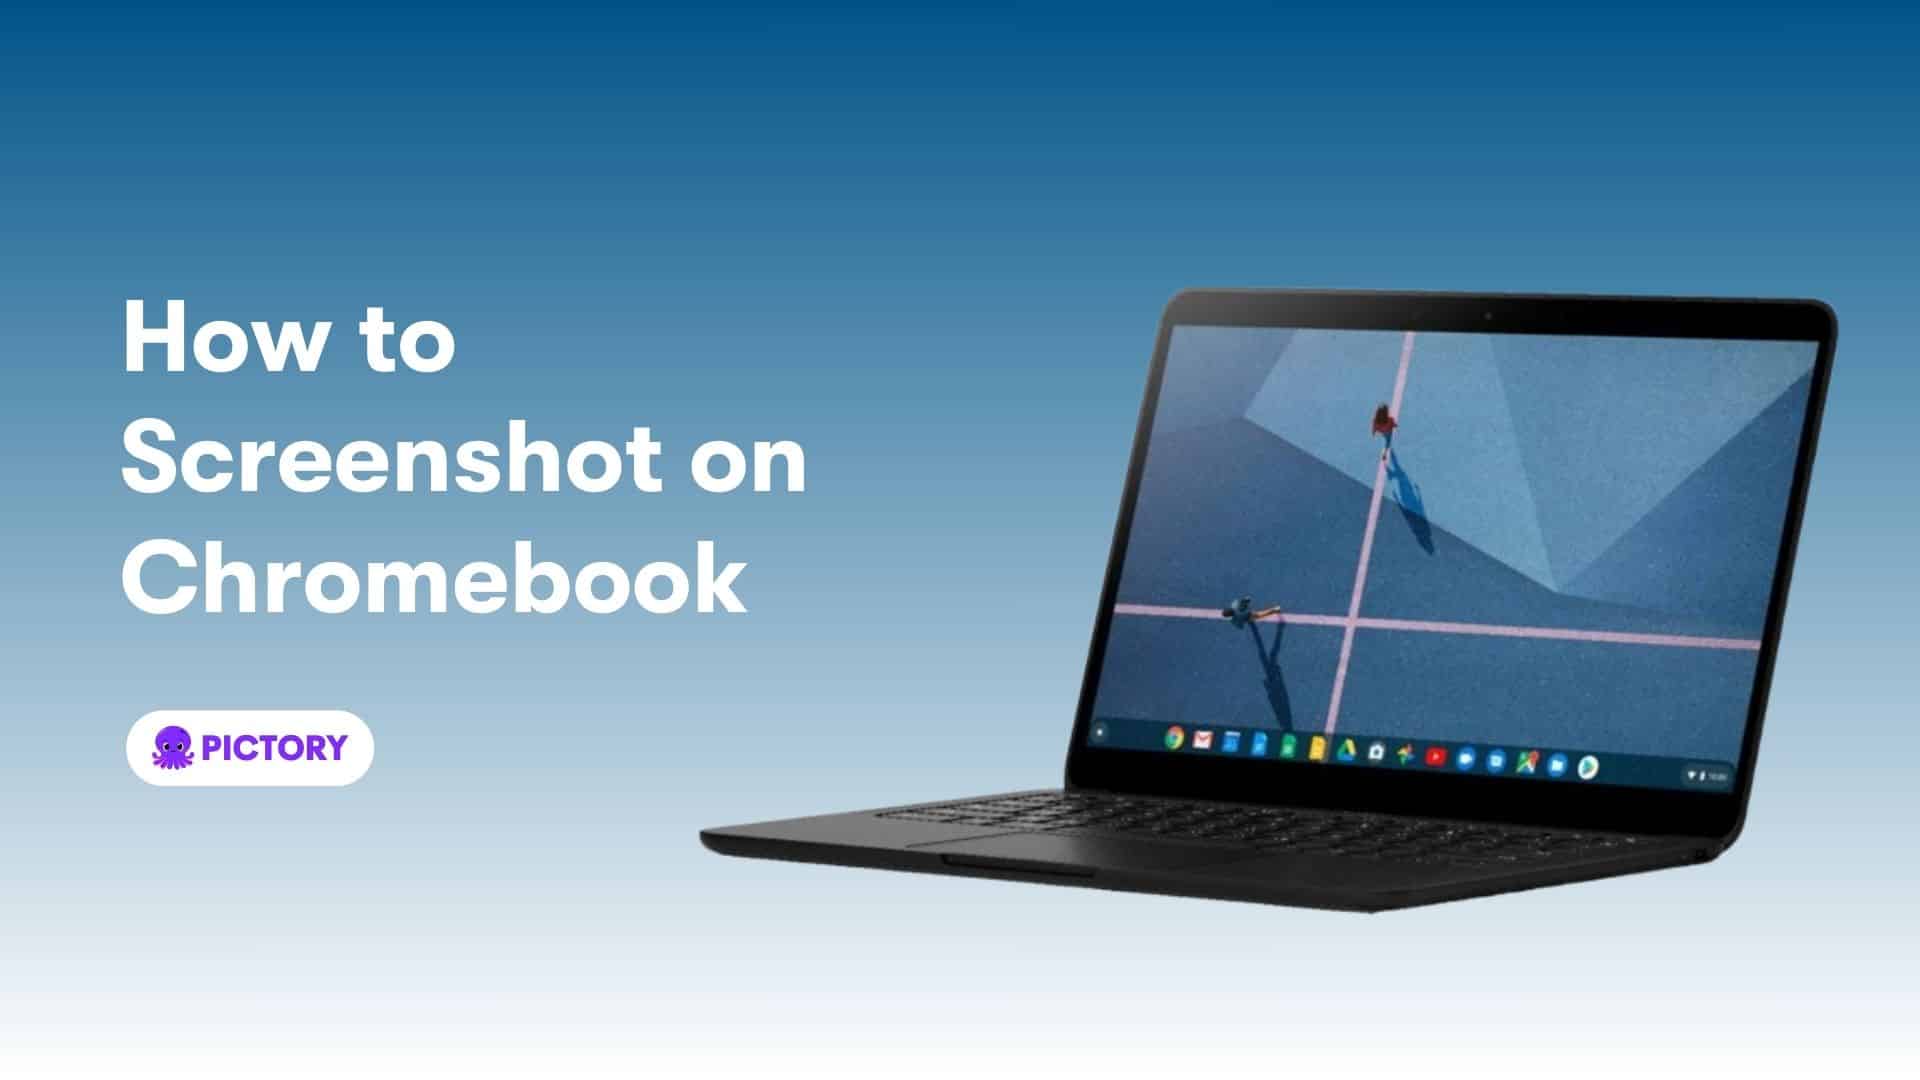
How To Screenshot On Chromebook
Many people enjoy using Chromebooks for their daily tasks, such as browsing the internet, checking emails, and working on documents. One of the essential features of a Chromebook is the ability to screenshot, which allows users to capture and save images of their screen. This feature is not only useful for personal purposes but also serves as a great tool for work and education.
The benefits of screenshotting on a Chromebook are numerous. For instance, it enables users to capture important information, such as receipts, recipes, or instructional guides. It also allows users to share their screenshots with others, making it easier to collaborate on projects or explain complex ideas. Common examples of screenshotting include capturing error messages to troubleshoot issues, saving inspirational quotes or funny memes, and recording step-by-step tutorials.
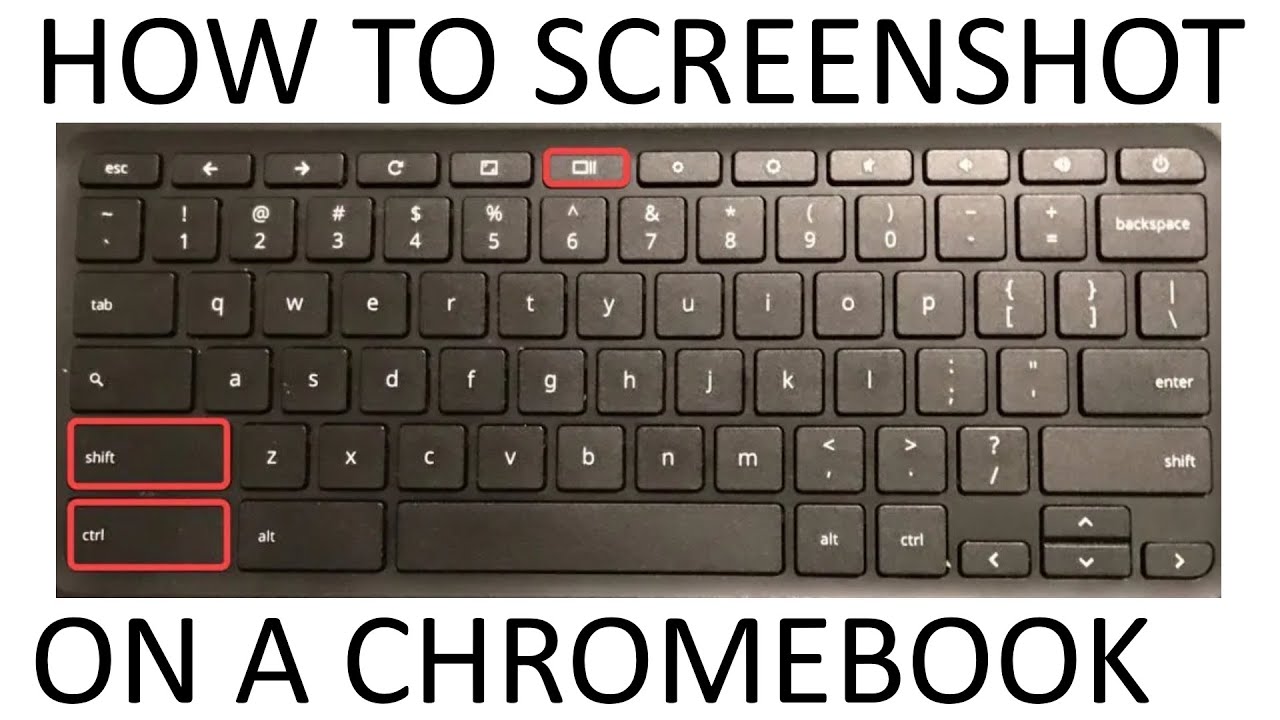
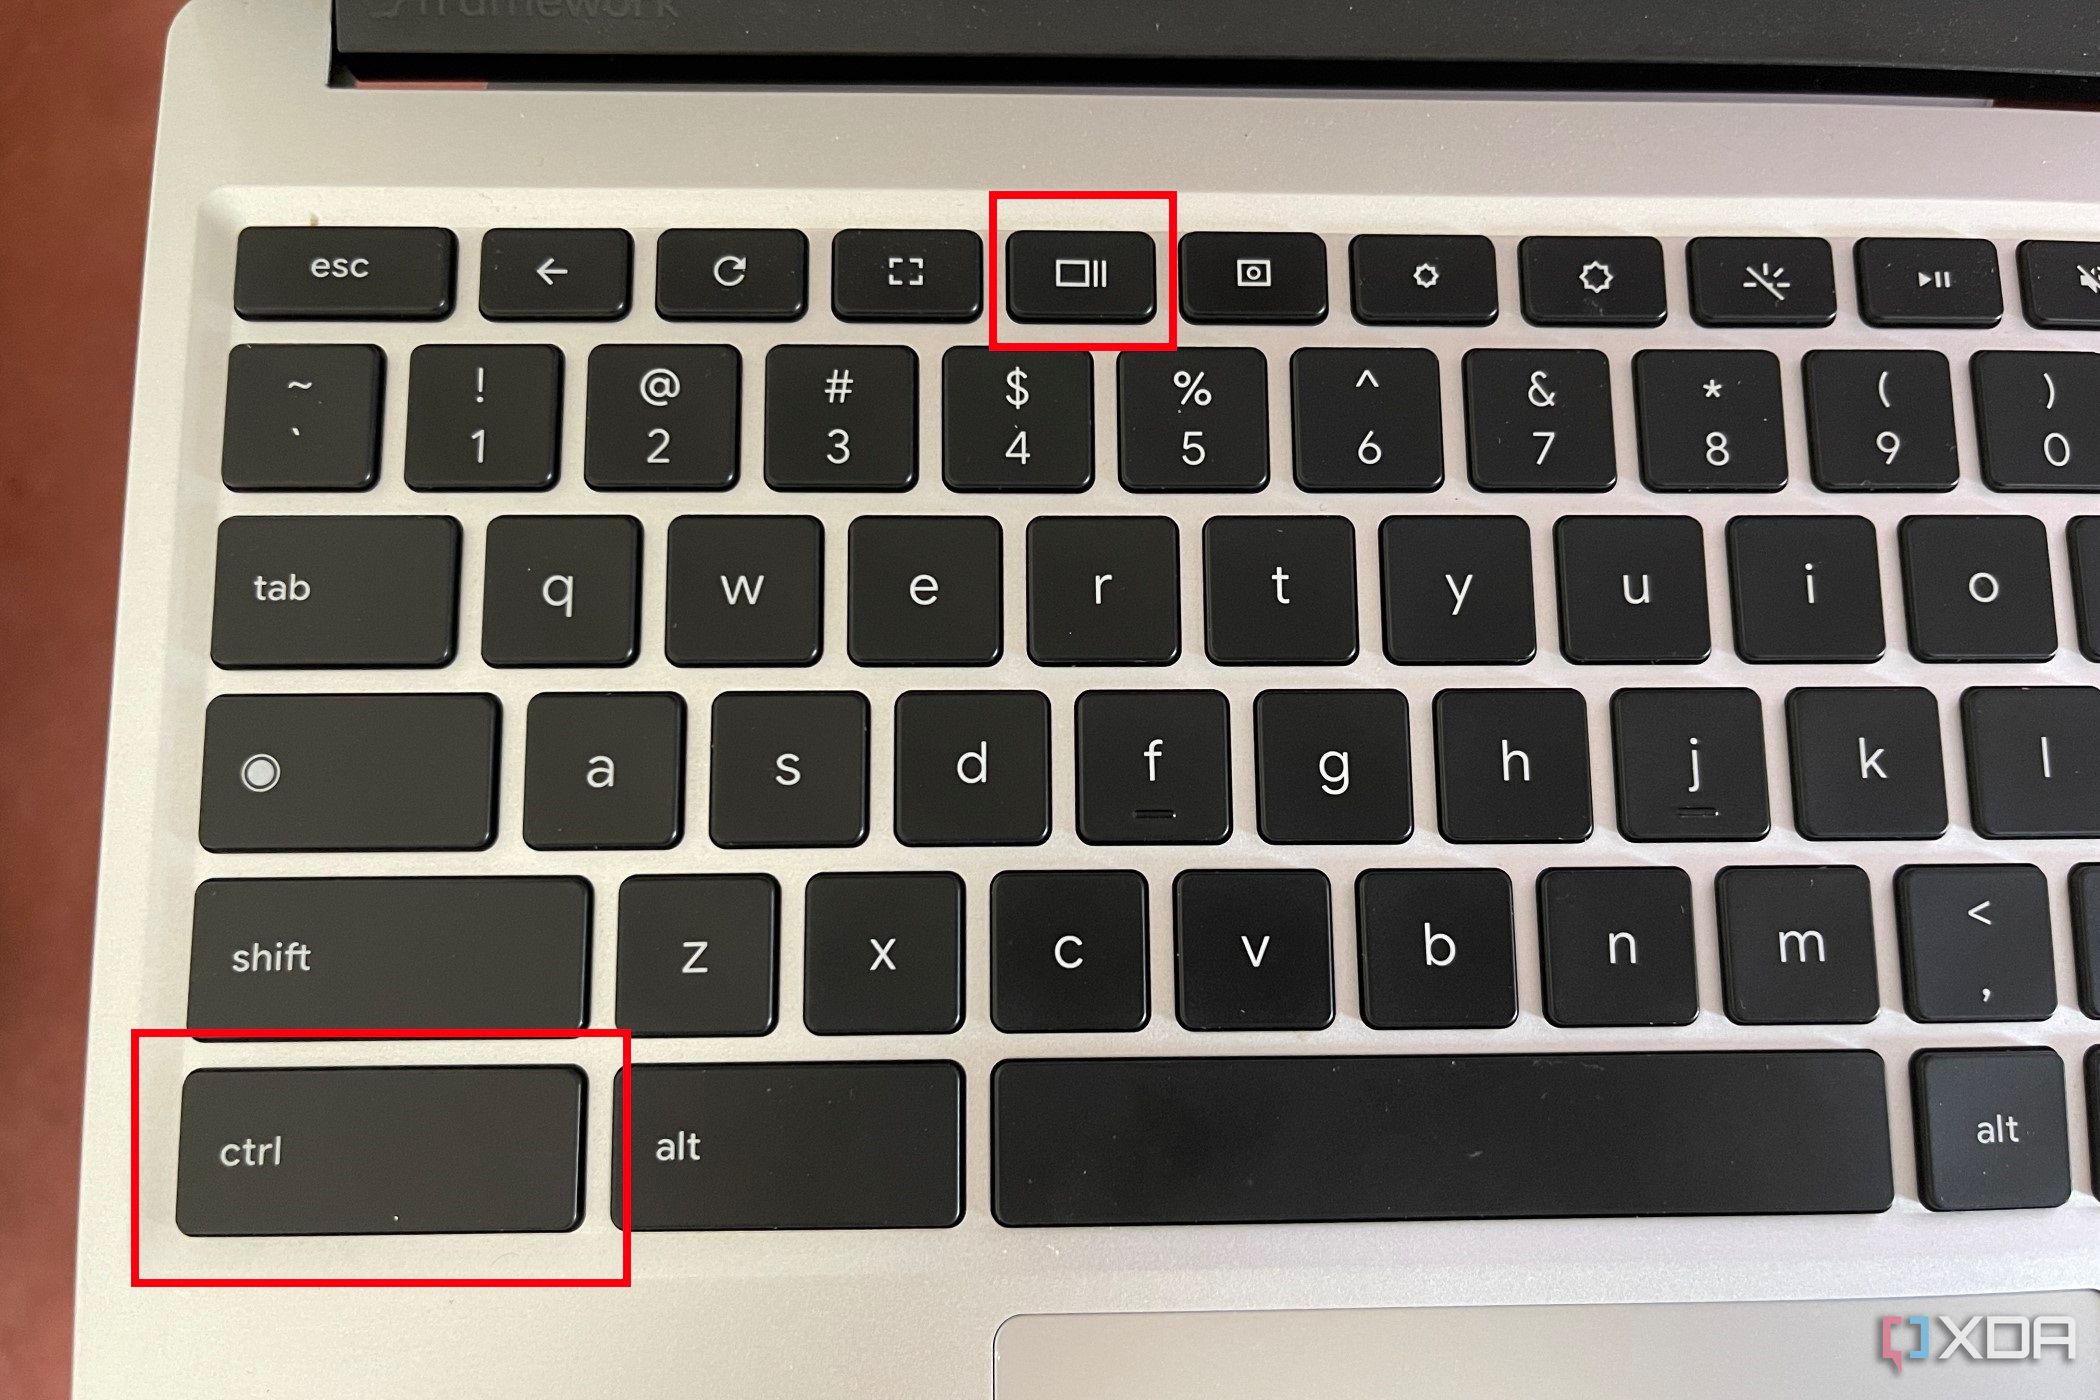
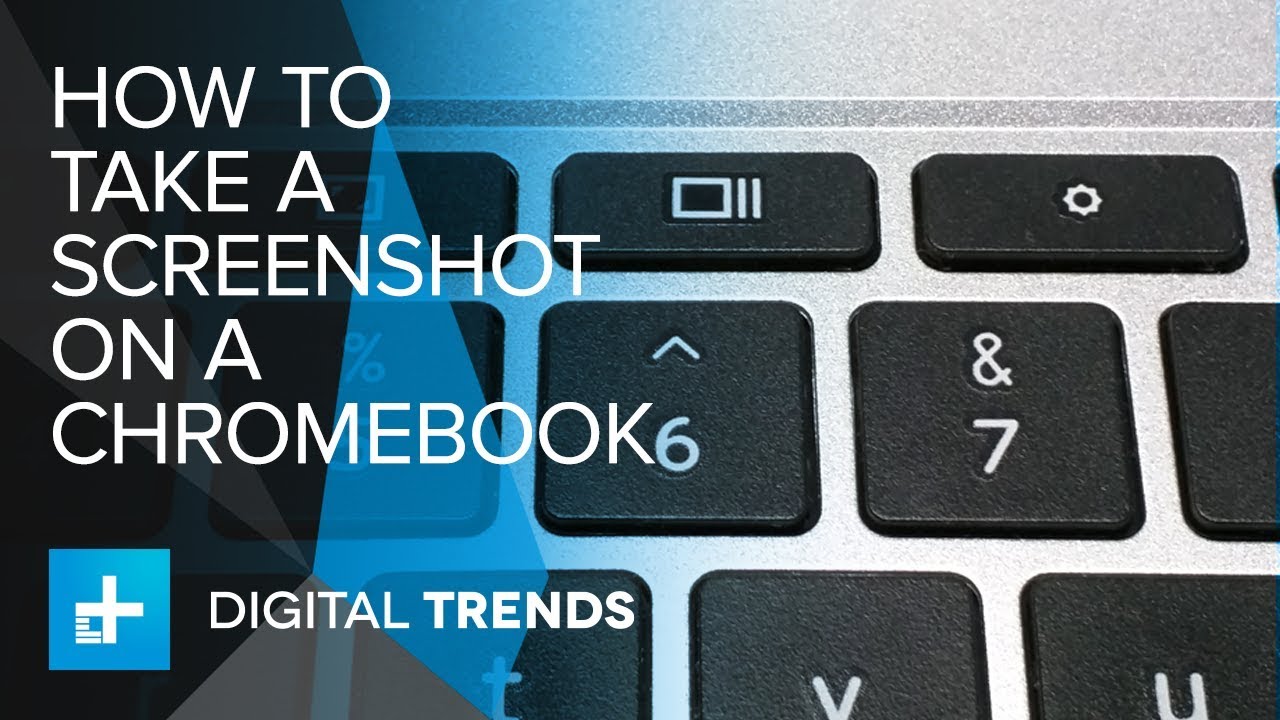
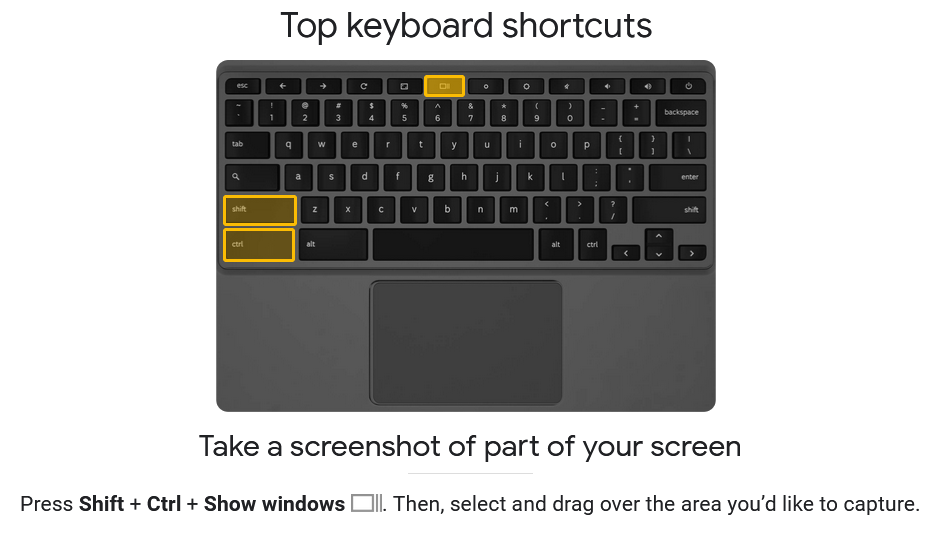
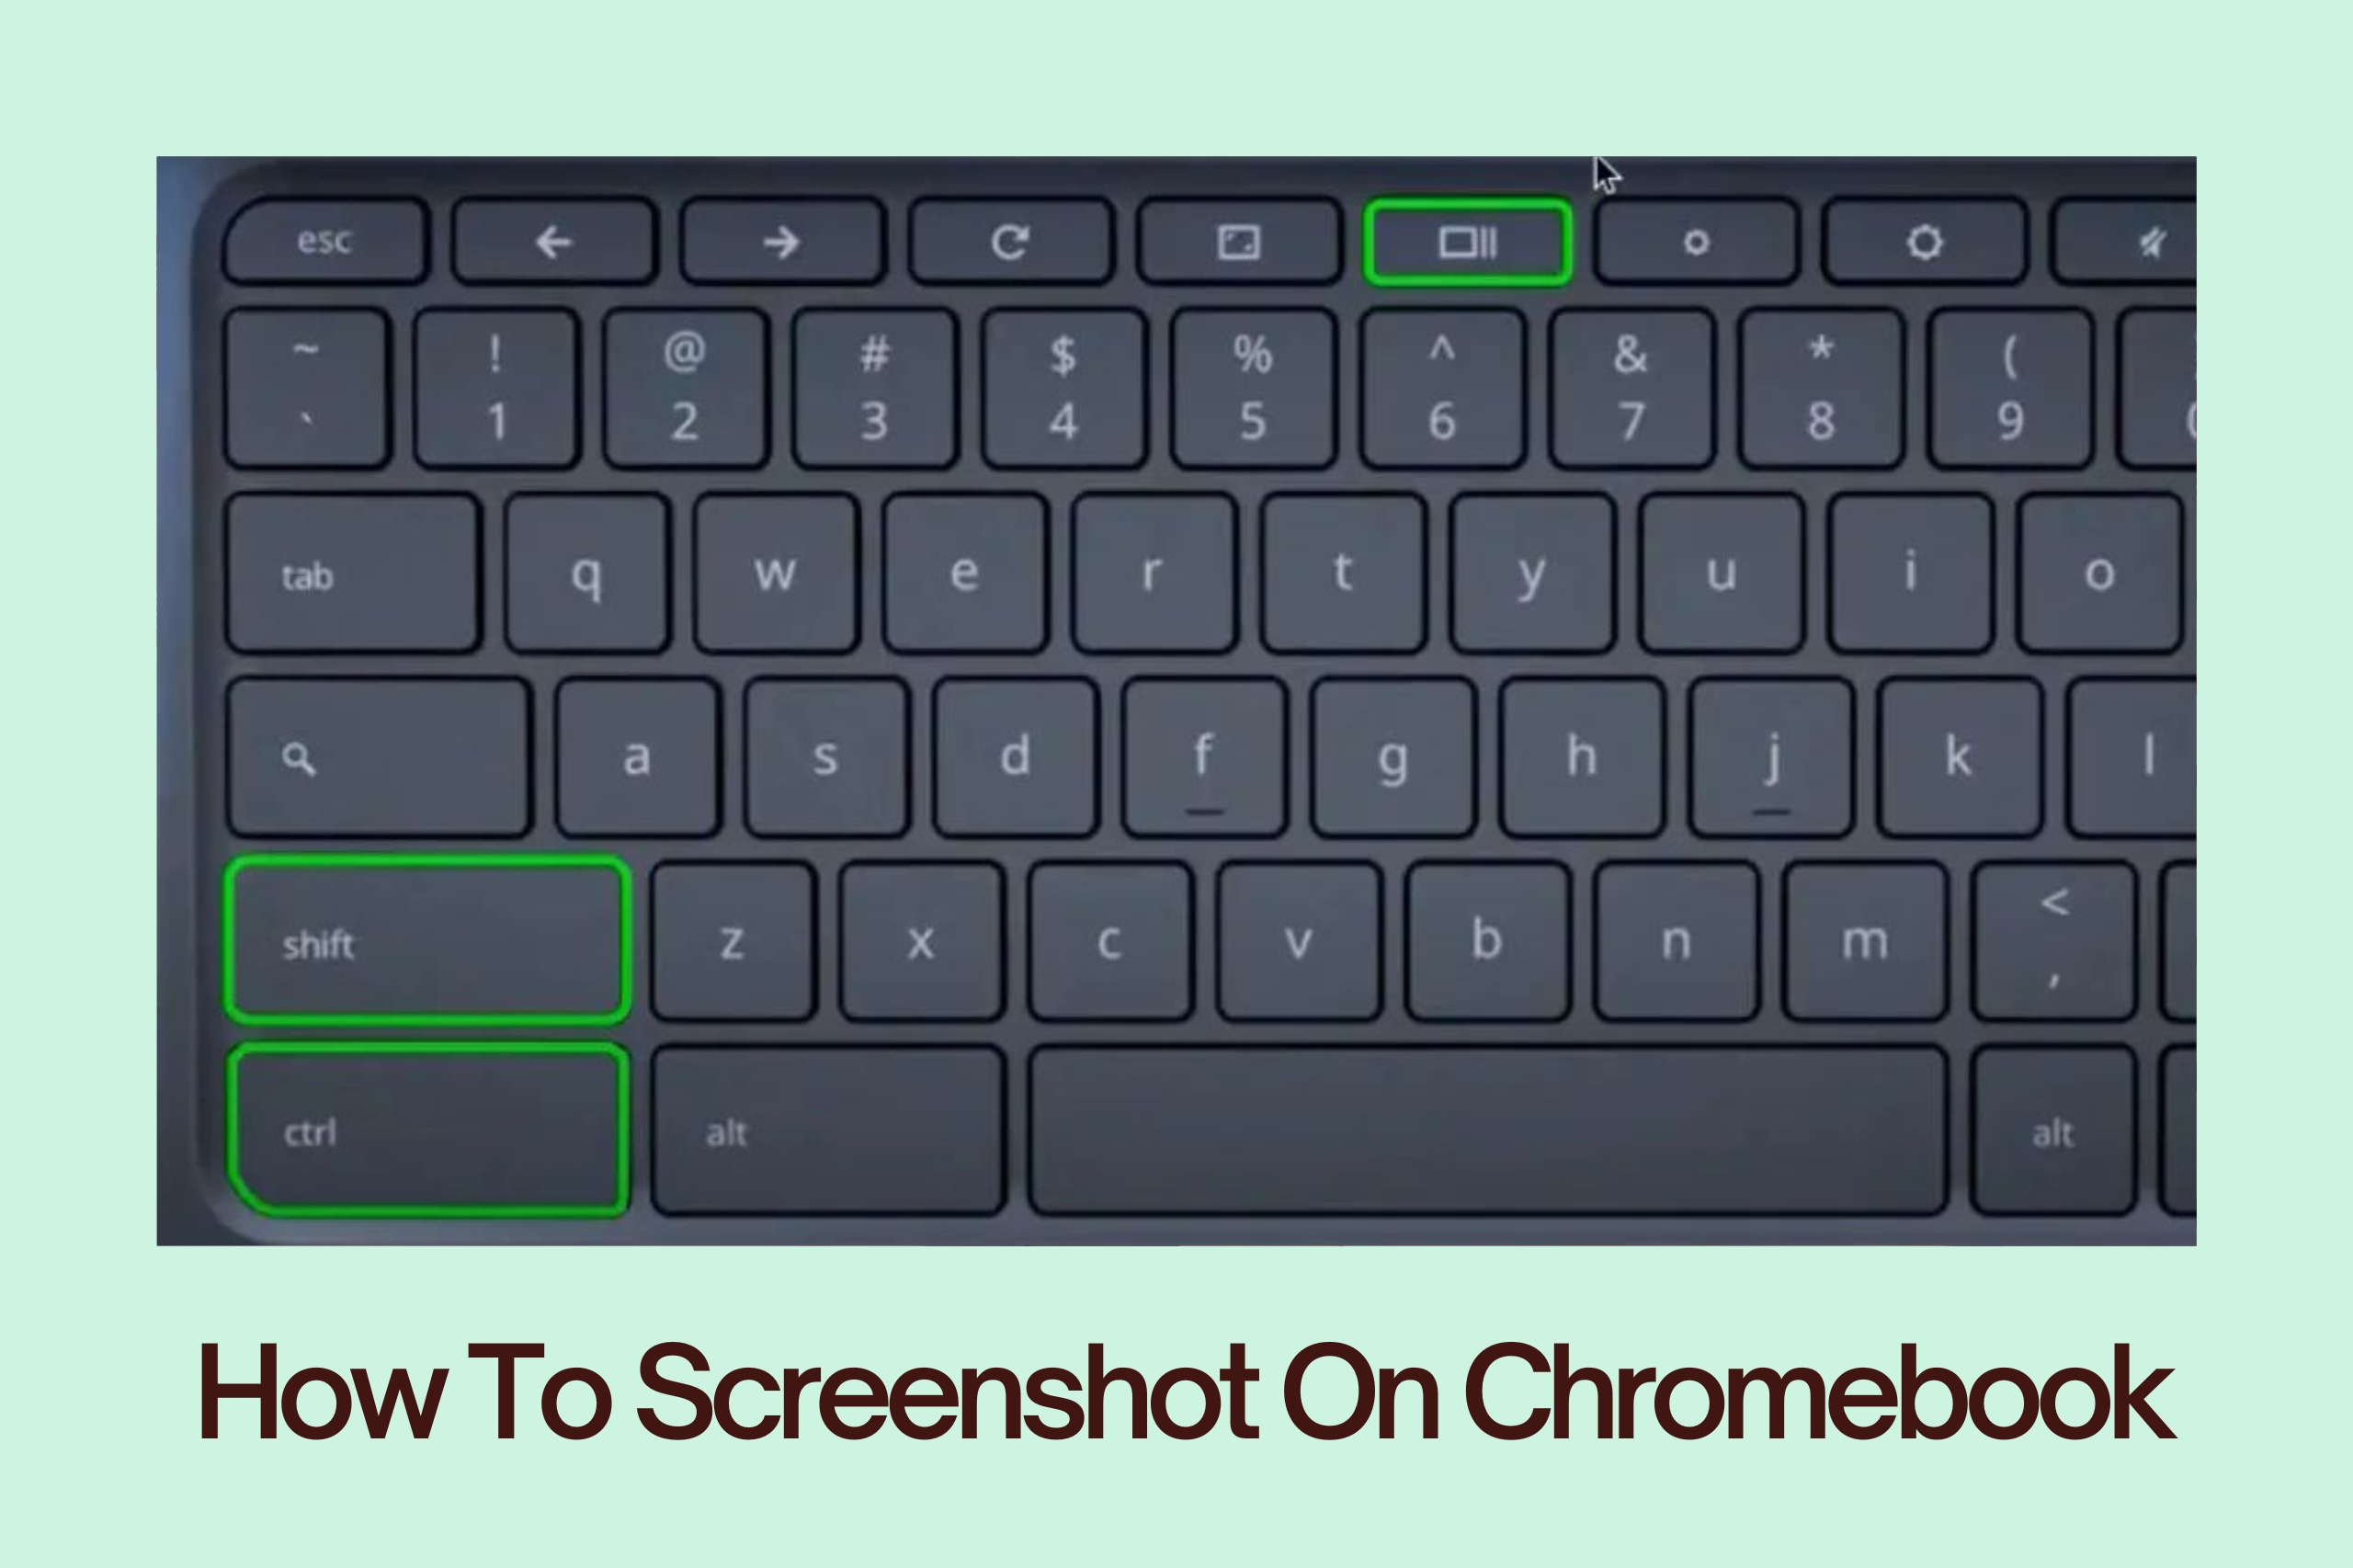
To screenshot on a Chromebook, users can press the Ctrl + Switch window keys simultaneously. This will capture the entire screen, and the screenshot will be saved to the Downloads folder. For a more partial screenshot, users can press Ctrl + Shift + Switch window keys, then select the area they want to capture. By following these simple steps, users can enjoy the benefits of screenshotting on their Chromebook and make their daily tasks more efficient and productive.
Must Read
- What Happens At The End Of Supergirl? A Clear Breakdown Of The Finale
- How Supergirl Sets Up The Dcu Future Without A Post-credits Scene
- Supergirl’s Final Moments Explained: Krem, Krypto, And Kara’s Turning Point
- Supergirl Ending Explained: Kara’s Grief, Ruthye’s Choice, And The Future Of The Dcu
- What Supergirl’s Ending Means For Lobo, Superman, And The Next Dc Films
:max_bytes(150000):strip_icc()/ChromeScreenCaptureToolannotated-24a8f6645b9c425682a975b41a82e02f.jpg)