How To Take A Screenshot On Macbook

Taking a screenshot on a MacBook is a skill that can be incredibly useful in our daily lives, and it's surprisingly easy to learn. Whether you're a student, teacher, or family member, being able to capture and share images of your screen can be a game-changer. For students, taking screenshots can help with research projects and study groups, allowing them to quickly and easily share information with their peers. Teachers can use screenshots to create instructional materials and illustrate complex concepts in a more visual way.
In our personal lives, taking screenshots can be fun and convenient. For example, you can use it to capture memories of special moments, like a funny conversation with a friend or a beautiful sunset on your desktop background. You can also use it to troubleshoot issues with your computer, by taking a screenshot of an error message and sharing it with a support specialist.
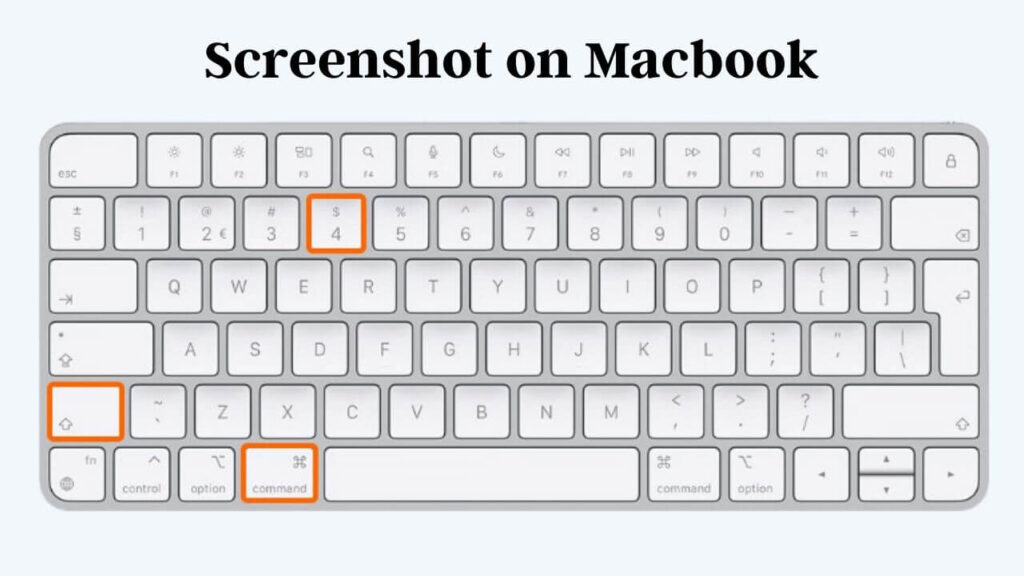
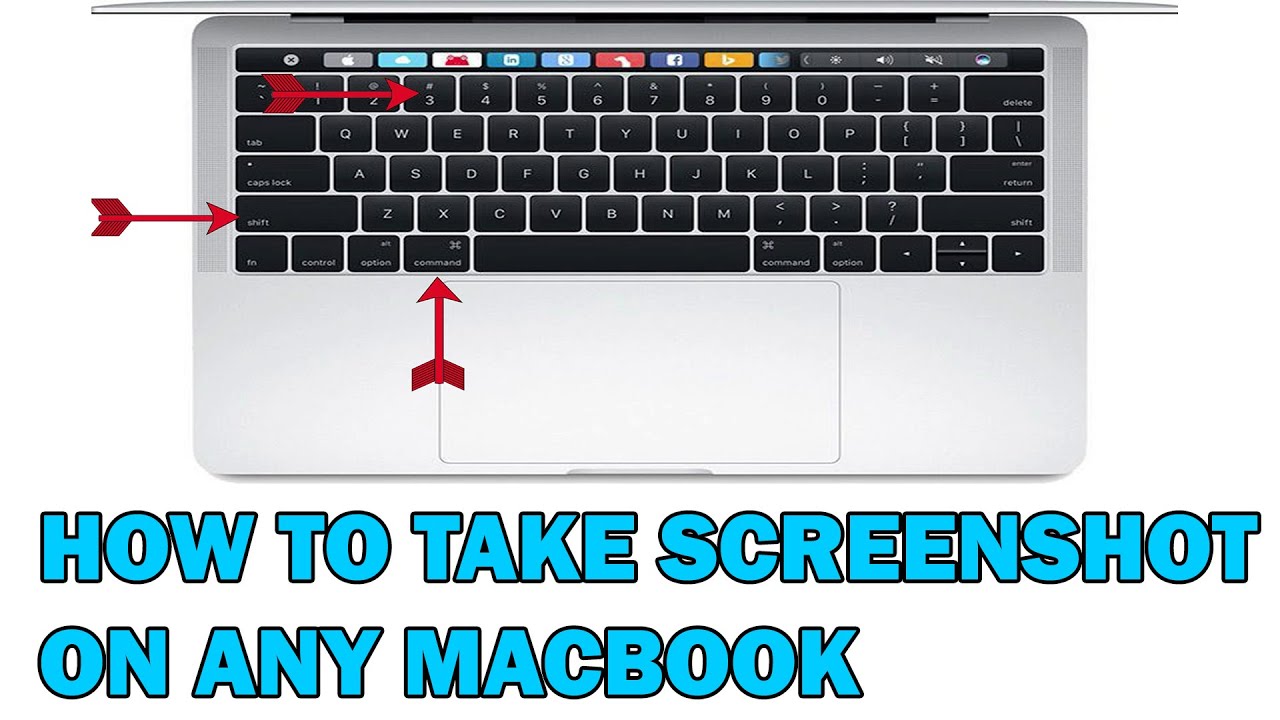
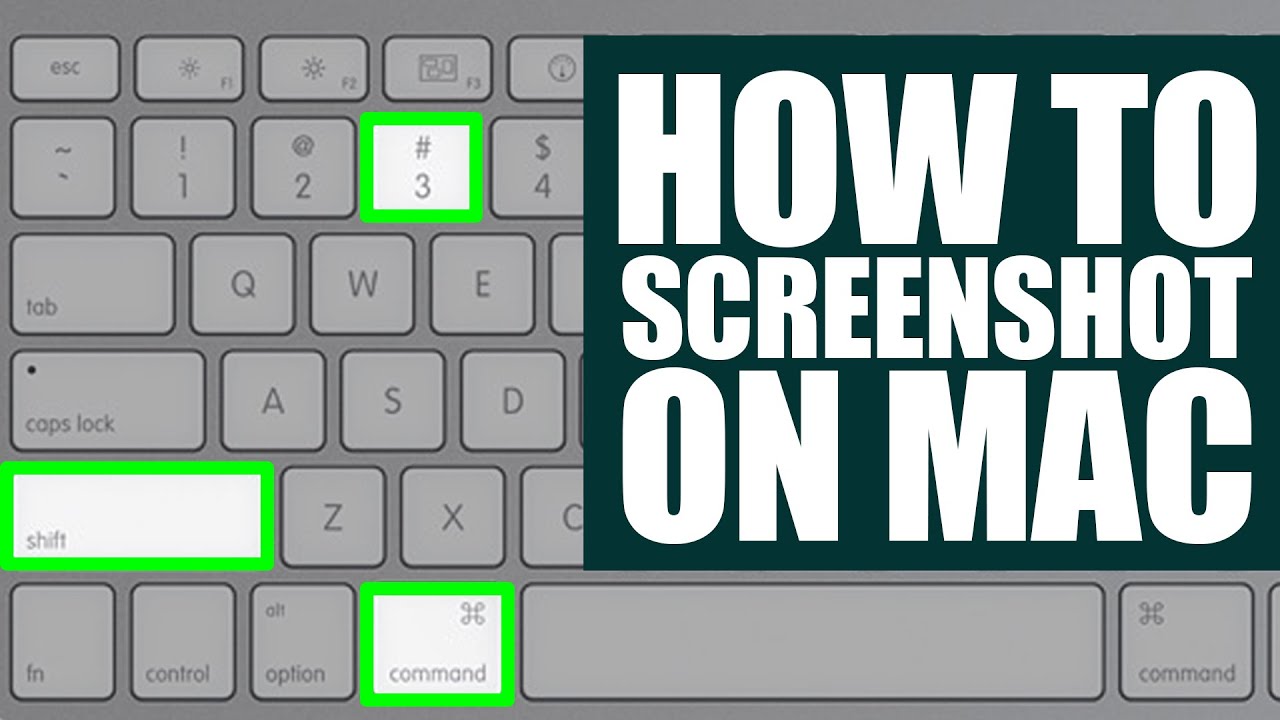
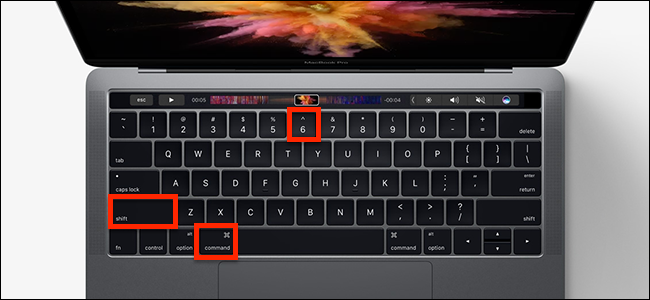
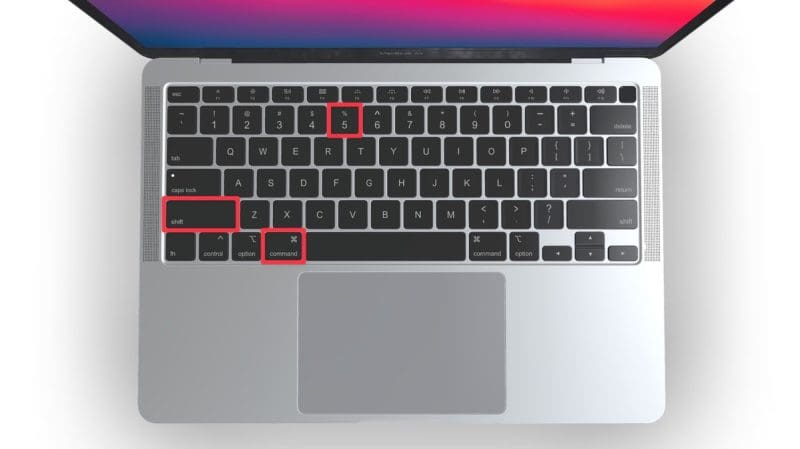
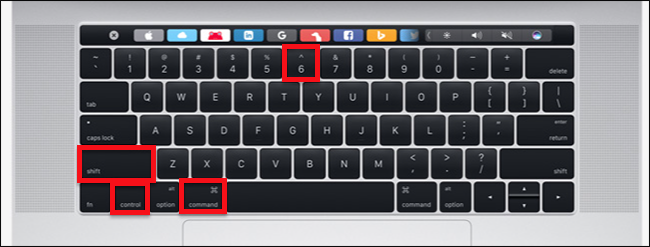
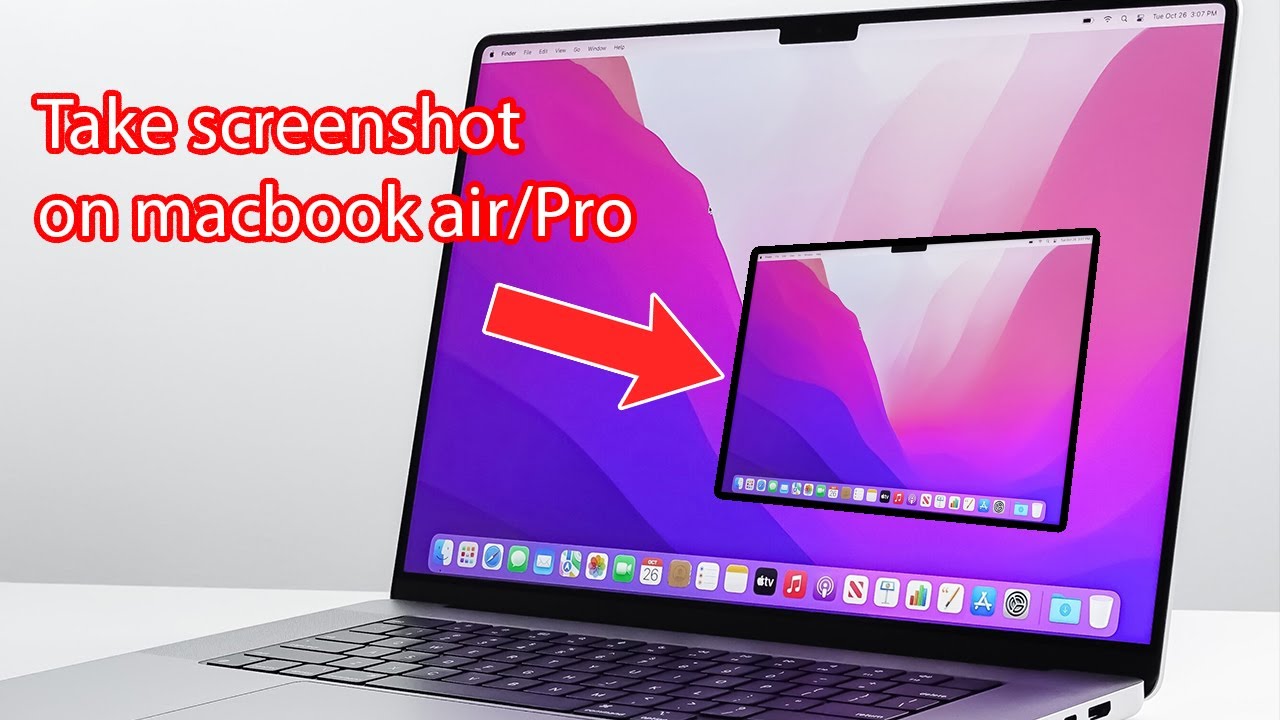
To get started with taking screenshots on your MacBook, simply press the Command + Shift + 3 keys simultaneously. This will capture a screenshot of your entire screen, which you can then edit and share as needed. For more practical tips and simple ways to explore screenshot taking, try experimenting with different keyboard shortcuts and editing software. With a little practice, you'll be a screenshot pro in no time!
Must Read
- Jackson Michigan Citizen Patriot Obituaries
- Kirby Dreams Or Die Trying 7 Unmissable Nintendo Switch Kirby Games You Need To Play
- Windows Media Player For Mac The Surprising Game Changer Hidden From Most Users
- Powerball Winning Numbers For Dec 13 2025
- 23 Inspiring Bible Verses That Will Inspire You Daily Dont Miss Any