How To Update Outlook Signature
I still remember the day I received an email from a colleague with a dinosaur-age signature, complete with a flashing GIF and a font that seemed to have been chosen by a blindfolded person. It was, um, quite an experience. I'm sure you've had similar encounters, right?
But, on a more serious note, having an outdated or unprofessional email signature can really hurt your credibility, especially if you're using Outlook for work or professional purposes. So, it's time to give your signature a much-needed update! Let's get started, shall we?
Why Update Your Outlook Signature?
Updating your Outlook signature is not just about looking cool (although, let's be honest, it's a nice bonus). It's about presenting yourself in a professional light and making it easy for others to get in touch with you. Think about it, your email signature is often the first impression people have of you, so make it count!
Must Read
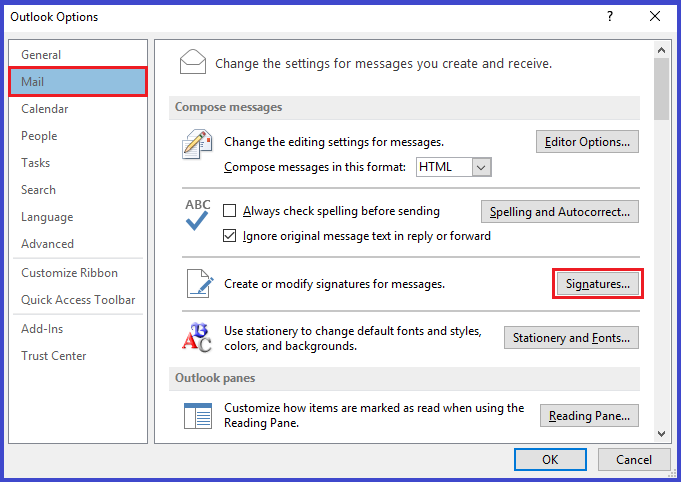
Step 1: Access Your Signature Settings
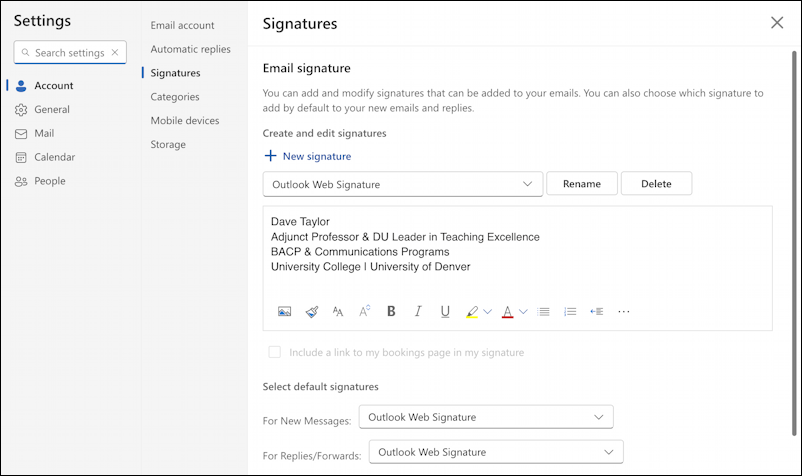
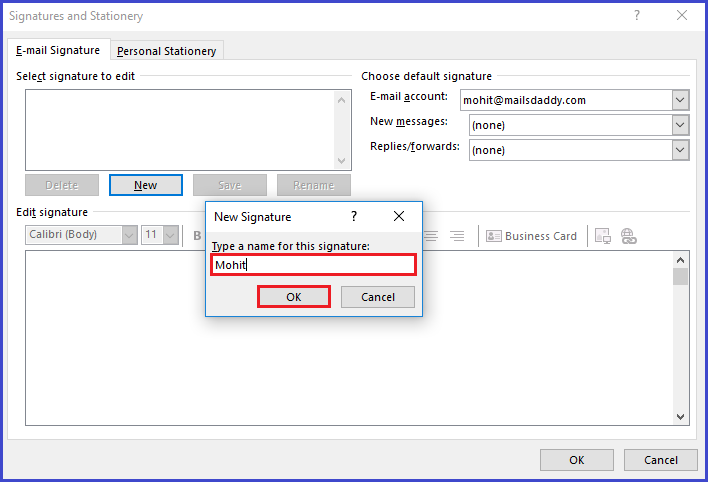
To update your Outlook signature, you'll need to access your signature settings. Don't worry, it's super easy - just go to the File tab, click on Options, and then select Mail. From there, click on Signatures and you're good to go!
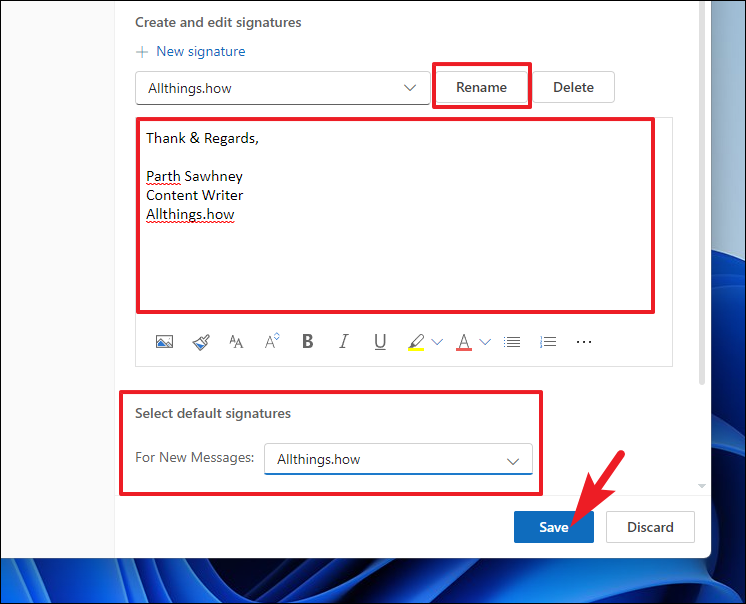
Now, this is where things can get a bit tricky. You'll need to decide what information to include in your signature, such as your name, title, contact info, and maybe even a professional photo. Keep it concise and relevant, folks!

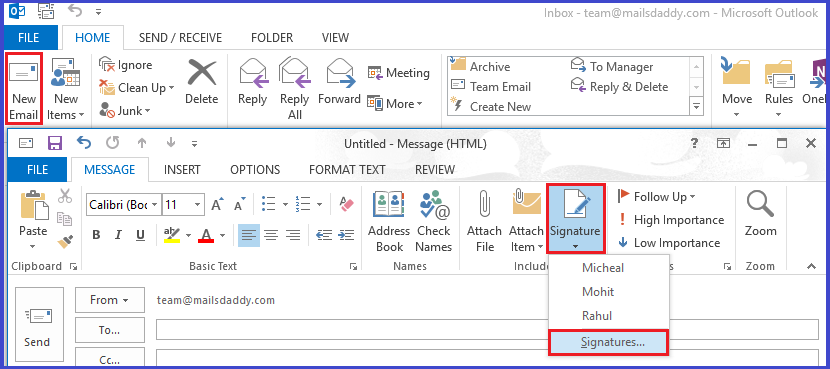
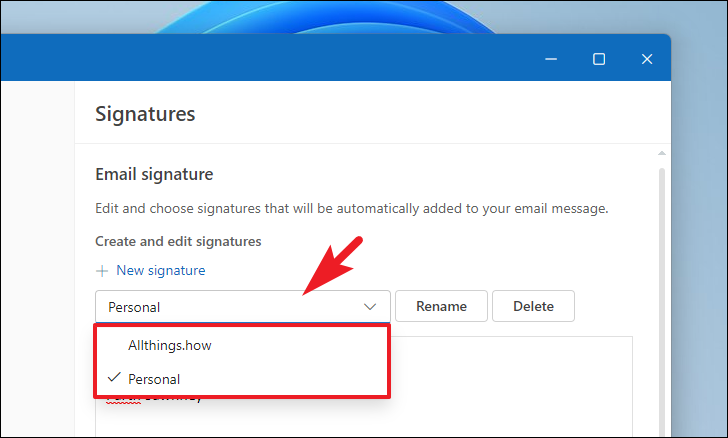
Step 2: Create Your New Signature
Once you've decided on the content, it's time to create your new signature. You can use the built-in editor to add links, images, and even social media icons. Just remember to keep it simple and easy to read - no one likes a cluttered signature!
And, voilà! You've updated your Outlook signature. It's a small change that can make a big difference in how you come across to others. So, go ahead and give your signature a fresh new look - your colleagues (and clients) will thank you!


:max_bytes(150000):strip_icc()/how-to-change-your-signature-in-outlook-4685088-6-0f12930a7a4446e7a7ee456341113bdb.png)