Install Fonts To Windows 10
I still remember the first time I tried to install a font on my computer - it was like trying to solve a puzzle blindfolded. I had no idea where to start, and the font I wanted seemed like a mythical creature, hiding from me in the depths of the internet. But, after some digging, I finally managed to make it work, and let me tell you, it was a game-changer!
Fast forward to today, and I'm here to share my newfound knowledge with you, dear reader. If you're anything like me, you're probably curious about how to install fonts on your Windows 10 machine, and I'm excited to guide you through it. So, grab a cup of coffee, get comfy, and let's dive in!
Why Install Fonts?
So, why would you want to install fonts in the first place? Well, my friend, it's all about personalization - you want your computer to reflect your personality, don't you? With custom fonts, you can add a touch of elegance, whimsy, or playfulness to your documents, presentations, and even social media posts.
Must Read
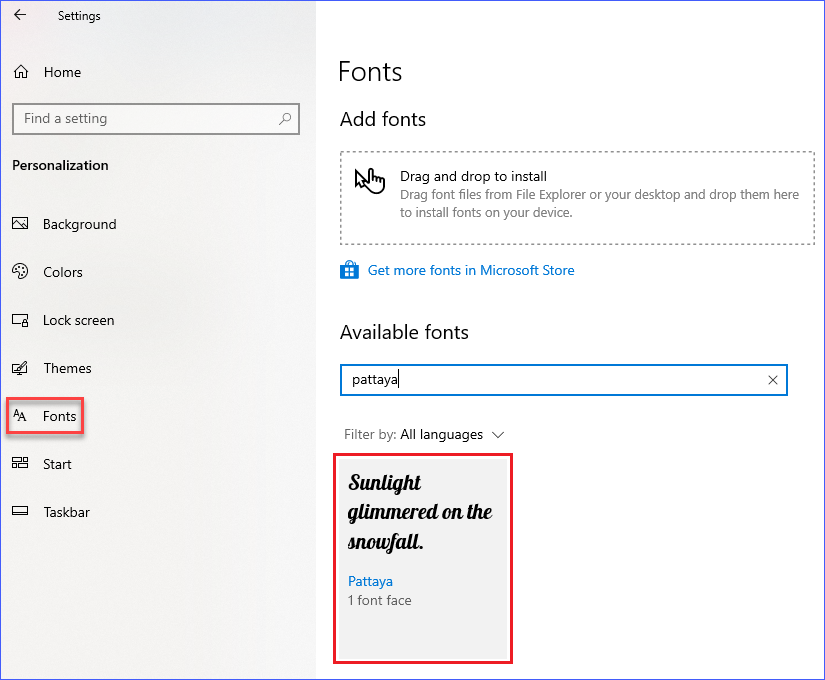
Where to Find Fonts

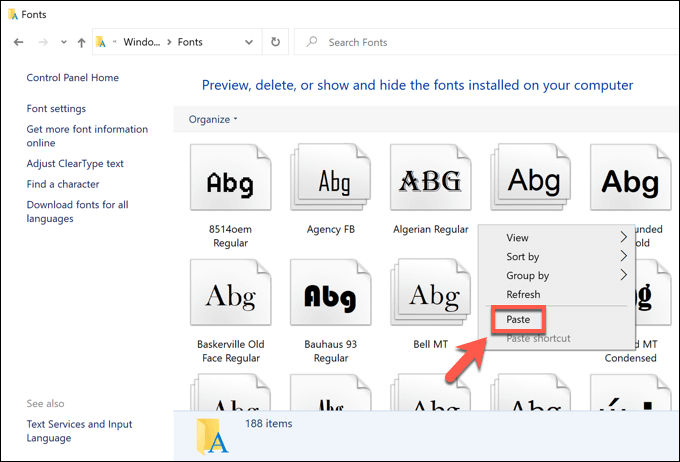
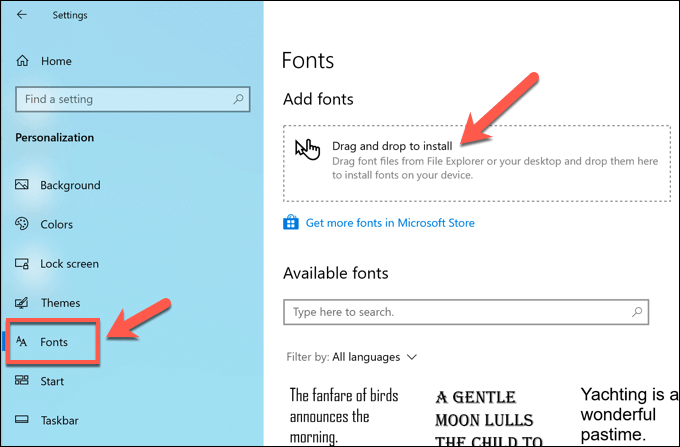
Now that you've found your perfect font, it's time to install it - and trust me, it's easier than you think. Simply right-click on the font file, select Install, and voilà! Your new font is ready to use, and you can start exploring the wonderful world of typography. So, go ahead, get creative, and show off your unique style to the world!
In conclusion, installing fonts on Windows 10 is a breeze, and with a little practice, you'll be a pro in no time. So, don't be afraid to experiment, try out new fonts, and have fun with it - after all, that's what it's all about, right? Happy font-ing, and I'll catch you in the next post!

:max_bytes(150000):strip_icc()/B5-InstallFontsinWindows10-annotated-563c7f63f0ba4d3eb45652afedbfa06f.jpg)
:max_bytes(150000):strip_icc()/A4-InstallFontsinWindows10-annotated-1f8b12759ba5444d83bd623af343ba1d.jpg)