Save Time How To Add A Column In Excel Like A Pro Today
I still remember the first time I tried to add a column in Excel - it was a disaster! I was working on a project and needed to insert a new column, but I ended up shifting all the data and messing up the entire spreadsheet. I'm sure some of you can relate to that feeling of frustration!
Getting Started
But don't worry, those days are behind me now, and I'm excited to share with you how to add a column in Excel like a pro! It's actually quite simple once you get the hang of it. Just think of all the time you'll save by not having to redo your entire spreadsheet!
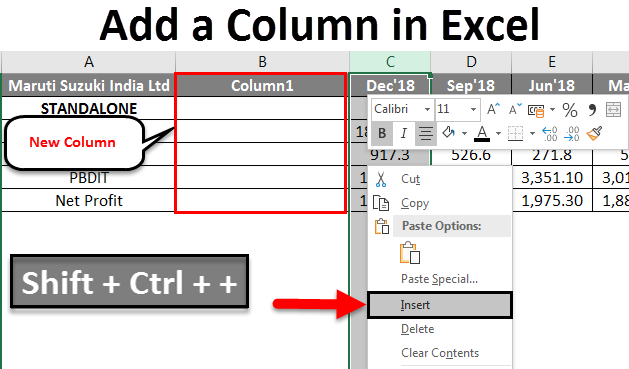
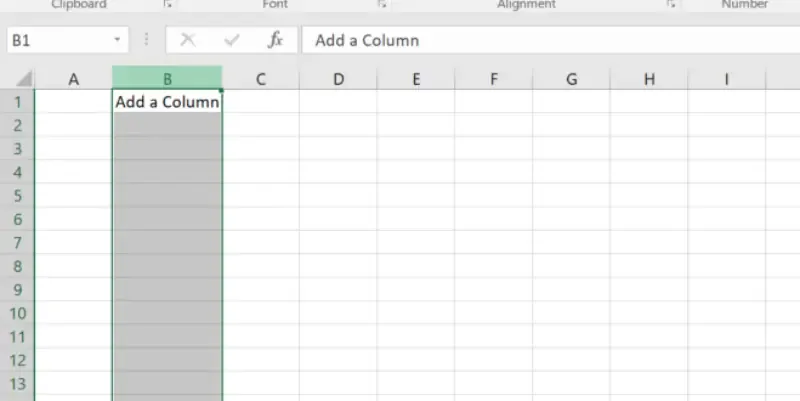
To start, select the column where you want to insert the new one - yeah, it's that easy! Just click on the column header, and you'll see the entire column get highlighted. Now, you're ready to move on to the next step!
Must Read
The Magic Happens
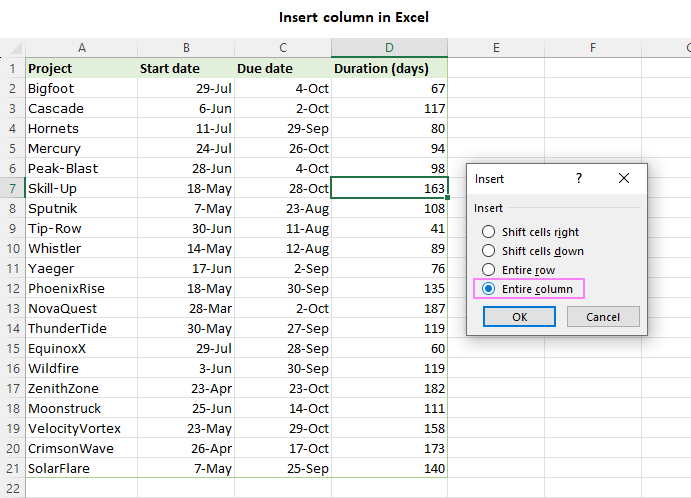
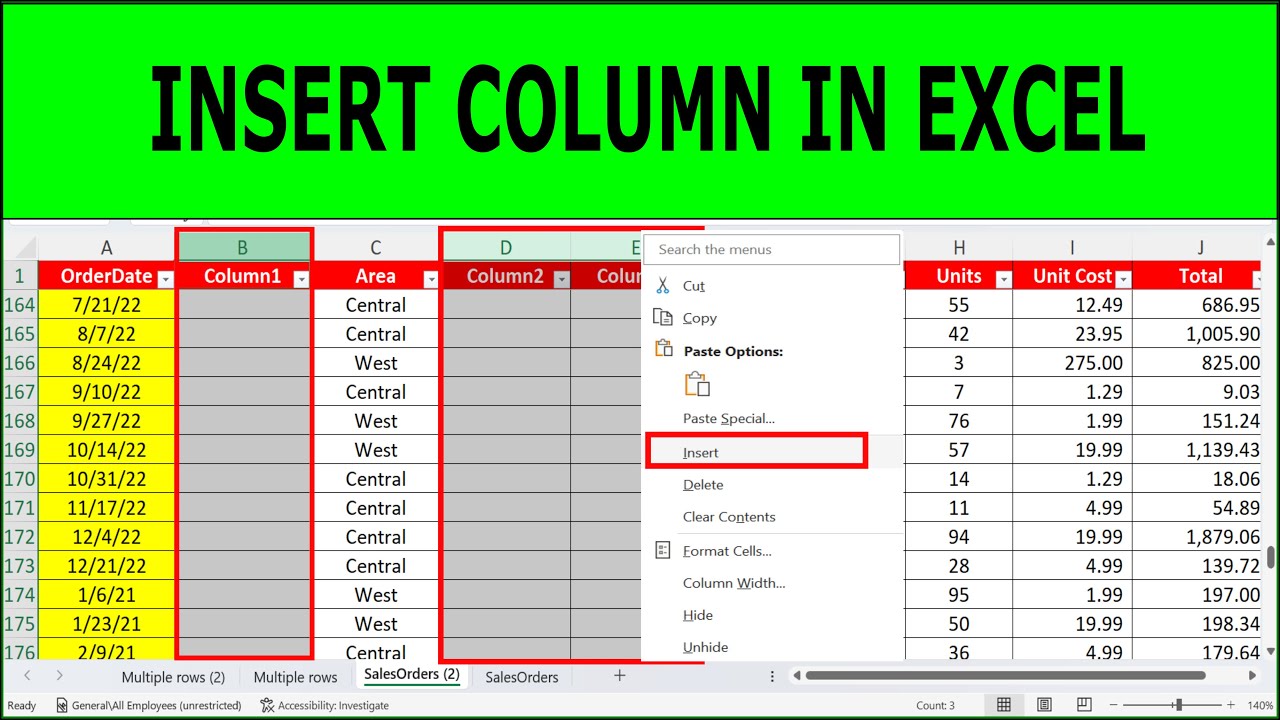
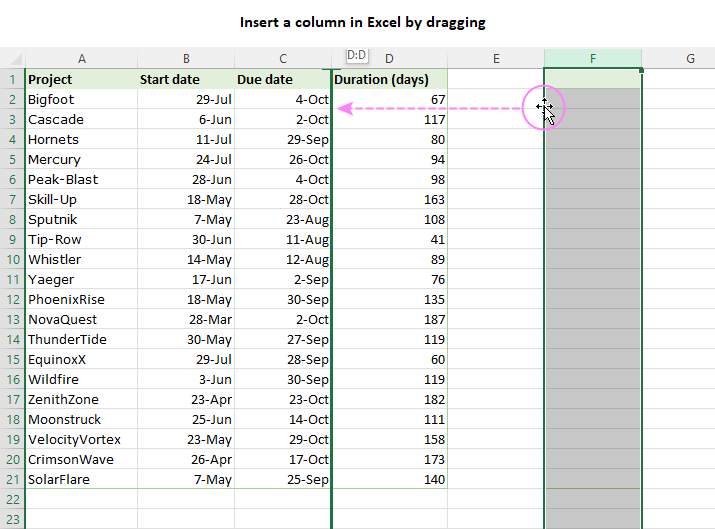
Right-click on the selected column, and you'll see a menu pop up with lots of options - don't worry, we're only interested in one of them! Click on Insert, and then select Insert Sheet Columns - voilà, your new column is born! You can also use the keyboard shortcut Ctrl + Space to insert a new column.
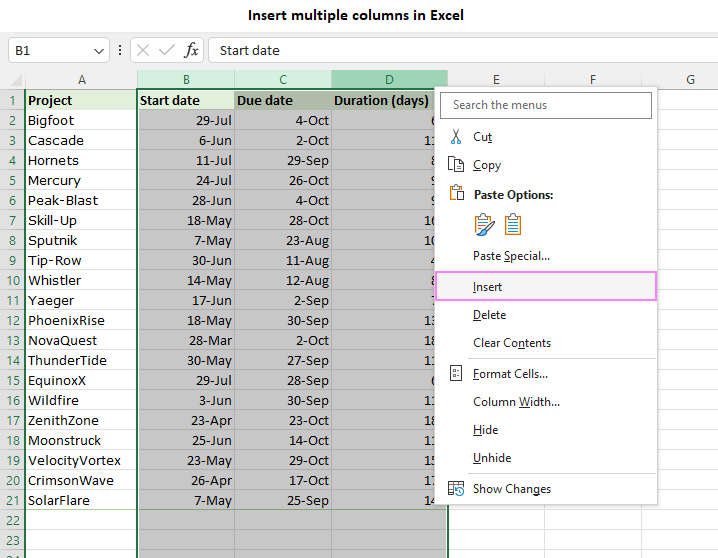
Now, you might be wondering what if you want to insert multiple columns at once - well, that's easy peasy too! Just select the number of columns you want to insert, right-click, and follow the same steps. You'll have multiple new columns in no time!
In conclusion, adding a column in Excel is a breeze, and with these simple steps, you'll be a pro in no time! So, go ahead and give it a try - your spreadsheets (and your sanity) will thank you! And remember, practice makes perfect, so don't be afraid to experiment and try new things!