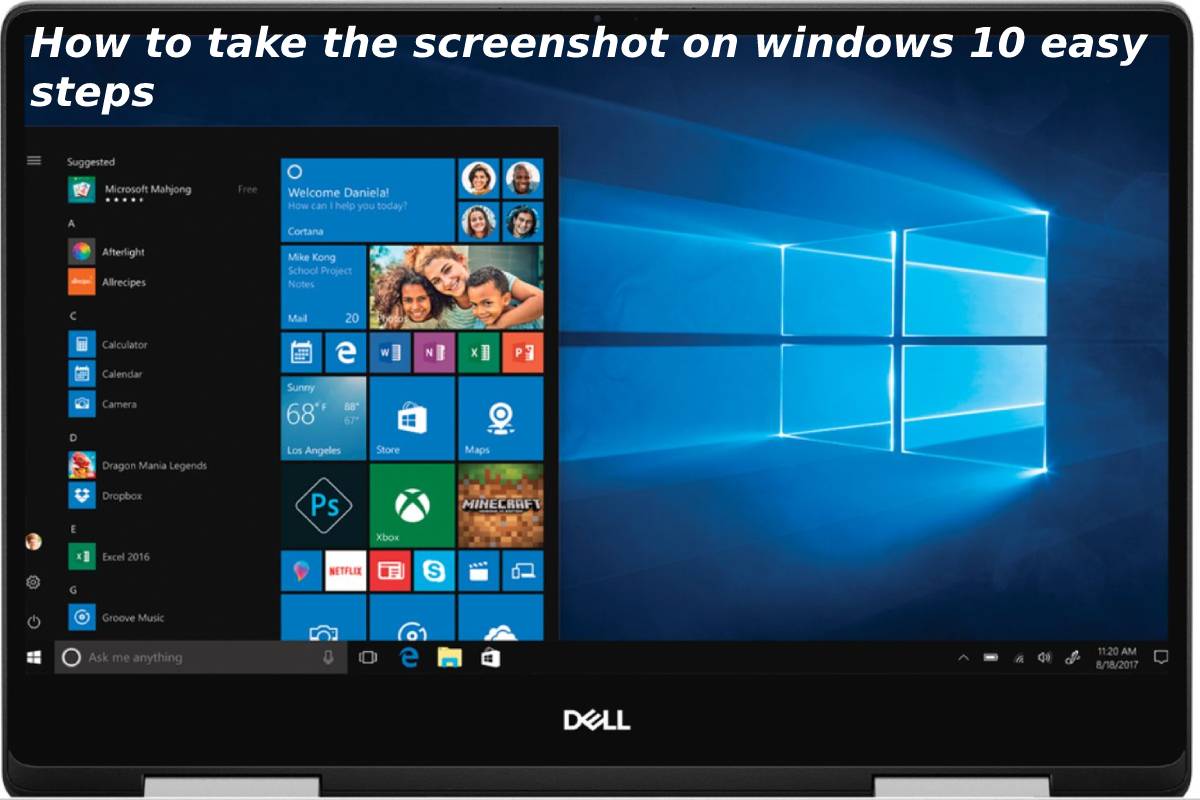
Screenshot On Windows 10
I still remember the first time I tried to take a screenshot on my Windows 10 laptop - I was trying to show my friend a hilarious meme I found online, but I had no idea how to capture the image. I ended up clicking randomly on various buttons, hoping that one of them would magically save the image for me. Luckily, my friend was patient and walked me through the process!
Fast forward to today, and I'm now a screenshot master - I can take a screenshot in under 5 seconds, and I'm here to share my expertise with you! If you're still struggling to figure out how to take a screenshot on Windows 10, don't worry, I've got you covered. It's actually quite simple once you know the tricks!
The Basics
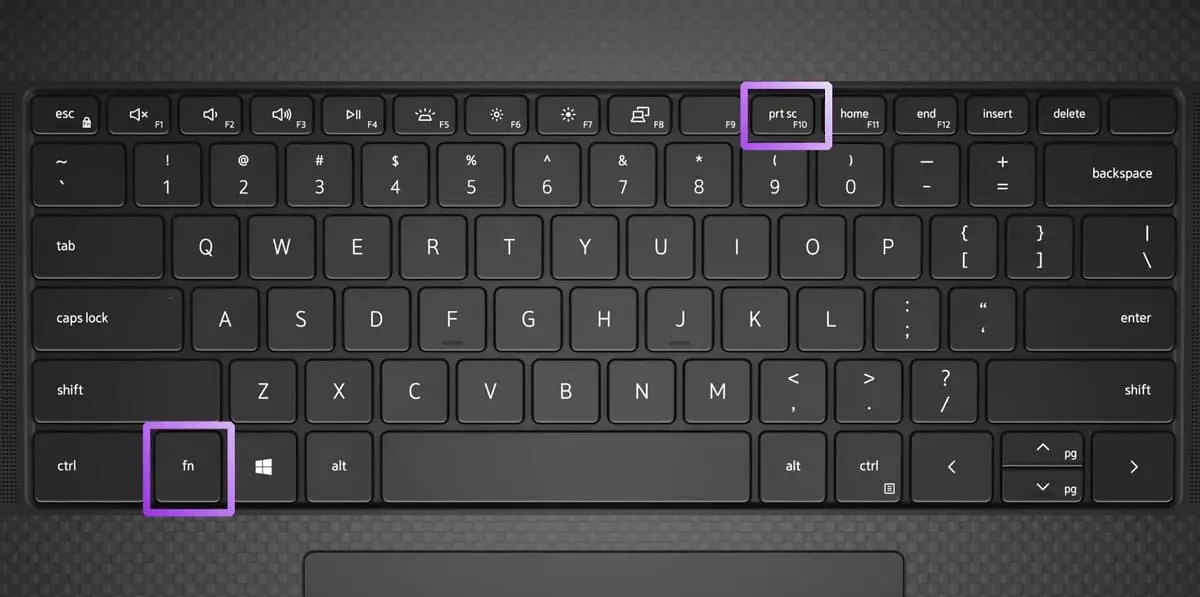
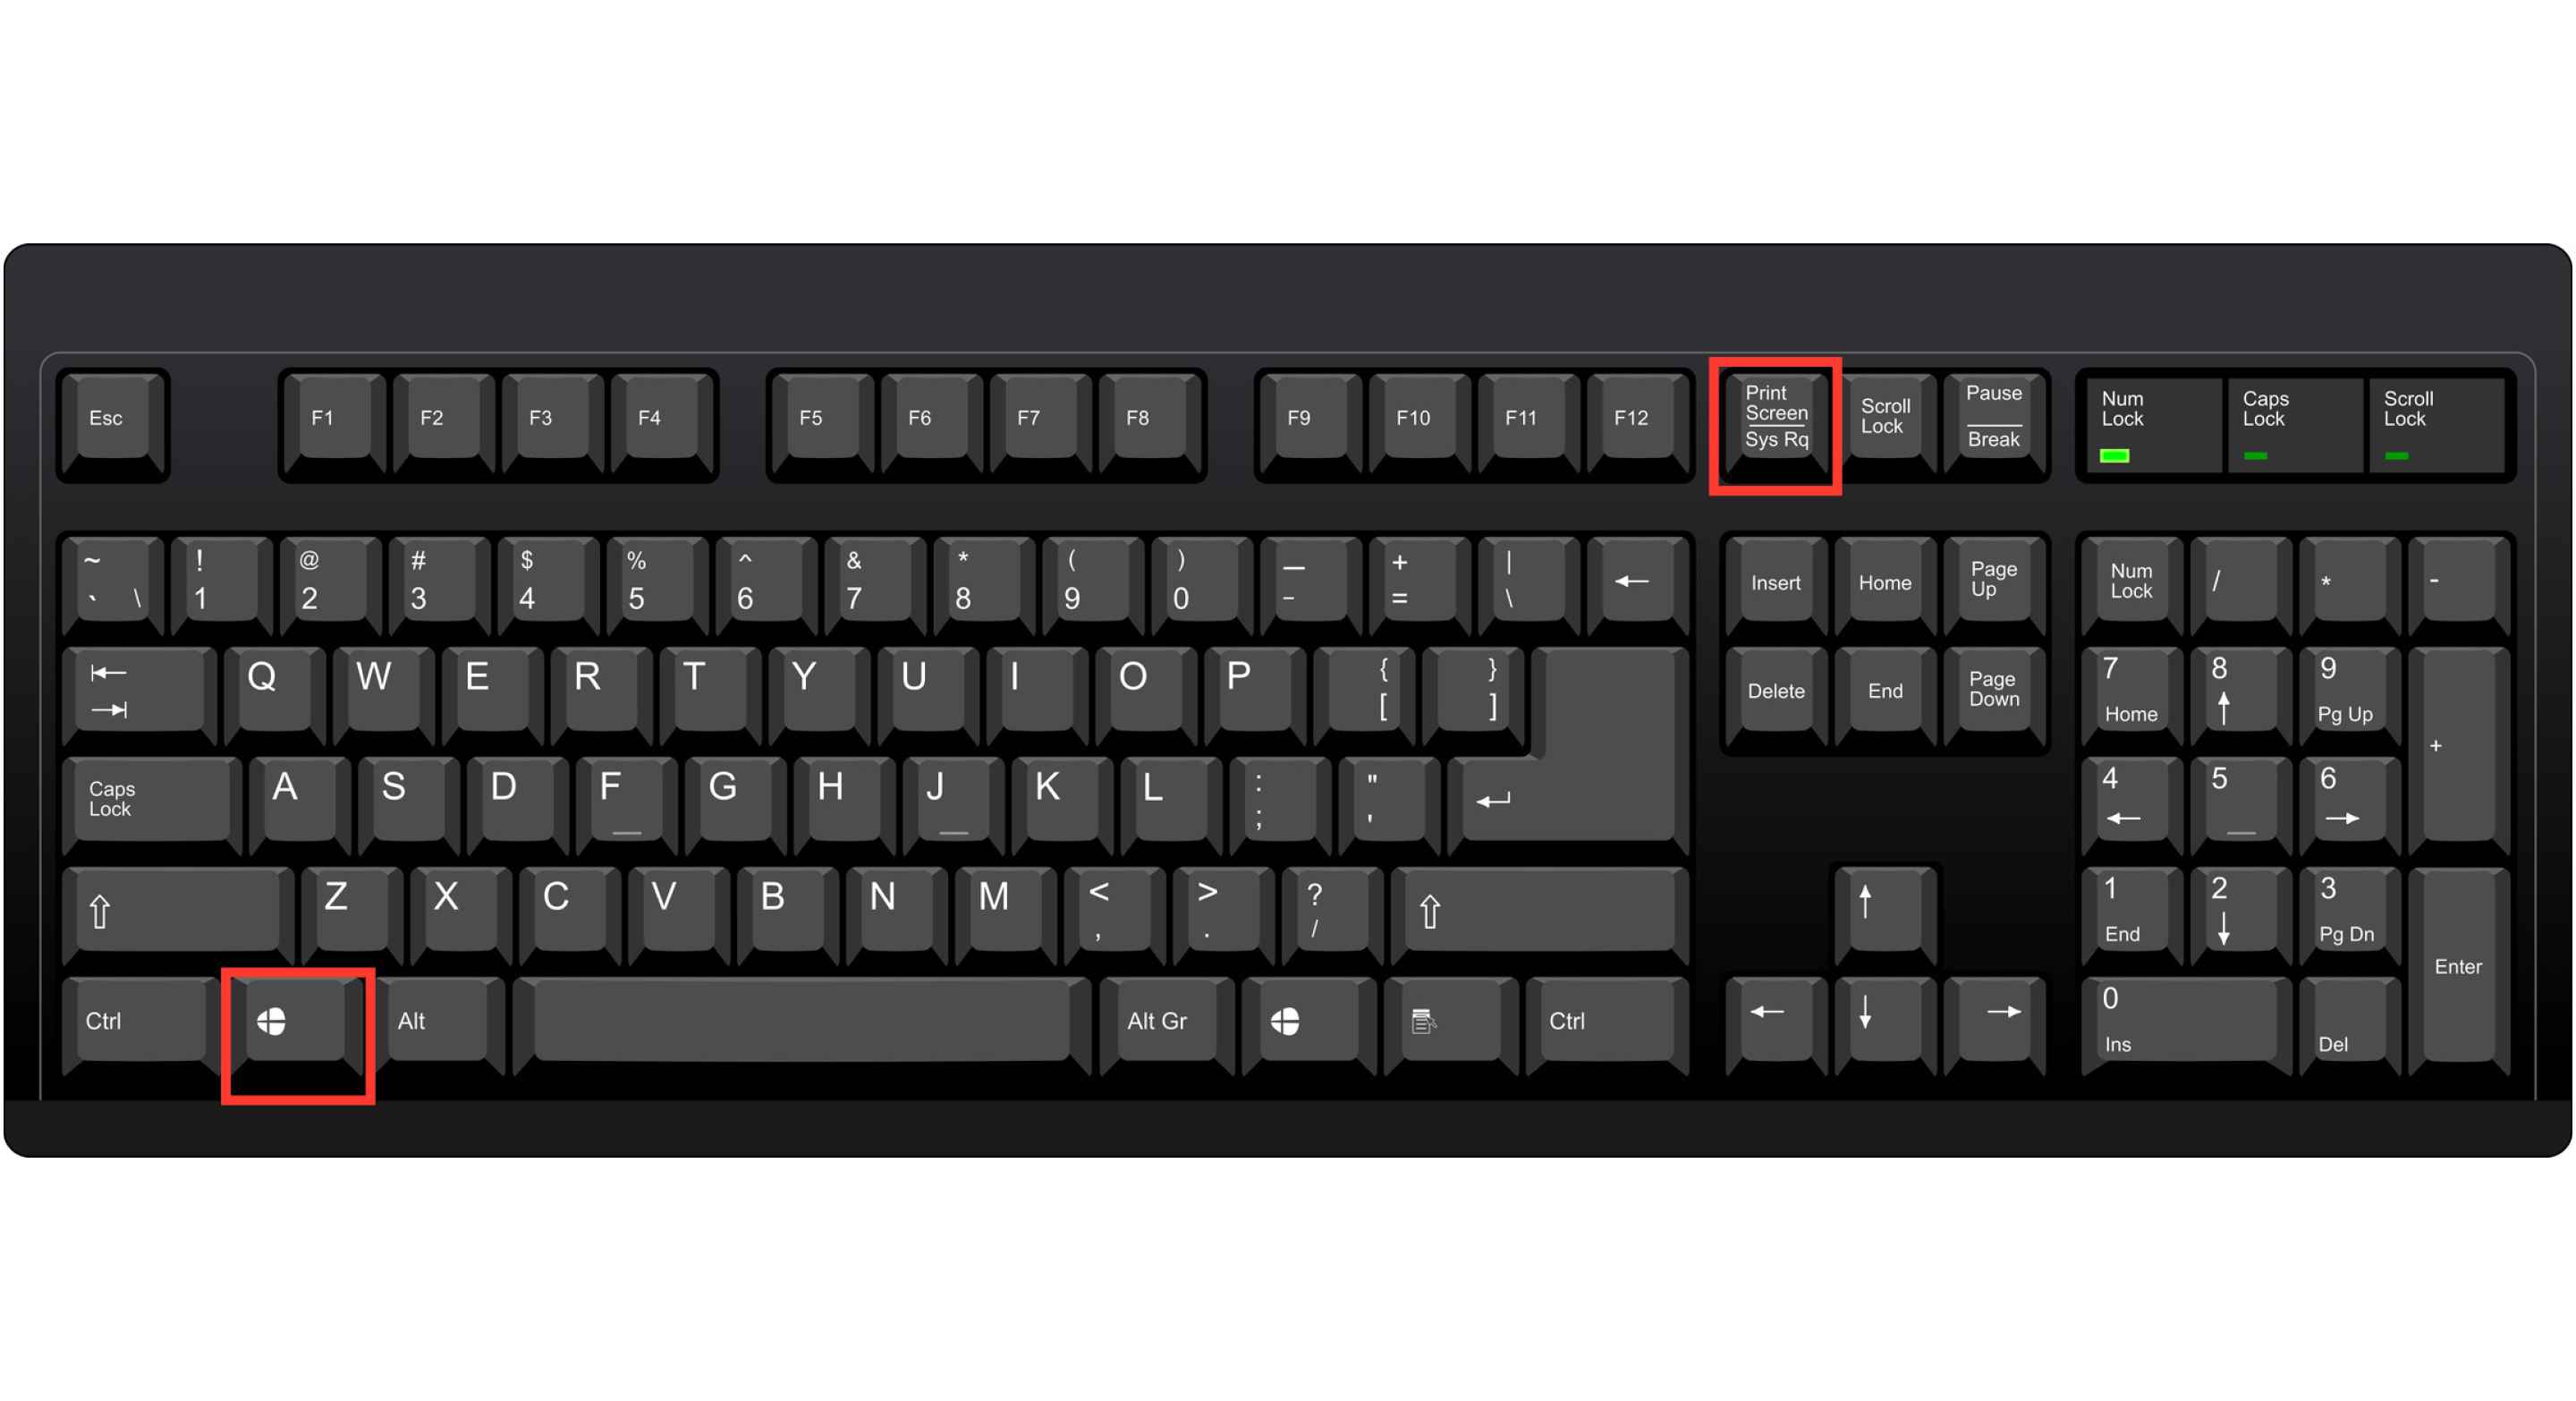
The most common way to take a screenshot on Windows 10 is by using the PrtScn button - just press the button, and the image will be saved to your clipboard. You can then paste it into any image editing software, such as Paint, to save or edit it. Easy peasy, right?
Must Read
But Wait, There's More!
Did you know that you can also take a partial screenshot by pressing the Alt + PrtScn buttons simultaneously? This will capture only the currently active window, which is super handy if you don't want to include any background clutter. Give it a try, and see how it works!

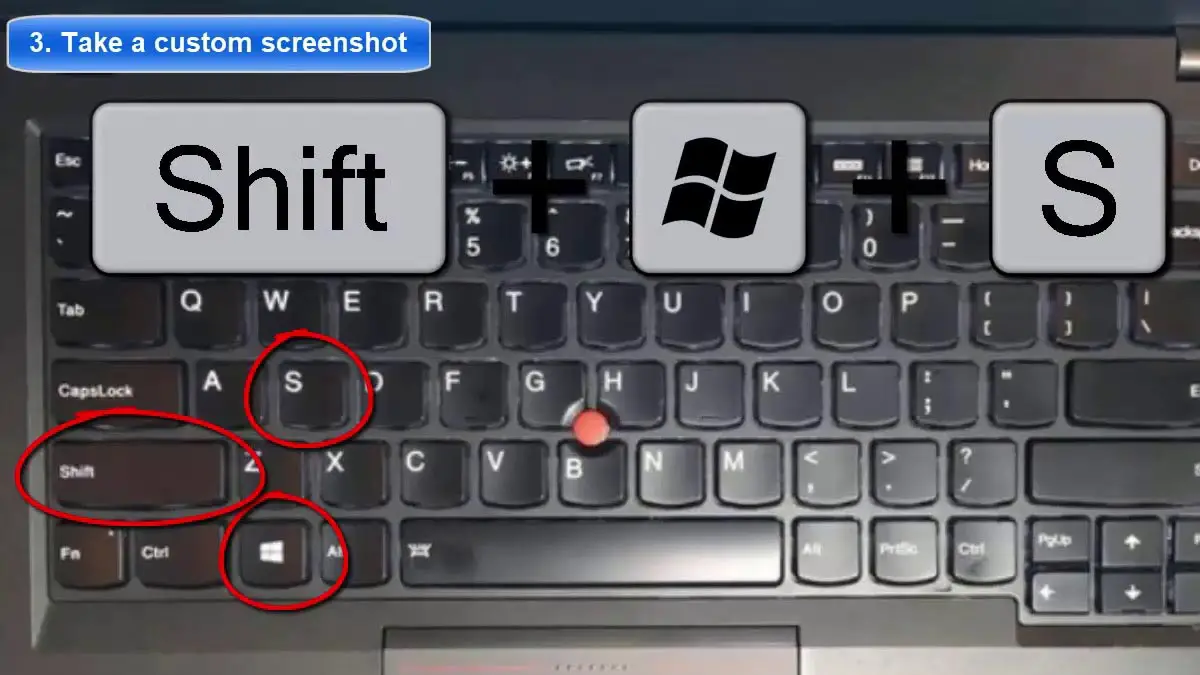
If you want to take a screenshot of a specific region, you can use the Snipping Tool - just search for it in the Start menu, and follow the prompts to select the area you want to capture. It's like having a virtual pair of scissors, but for screenshots! You can also use the Windows + Shift + S shortcut to open the Snipping Tool directly.
So, there you have it - taking a screenshot on Windows 10 is a breeze, and with these tips, you'll be a pro in no time! Remember, practice makes perfect, so go ahead and take a few screenshots to test your skills. And if you have any favorite screenshot tips or tricks, be sure to share them with me in the comments below!