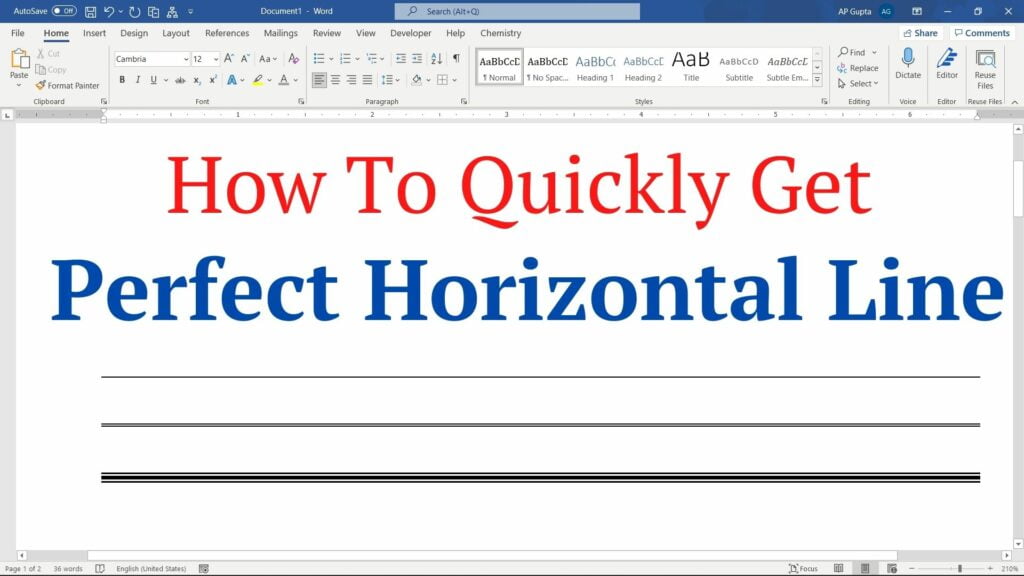
Step By Step Add A Horizontal Line In Word Fast And Perfectly
Adding a horizontal line in Word can be a fun and useful skill to master, especially for those who enjoy desktop publishing or need to create professional-looking documents. Whether you're a beginner looking to enhance your Word skills or a hobbyist wanting to create visually appealing documents, learning how to add a horizontal line can be a great addition to your toolkit.
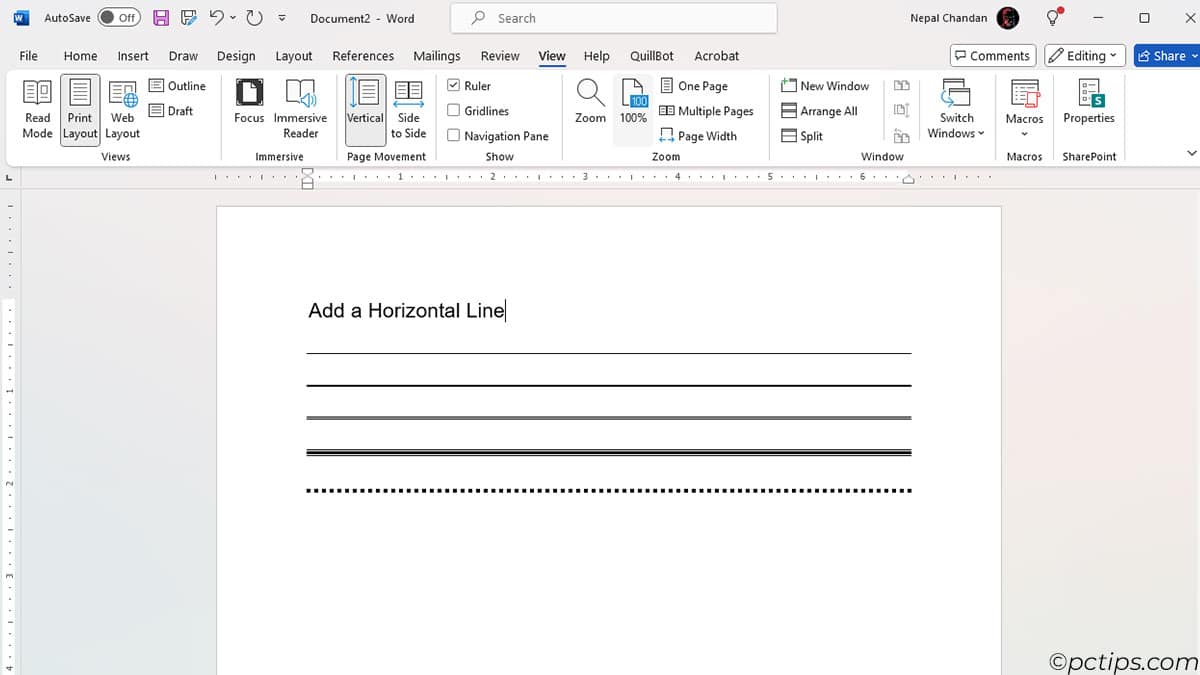
The purpose of adding a horizontal line is to separate sections of text, add visual interest, or create a sense of continuity in a document. For families creating newsletters or individuals working on projects, adding a horizontal line can be a great way to break up text and make the document more reader-friendly. You can also get creative with different line styles and colors to add some personality to your document.
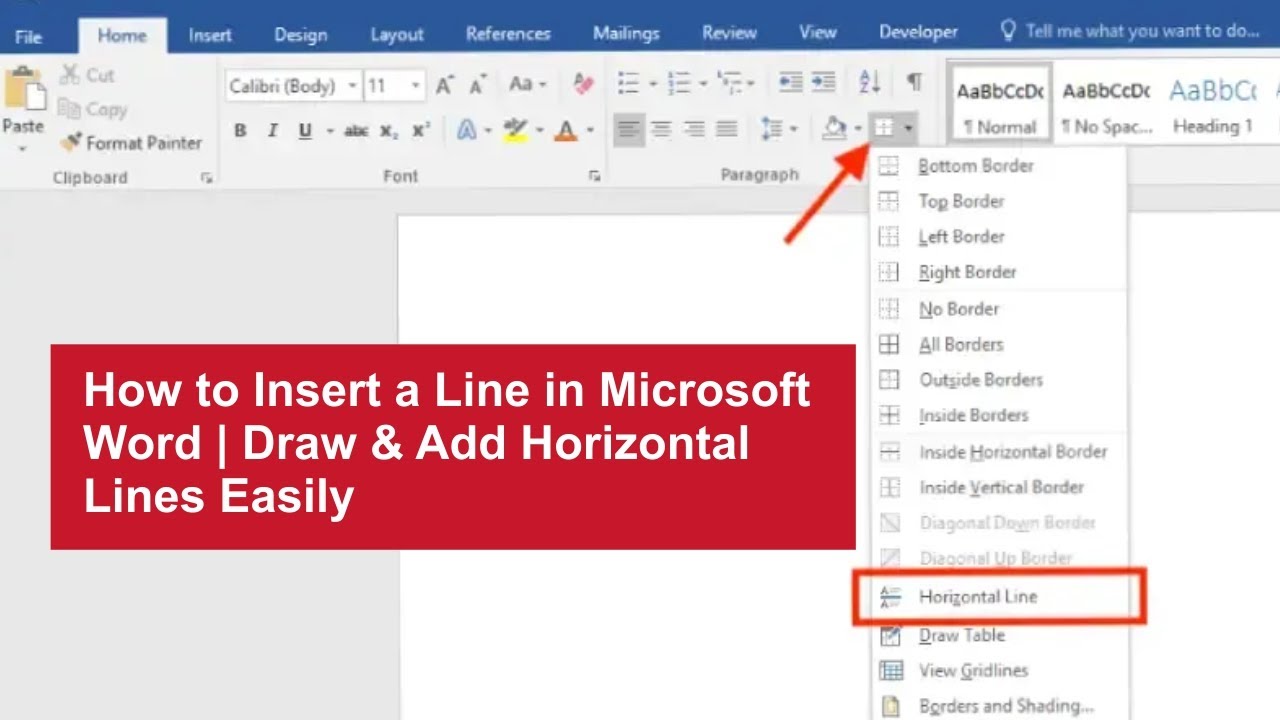
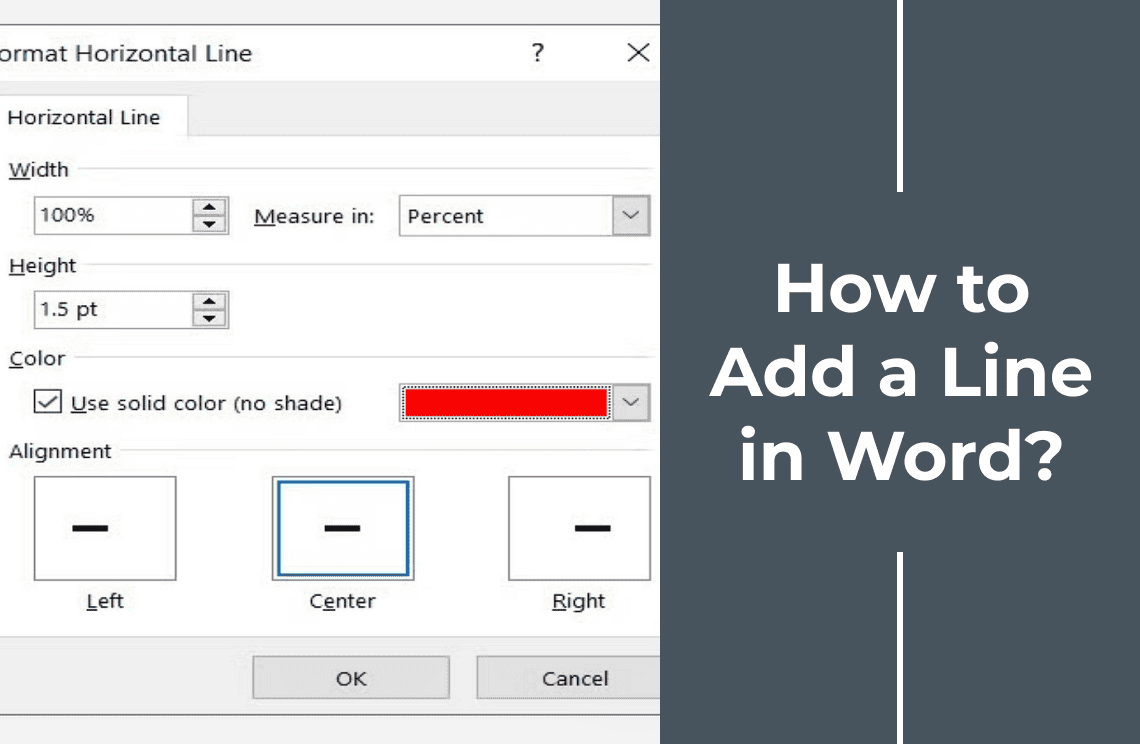
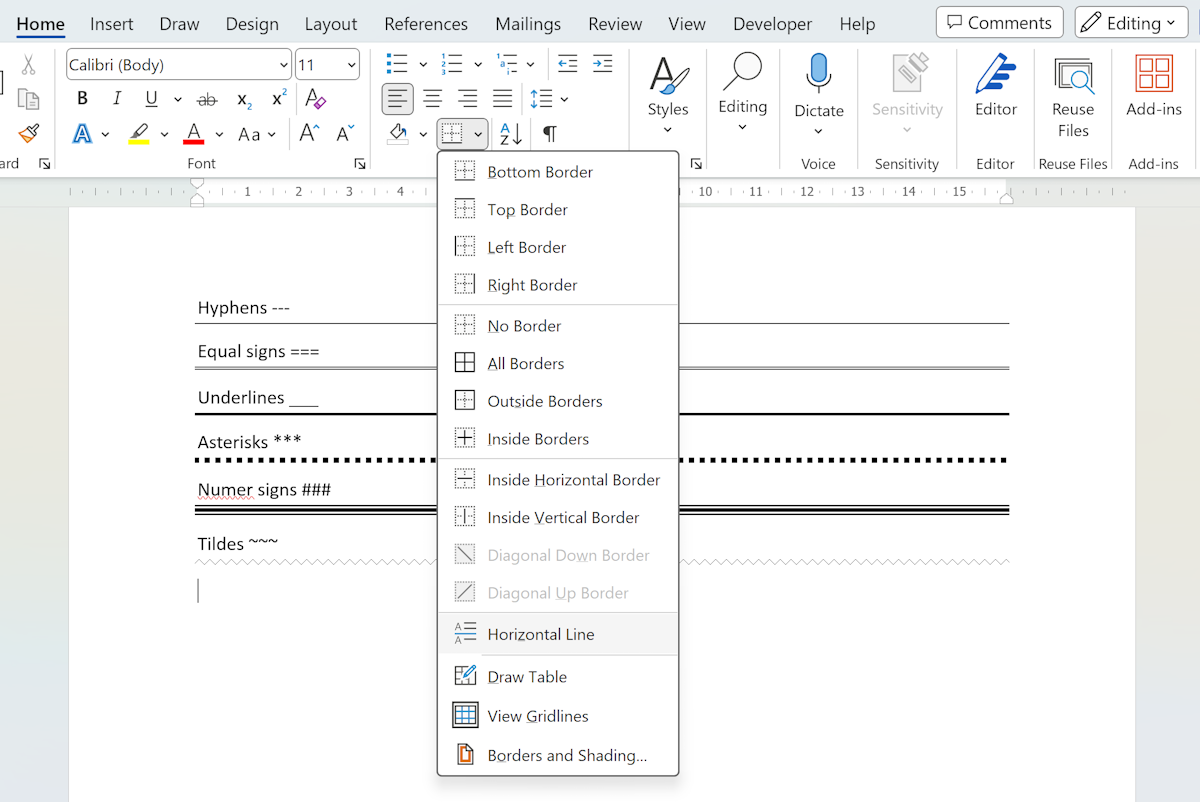
To get started, simply go to the Home tab in Word, click on the Paragraph group, and select Borders. From there, you can choose the Horizontal Line option and customize it to your liking. With these simple steps, you can add a professional-looking horizontal line to your document in no time. So why not give it a try and see how it can enhance your Word documents?
Must Read
- What Happens At The End Of Supergirl? A Clear Breakdown Of The Finale
- How Supergirl Sets Up The Dcu Future Without A Post-credits Scene
- Supergirl’s Final Moments Explained: Krem, Krypto, And Kara’s Turning Point
- Supergirl Ending Explained: Kara’s Grief, Ruthye’s Choice, And The Future Of The Dcu
- What Supergirl’s Ending Means For Lobo, Superman, And The Next Dc Films
In conclusion, adding a horizontal line in Word is a quick and easy process that can add a lot of value to your documents. With its many practical applications and creative possibilities, it's a skill that's definitely worth learning. So go ahead, get creative, and start adding those horizontal lines!


:max_bytes(150000):strip_icc()/add_horizontal_with_line_tool_in_word-5b2073193128340036d8d48e.jpg)