Step By Step Put A Line For Your Signature In Microsoft Word Instantly

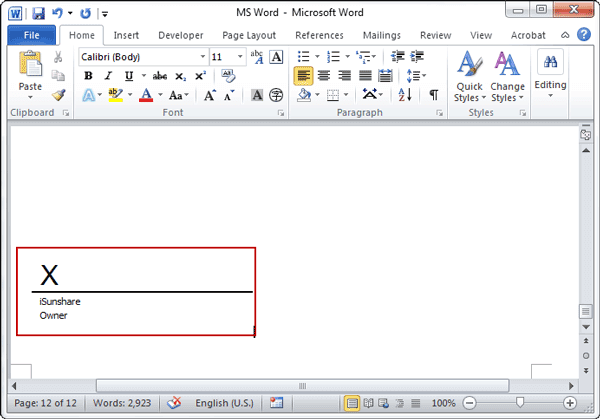
Learning how to insert a signature line in Microsoft Word can be a fun and useful skill to have, especially for students, teachers, and families who often need to create and share documents. This feature allows you to add a professional touch to your documents, making it easy to sign and return them electronically.
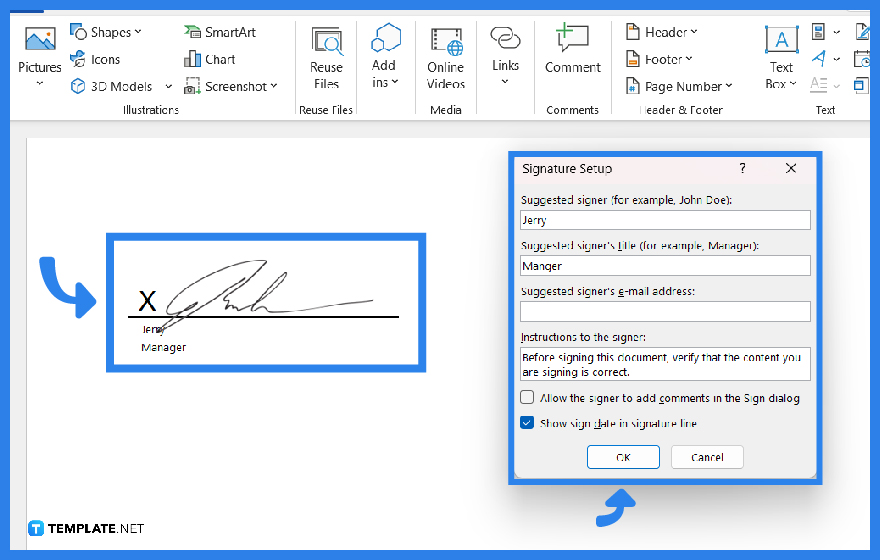
The purpose of a signature line is to provide a clear indication of where a signature should be placed, making it easier to authenticate documents. This is particularly useful in educational settings, where students and teachers need to sign and return assignments, contracts, and other documents. For families, it can be used to create official-looking documents, such as consent forms or permission slips.
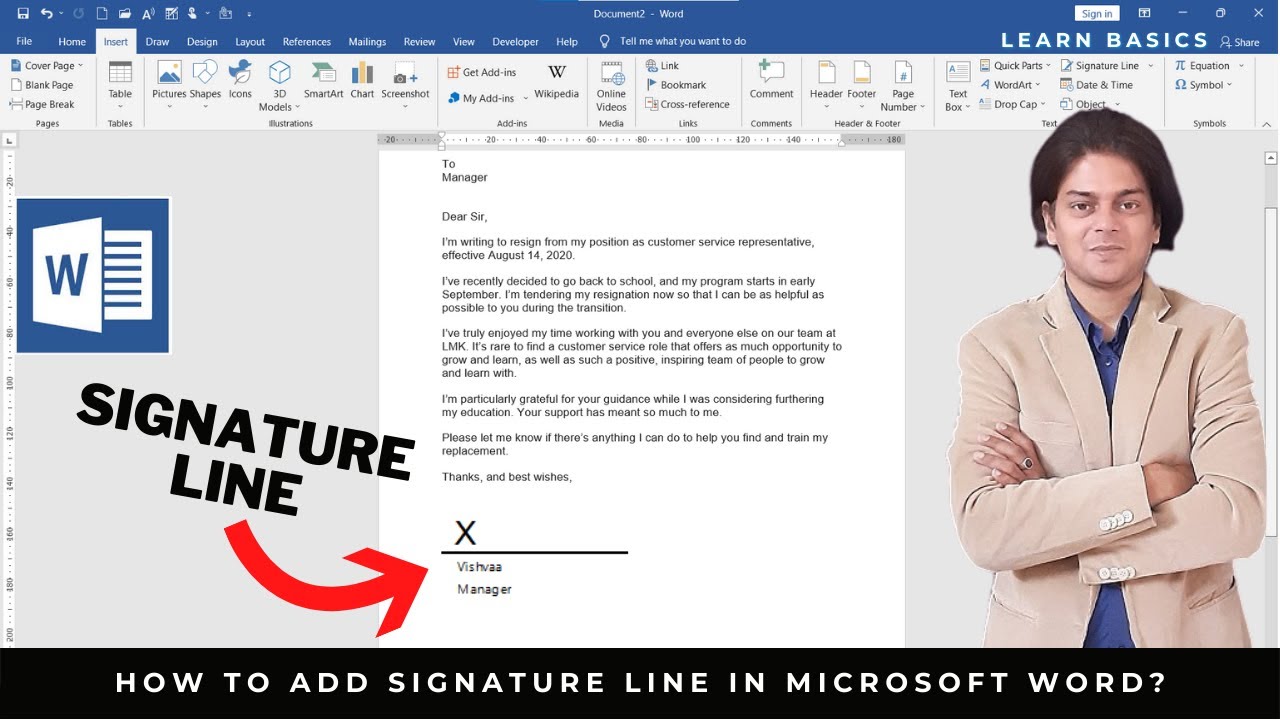
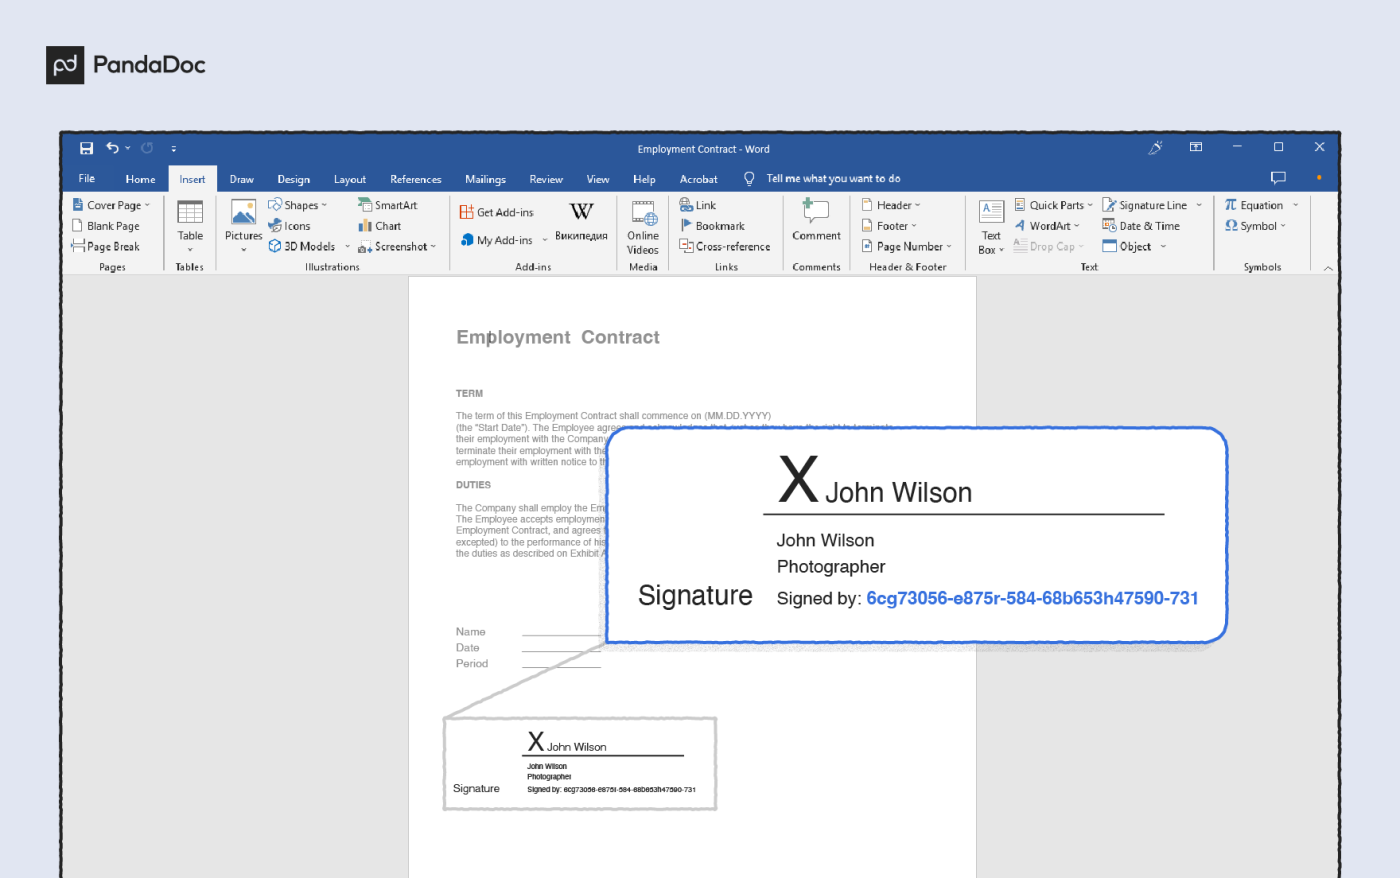
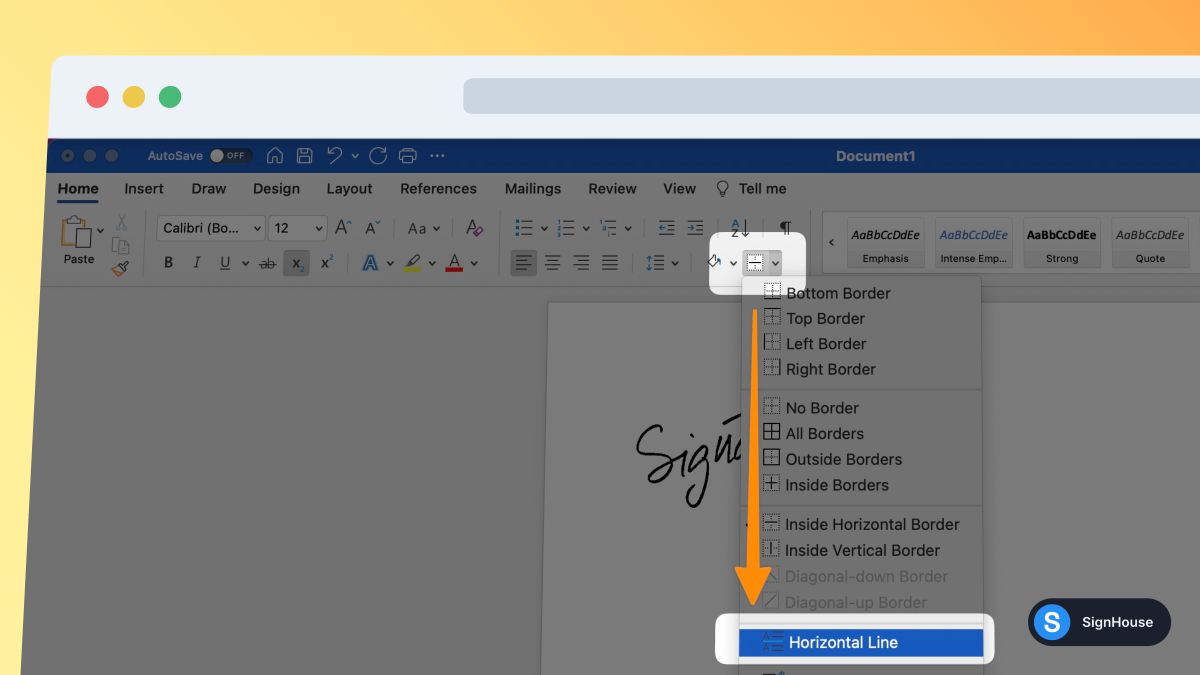
In daily life, you can use signature lines to create professional-looking documents, such as invoices, receipts, or agreements. For example, if you're a freelancer, you can use Microsoft Word to create a contract template with a signature line for your clients to sign. To get started, simply open Microsoft Word and use the built-in tools to insert a signature line into your document.
Must Read
- What Happens At The End Of Supergirl? A Clear Breakdown Of The Finale
- How Supergirl Sets Up The Dcu Future Without A Post-credits Scene
- Supergirl’s Final Moments Explained: Krem, Krypto, And Kara’s Turning Point
- Supergirl Ending Explained: Kara’s Grief, Ruthye’s Choice, And The Future Of The Dcu
- What Supergirl’s Ending Means For Lobo, Superman, And The Next Dc Films
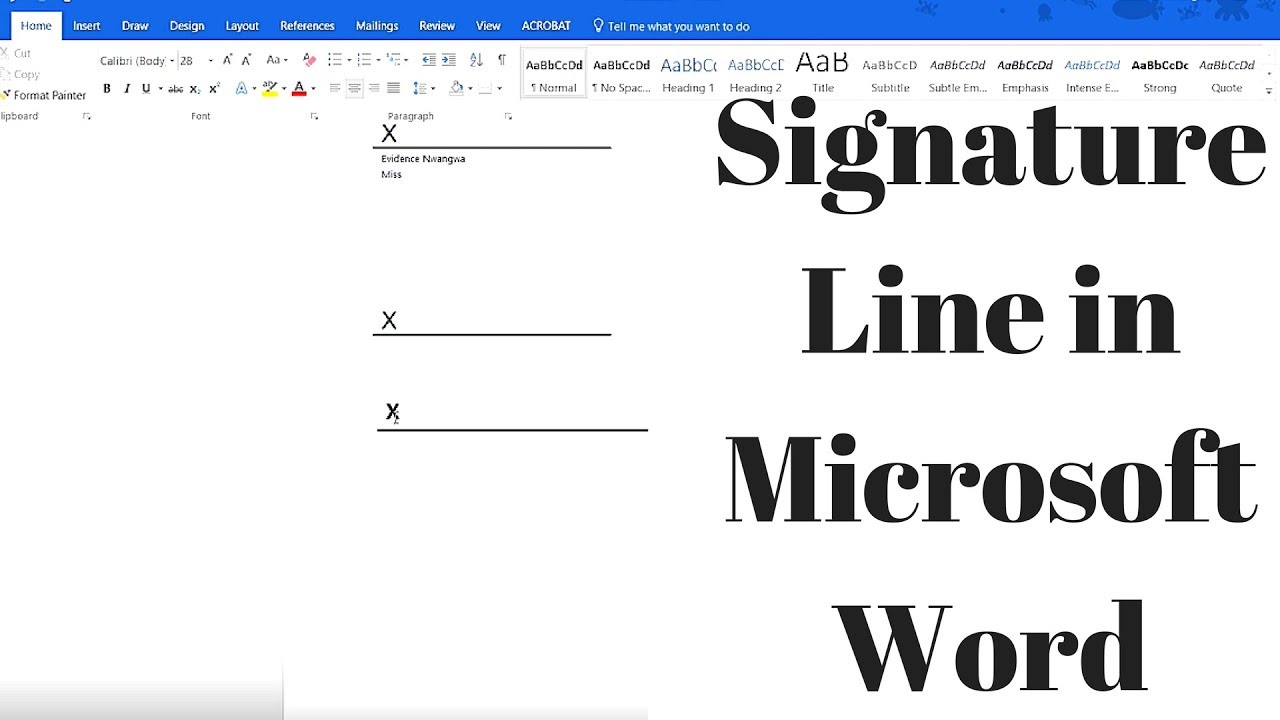
To explore this feature, try practicing with a sample document and experiment with different font styles and sizes to create a professional-looking signature line. You can also customize the appearance of your signature line to match your personal or business brand. With these simple tips, you can instantly add a touch of professionalism to your documents and make it easy to sign and return them electronically.

:max_bytes(150000):strip_icc()/Webp.net-resizeimage5-5b748e88c9e77c0050fe18d7.jpg)