You Wont Believe How Easily You Can Auto Adjust Row Heights In Excel

I still remember the good old days when I had to manually adjust row heights in Excel, one by one, until I almost lost my mind. It was like trying to solve a puzzle, but the puzzle was my own frustration. Those were the days, and I'm glad they're behind me now.
Discovering the Secret
One day, while digging through the depths of Excel, I stumbled upon a feature that changed everything: Auto Adjust Row Heights. I know, I know, it sounds like a trivial thing, but trust me, it's a game-changer. It's like having a personal assistant, but without the attitude.
So, How Does it Work?
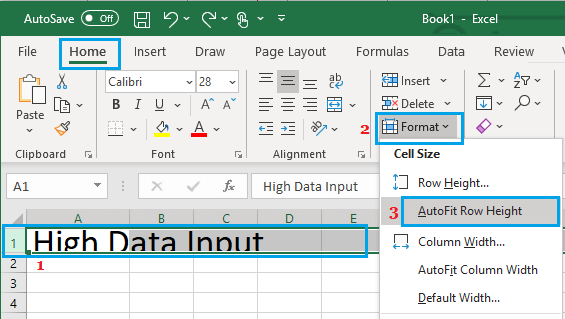
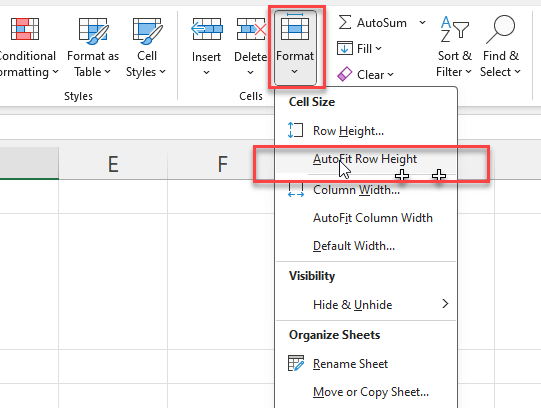
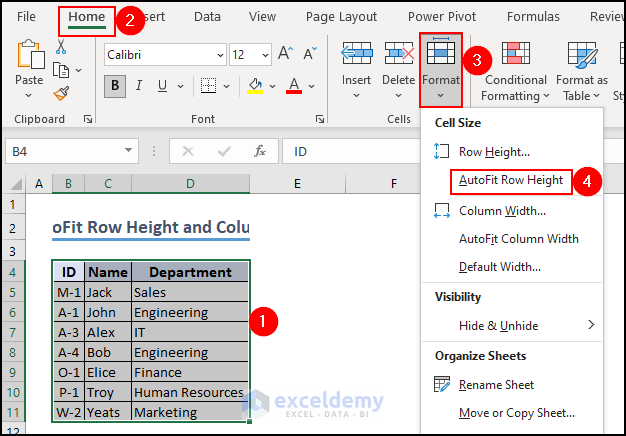
It's actually quite simple: just select the cells you want to adjust, go to the Home tab, and click on Format (because, who doesn't love a good format?). Then, hover over Autofit, and choose Autofit Row Height. Easy peasy, right?
Must Read
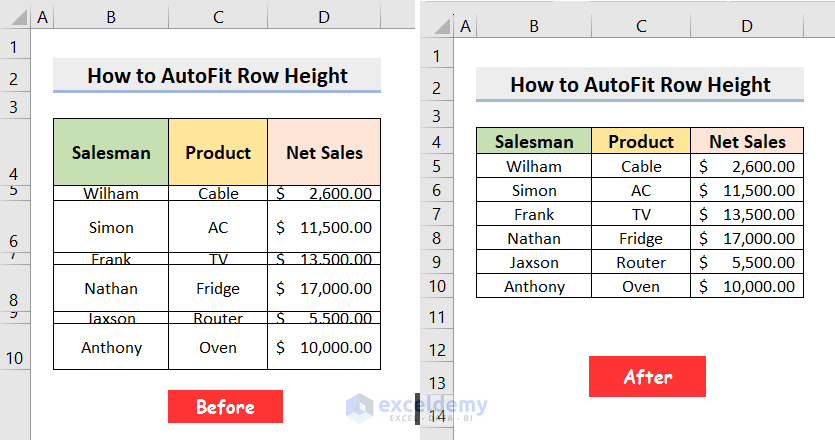
I mean, think about it: no more tedious manual adjustments, no more guessing, no more RANDOMLY clicking on rows until you get the desired height. It's like Excel is saying, "Hey, I've got this, you just relax." And, let's be real, who doesn't love a good relaxation session?
But Wait, There's More!
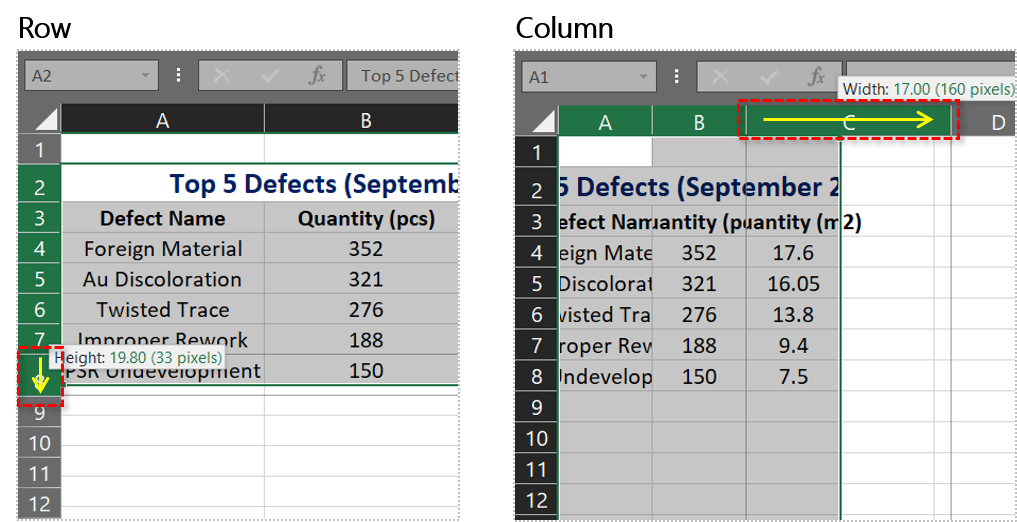
There's also another way to auto adjust row heights, and it's even quicker: just double-click on the row divider (you know, the little line that separates the rows). It's like a secret handshake, but instead of a handshake, you get perfectly adjusted rows. BOOM!

So, there you have it: the secret to easy row height adjustments in Excel. I know, it's not exactly rocket science, but it's definitely a life-changer for all you Excel enthusiasts out there. Go forth and adjust those rows like a pro!
In conclusion, if you're still manually adjusting row heights, stop what you're doing and try the Auto Adjust feature. Your sanity (and your rows) will thank you. And, if you're feeling fancy, try the double-click method – it's like a little party trick for your spreadsheet.